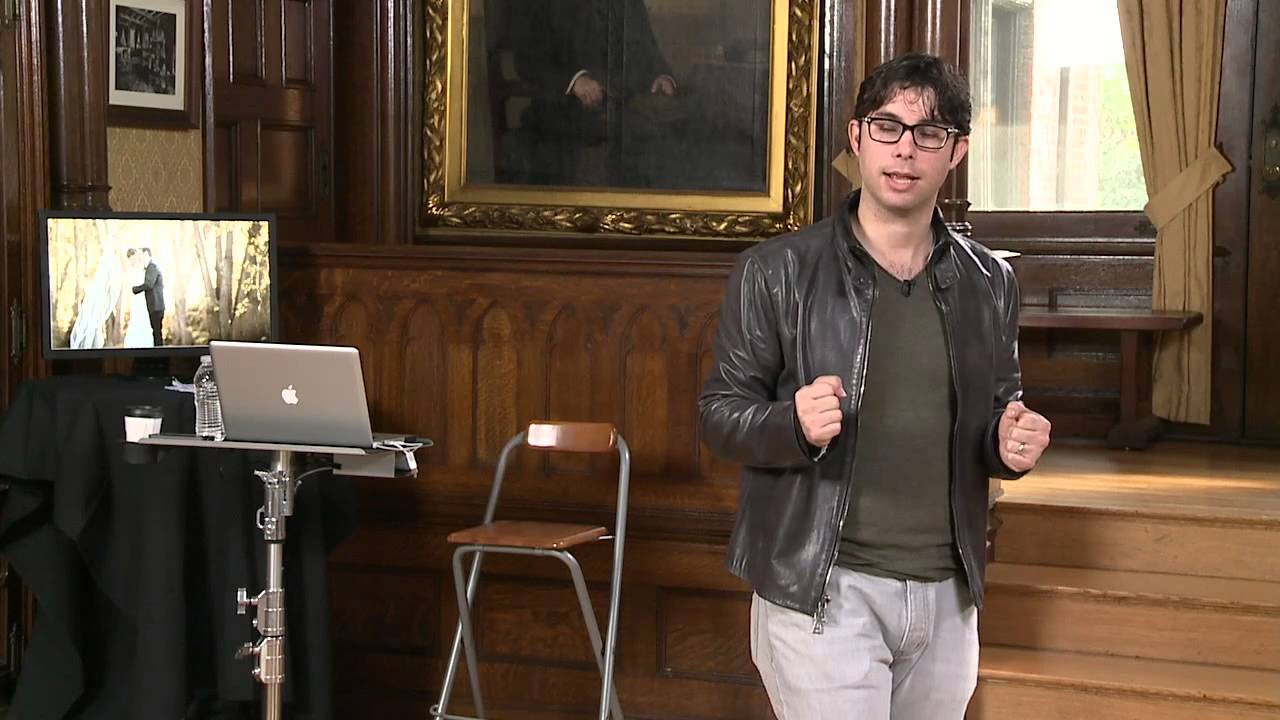
Every Sunday morning I do a photo walk around my Seattle neighborhood, and for the first couple of years, I kept running into the same problem. I’d come home with hundreds of frames, pull them up on my laptop, and feel vaguely disappointed without being able to explain why. The exposure was fine. The composition was decent. But something was off, and I couldn’t name it. That’s a frustrating place to be, because you can’t fix a problem you can’t diagnose.
That’s exactly why the approach laid out in this CreativeLive tutorial stopped me mid-scroll. Watch the full tutorial on YouTube — it’s a recap session from a longer 101-problem course, and even just this segment reframed how I think about lighting entirely. The instructor’s core argument is deceptively simple: instead of memorizing every possible thing you could do to improve your light, start by learning five things you should never do. Work from elimination, not addition.
That pivot in thinking matters more than it sounds. Photography education tends to pile on options. Reflectors, diffusers, flash modifiers, golden hour, blue hour, bounce cards. The list never ends. But if you start every shoot by asking “do I have any of these five problems?” you give yourself a checklist instead of a wish list. And a checklist is something you can actually finish.
Step 1: Learn to Think in Negatives, Not Positives
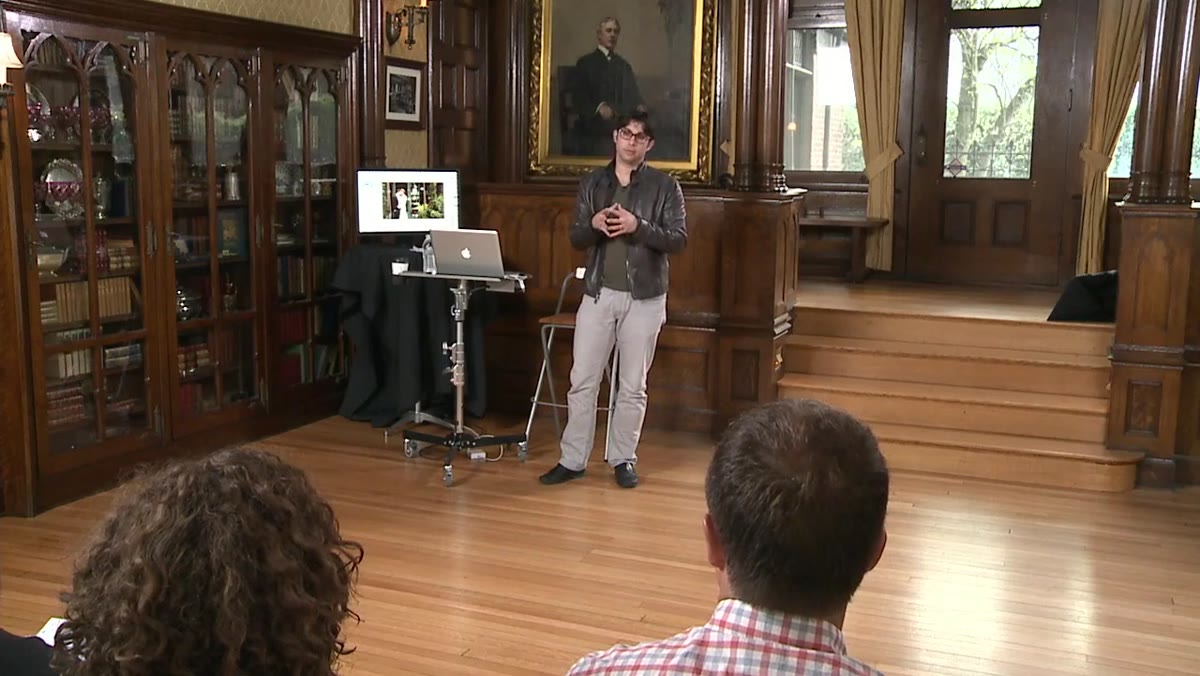 Instructor explaining the Light Five concept to workshop students
The first shift this tutorial asks you to make is mental. Rather than walking into a shoot thinking “I want beautiful Rembrandt lighting with a soft fill,” train yourself to think “let me check whether any of my five lighting problems are present.” The instructor calls this the “Light Five” — five conditions that reliably produce bad results, especially with flash and artificial light. The specific five aren’t all named in this recap segment, but the framework is what matters: pick a short, fixed list of failure modes and internalize them until checking for them is automatic.
This works because the brain handles negatives better when the list is short. Five things you must avoid is a manageable constraint. Thirty-five thousand possibilities you could pursue is paralysis.
Step 2: Check Whether Your Subject Is Brighter Than the Background
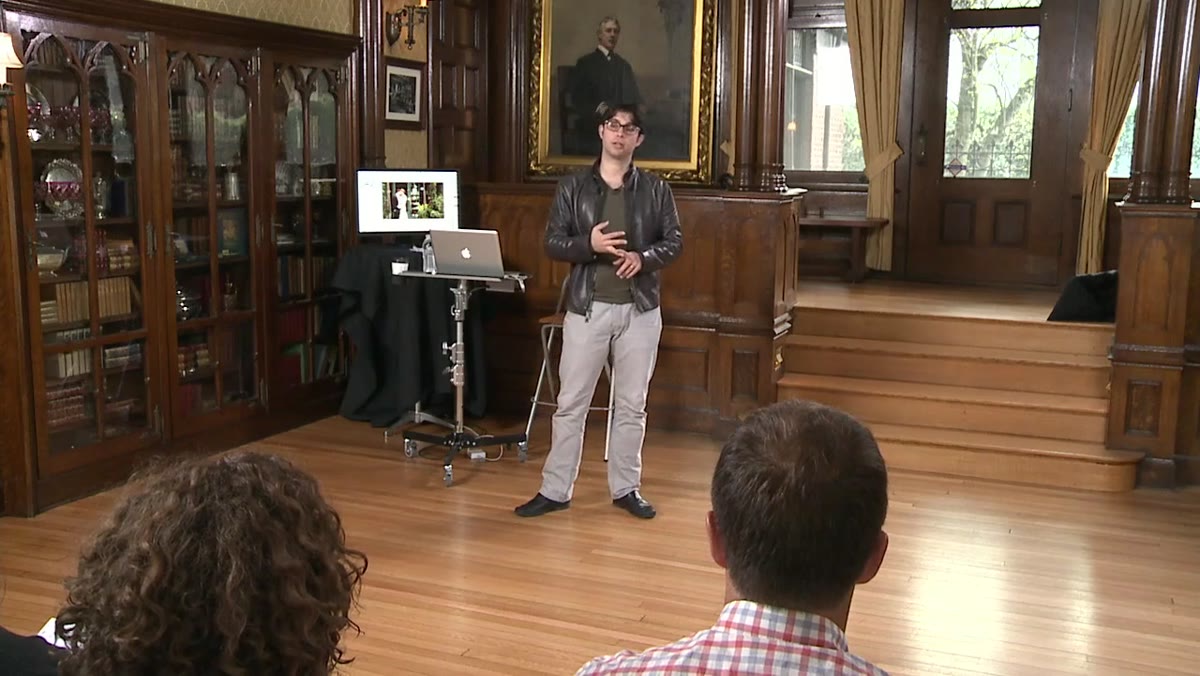 Instructor demonstrating face darker than background problem
This is the specific Light Five item that gets the most airtime in the recap, and for good reason: it’s one of the most common mistakes in portrait and travel photography. If your subject’s face is darker than the background behind them, you’ve visually given the background equal or greater importance than the person you’re photographing. The viewer’s eye goes to the brightest part of the frame. If that’s the wall, the sky, or the busy street behind your subject, you’ve lost the shot.
The fix doesn’t always require gear. Try repositioning your subject so they catch more available light, or move yourself so the background behind them is naturally darker or more shadowed. This is a composition and placement problem as much as a lighting problem.
Step 3: Use Subject Brightness as a Catch Light Check
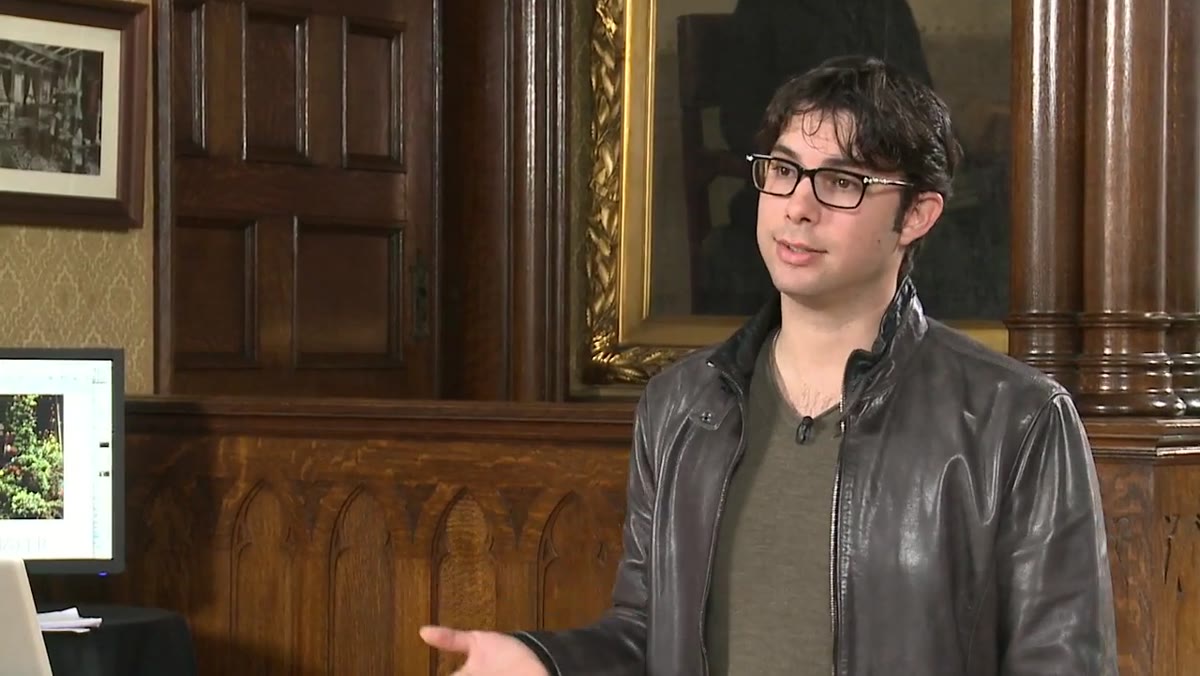 Instructor connecting subject brightness to catch lights in eyes
Here’s something I didn’t connect on my own for a long time: if your subject’s face is darker than the background, they almost certainly don’t have catch lights in their eyes either. Catch lights are those small reflections of a light source that appear in the iris and pupil. They make portraits feel alive. Without them, eyes look flat and dull, sometimes even slightly unsettling without the viewer knowing why.
These two problems travel together because they share the same root cause: the light isn’t hitting your subject’s face from a good angle or with enough intensity. Fix the brightness problem, and you usually fix the catch light problem at the same time. Check both before you shoot.
Step 4: Practice the No-Gear Version of the Fix
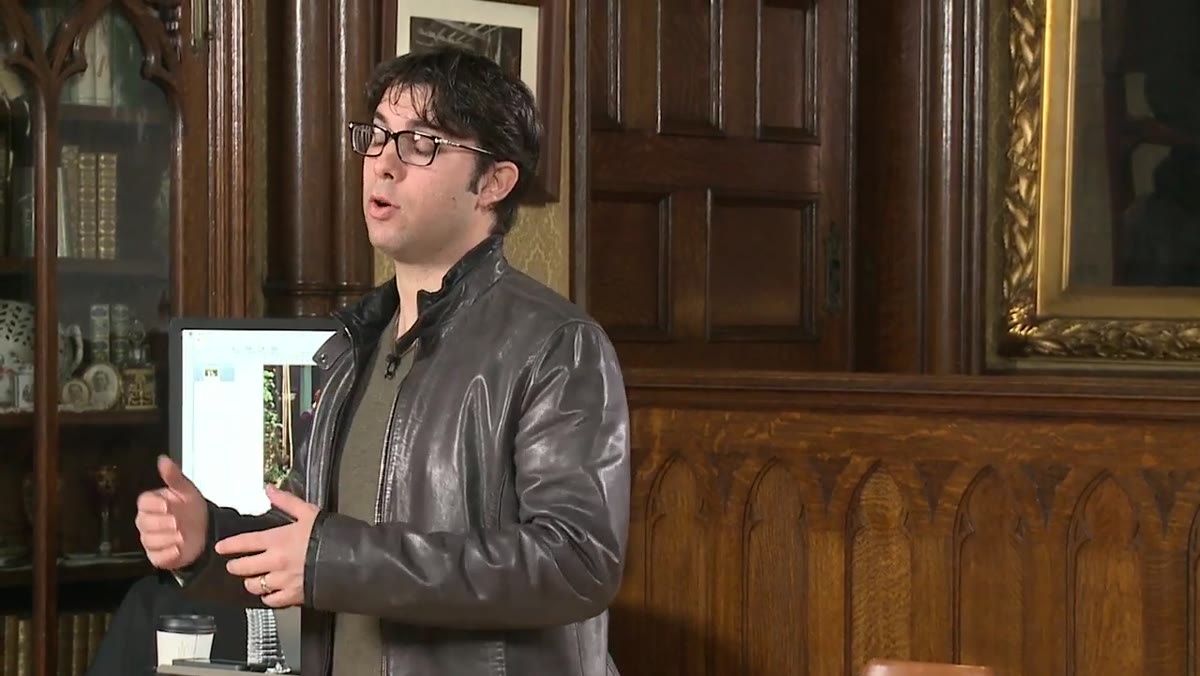 Instructor describing repositioning subject without reflector or flash
The tutorial makes a point I find genuinely useful: practice solving lighting problems with nothing in your hands. No reflector, no diffuser, no flash. Just your subject and whatever light exists in the environment. The goal is to position your subject so they’re noticeably brighter than the background using only where you place them and where you stand.
This kind of practice builds instinct. When you’re in a paid shoot with a client and something looks wrong, you need to be able to solve it quickly without freezing. If you’ve spent ten or twenty low-stakes sessions figuring out how to make your spouse brighter than the background in a park at noon, that muscle memory kicks in when it counts. Start small. Five minutes at the end of a walk, one problem, no tools.
Step 5: Use Environmental Reflectors When You Find Them
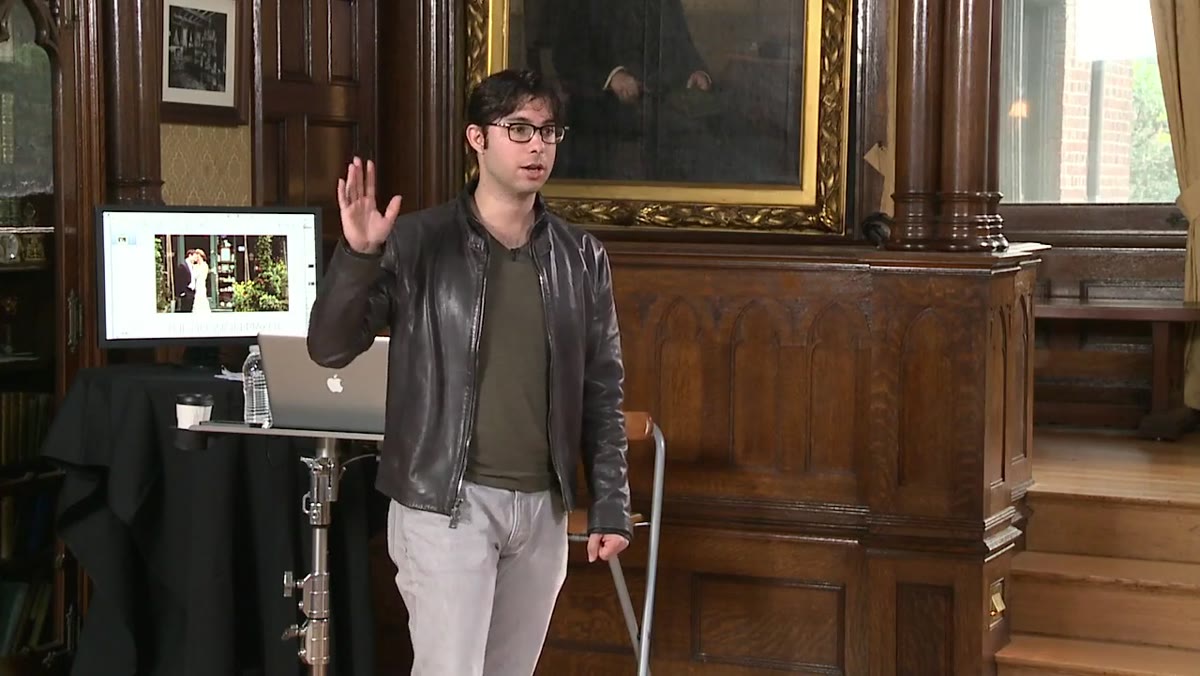 Instructor describing a FedEx truck as a natural reflector
One of my favorite moments in this tutorial is when the instructor talks about using a white delivery truck as a reflector. It sounds absurd until you think about it: a large white surface in direct sun is bouncing soft, diffused light in every direction. If you position your subject near it, you get a beautiful fill for free.
The broader lesson is to start reading your environment for accidental light sources. White walls, light-colored pavement, pale fabric awnings, the side of a building. None of these require you to carry extra gear. They require you to notice. That noticing skill is what separates photographers who make great images in difficult conditions from photographers who only shoot well in ideal conditions.
Step 6: Review Your Own Images With the Light Five in Mind
 Instructor recommending periodic image review practice
The tutorial closes its discussion with a habit recommendation: spend five minutes a few times a week looking back at your recent photos and asking whether any of the Light Five problems are present. If they are, work backward. What could you have done differently in that moment? Where could you have moved? What was the actual light source and why didn’t it work?
This kind of retrospective review is low pressure and high return. You’re not on location, you’re not rushing, and you’re building pattern recognition that shows up automatically on your next shoot.
My Own Extension: Make It a Single-Problem Walk
I’ve started doing a variation of this during my Sunday walks. I pick one problem from my mental list before I leave the house. Just one. Last week it was catch lights: every portrait-style shot I took, I checked for them before pressing the shutter. It made the walk slower, but I came home with better images and a clearer sense of what I’d learned.
You don’t need to run drills or block out practice hours. You just need one focused problem per outing. Over time, those single-problem sessions stack up into a genuinely comprehensive skill set.
The single most important takeaway here is that lighting mastery isn’t about knowing more. It’s about knowing what to eliminate first. Build your five-item checklist, run through it at the start of every shoot, and treat everything else as creative bonus. That’s a sustainable system, and it works.
Watch the full tutorial on YouTube to see the full Light Five explained in context, plus the live demos that make the concepts click.
Comments (1)
Just used this on a wedding shoot edit. Client was thrilled.
Leave a Comment