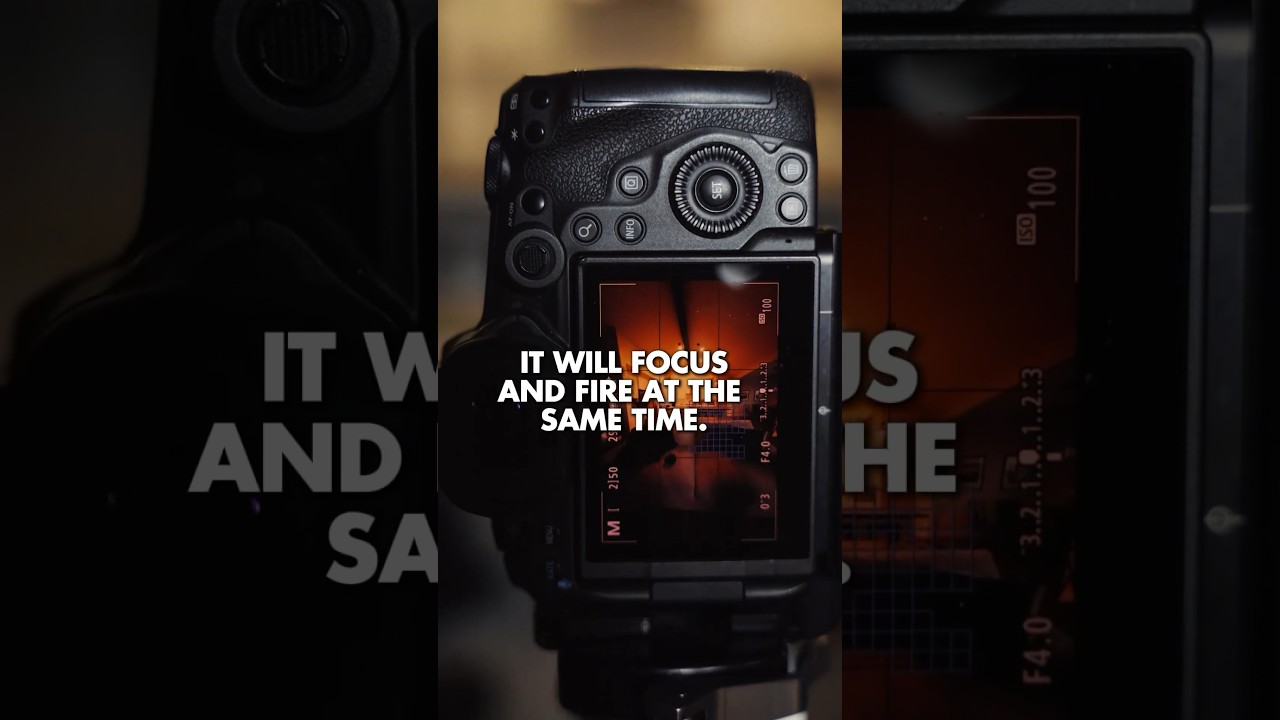
There’s a specific kind of frustration that hits when you get home from a shoot, pull up your images, and realize that technically everything went wrong. The shot is slightly blurry. The foreground is sharp but the background is mush. There are strangers walking through your otherwise perfect frame. I spent my first two years as a photographer chalking those problems up to bad luck. Turns out, they’re all fixable, and the fixes aren’t complicated.
In this Joel Grimes Photography tutorial (Watch the full tutorial on YouTube), Joel runs through three beginner tips that sound almost too simple when you first hear them. A timer. A touchscreen focus trick. A set of filters. But each one targets a real, recurring problem that beginners tend to attribute to their gear rather than their workflow. I’ve been using all three of these for years, and I still think about them as a checklist before I start any serious shoot.
Step 1: Set Your Camera to a 2-Second Self-Timer
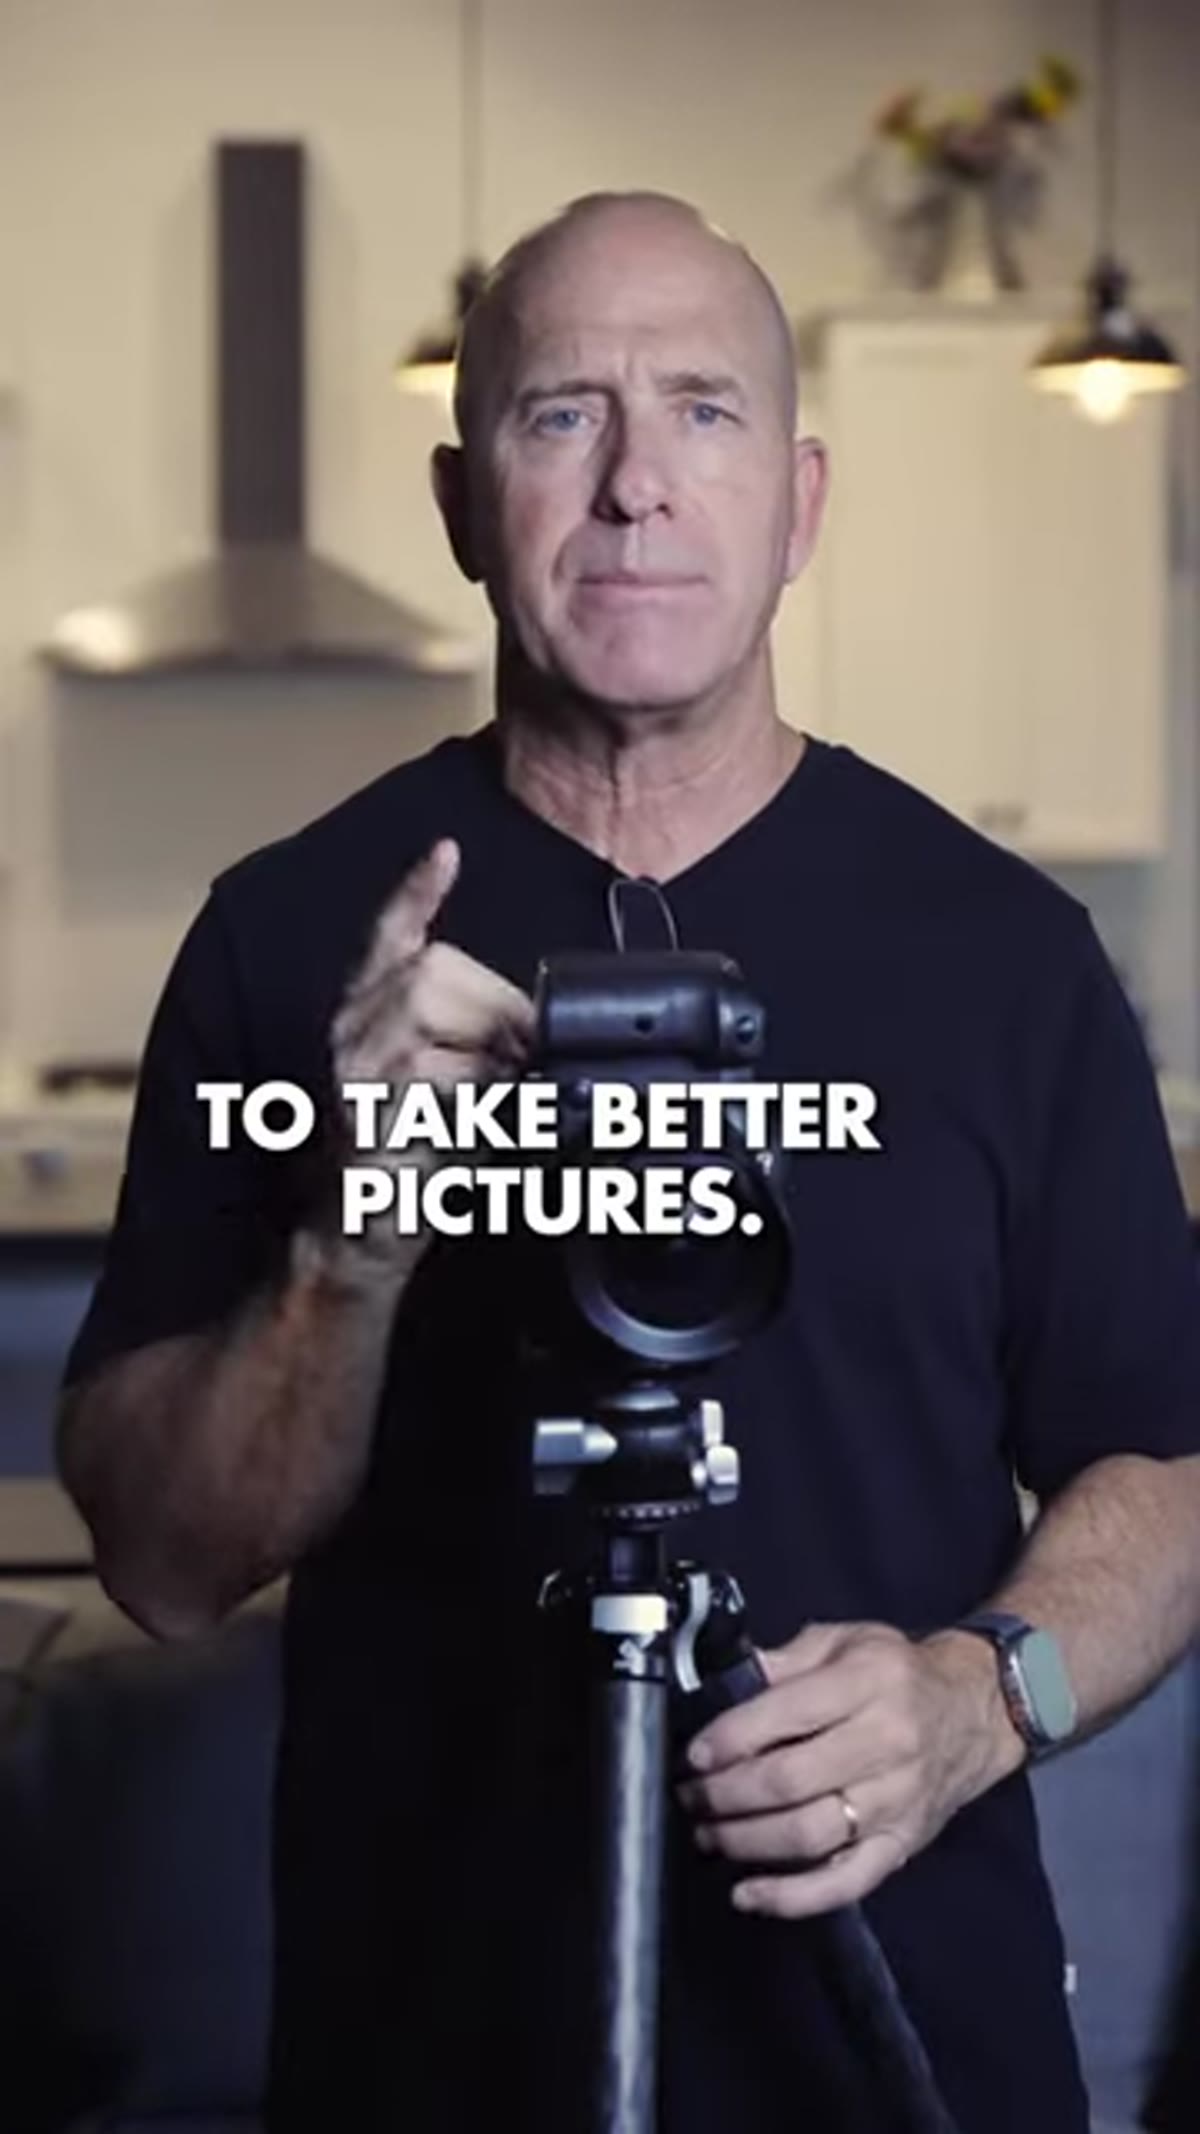 Camera timer setting being selected in menu
The moment your finger leaves the shutter button, your camera has already been disturbed. Even with the lightest touch, pressing a physical button introduces a tiny vibration, and at longer shutter speeds, that vibration shows up as blur. The fix is to stop firing the shutter directly. Set your camera’s self-timer to two seconds, so that by the time the shutter actually fires, the camera has had time to settle completely.
Camera timer setting being selected in menu
The moment your finger leaves the shutter button, your camera has already been disturbed. Even with the lightest touch, pressing a physical button introduces a tiny vibration, and at longer shutter speeds, that vibration shows up as blur. The fix is to stop firing the shutter directly. Set your camera’s self-timer to two seconds, so that by the time the shutter actually fires, the camera has had time to settle completely.
This is especially important if you’re shooting on a tripod, which is exactly when you’d think camera shake wouldn’t be an issue. The tripod stabilizes the camera against external movement, but it can’t do anything about the shake you introduced the moment you pressed the button. Two seconds is enough time for that micro-vibration to die out. It costs you nothing, adds almost no time to your workflow, and eliminates an entire category of softness that’s otherwise hard to diagnose.
Step 2: Use Your Touchscreen to Focus and Fire Simultaneously
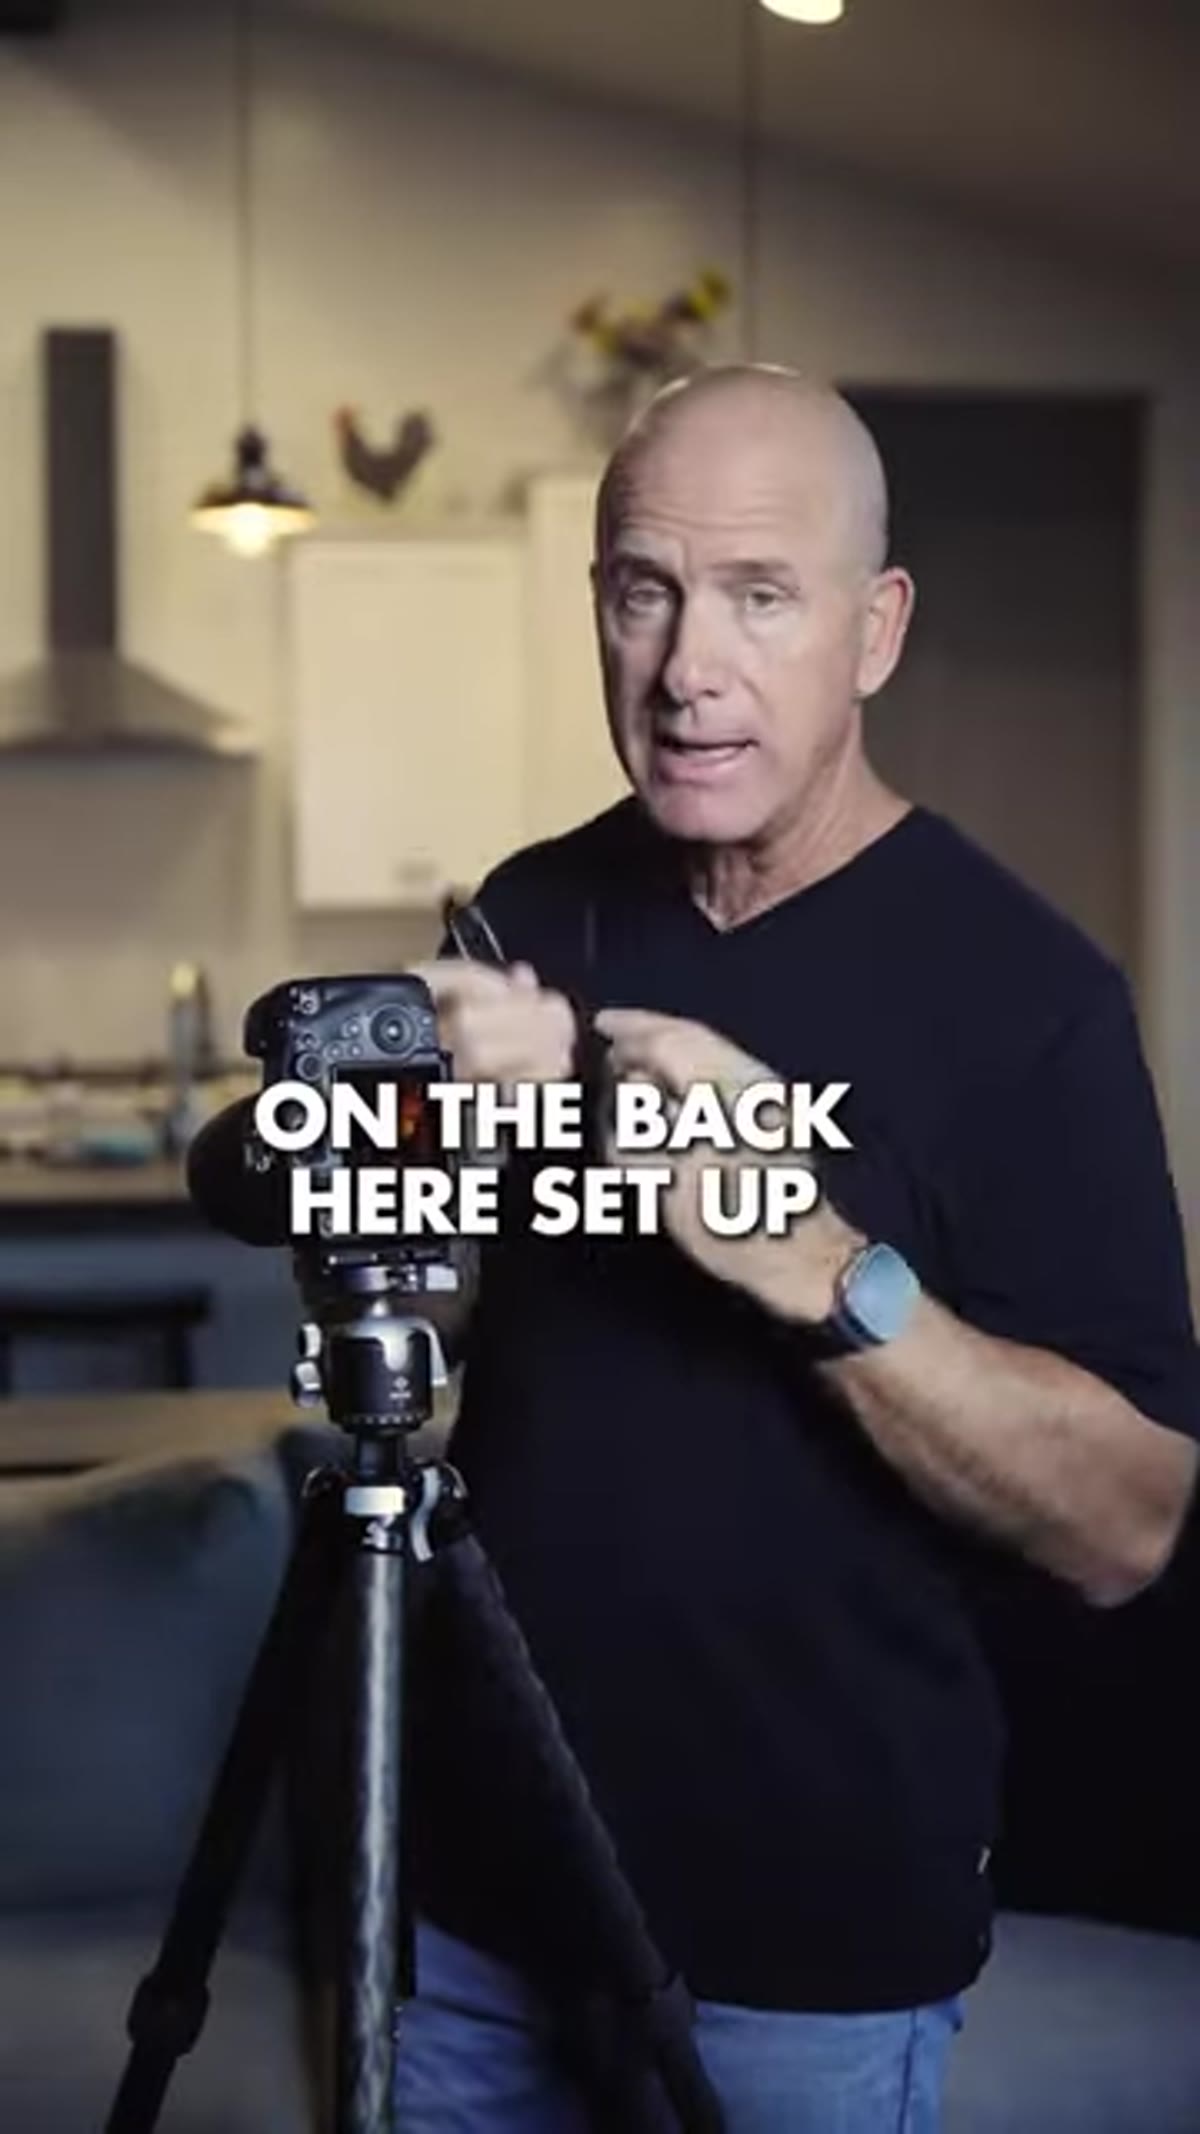 Touchscreen on camera back being tapped to focus and fire
Joel sets up his camera’s rear touchscreen so that tapping a point on the screen both focuses and fires the shutter in one gesture. The real power of this setup is what it makes possible next: focus stacking in the field, done quickly and with precision.
Touchscreen on camera back being tapped to focus and fire
Joel sets up his camera’s rear touchscreen so that tapping a point on the screen both focuses and fires the shutter in one gesture. The real power of this setup is what it makes possible next: focus stacking in the field, done quickly and with precision.
The idea is that you tap to focus and shoot the foreground, then tap a midground subject and shoot again, then tap the background and shoot a third frame. Each image is sharp at a different depth. Later in Photoshop, you blend those frames together using the Auto-Blend Layers feature, and the result is a single image with edge-to-edge sharpness that no single aperture setting could have produced on its own. This is a technique that landscape photographers and travel shooters rely on constantly, especially in scenes with strong foreground interest. Getting it right starts with being deliberate about where you tap on that screen.
Step 3: Carry ND Filters in Three Strengths
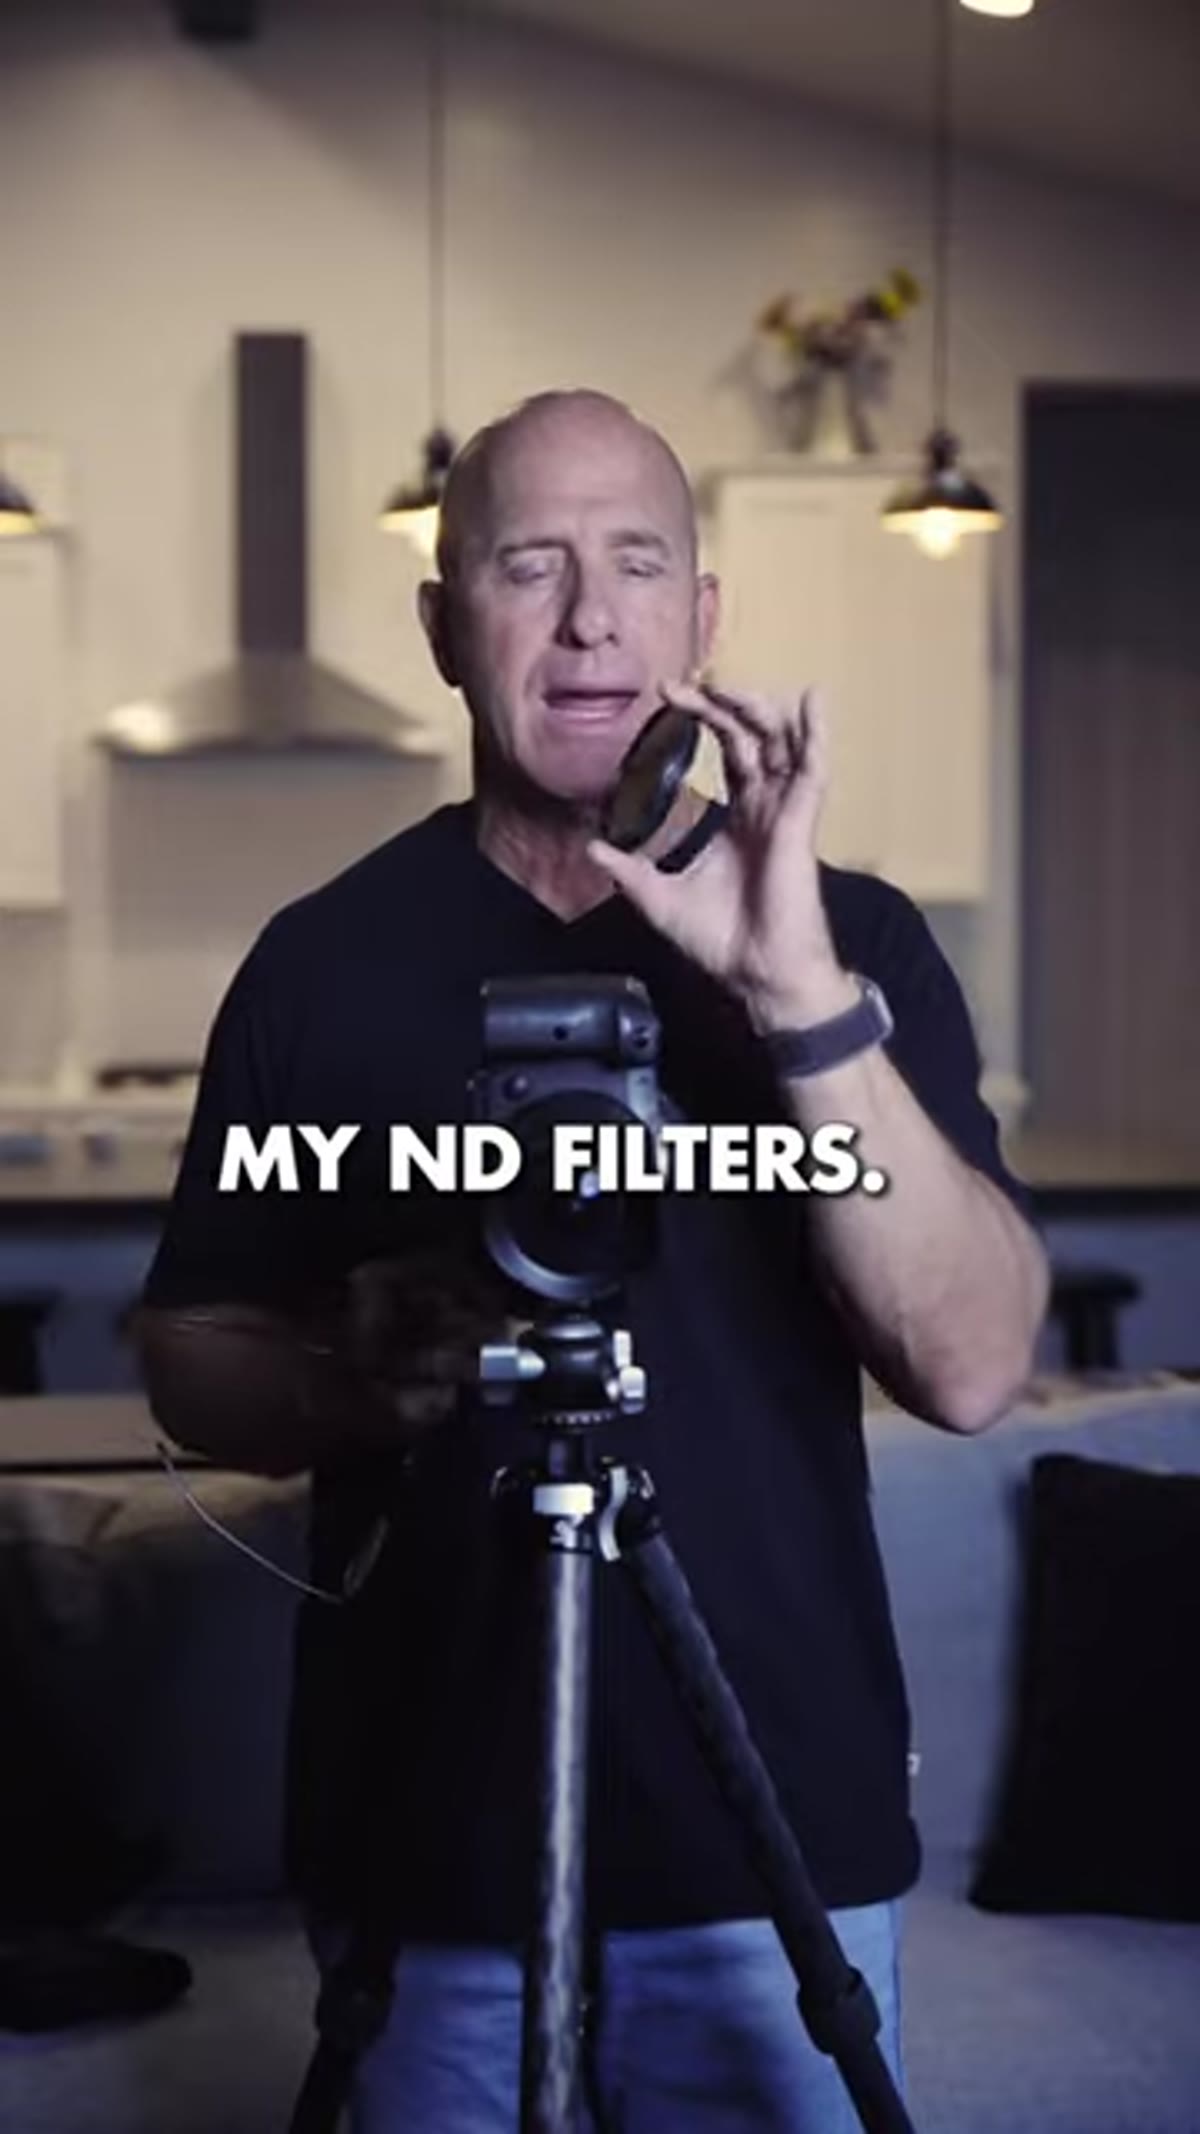 ND filters being referenced, 3-stop 6-stop 10-stop
Neutral density filters are essentially sunglasses for your lens. They reduce the amount of light entering the camera without affecting color, which means you can use a much slower shutter speed in broad daylight without overexposing the image. Joel keeps three strengths on hand: a 3-stop, a 6-stop, and a 10-stop. Each one multiplies your available exposure time by a different factor, giving you control over just how slow you want to go.
ND filters being referenced, 3-stop 6-stop 10-stop
Neutral density filters are essentially sunglasses for your lens. They reduce the amount of light entering the camera without affecting color, which means you can use a much slower shutter speed in broad daylight without overexposing the image. Joel keeps three strengths on hand: a 3-stop, a 6-stop, and a 10-stop. Each one multiplies your available exposure time by a different factor, giving you control over just how slow you want to go.
The application Joel highlights is one I’ve used on almost every travel shoot I’ve done: eliminating people from a busy scene with a long exposure. If you’re photographing a market square, a popular landmark, or a city street and you want a clean shot without strangers walking through it, a 10-stop ND filter can give you a five-minute exposure in daylight. People moving through the frame during that five minutes simply don’t register on the sensor. They’re not in your final image. It’s one of those techniques that looks like magic until you understand the physics behind it, and the filter itself is the only thing standing between you and that shot.
Step 4: Combine All Three for Demanding Scenes
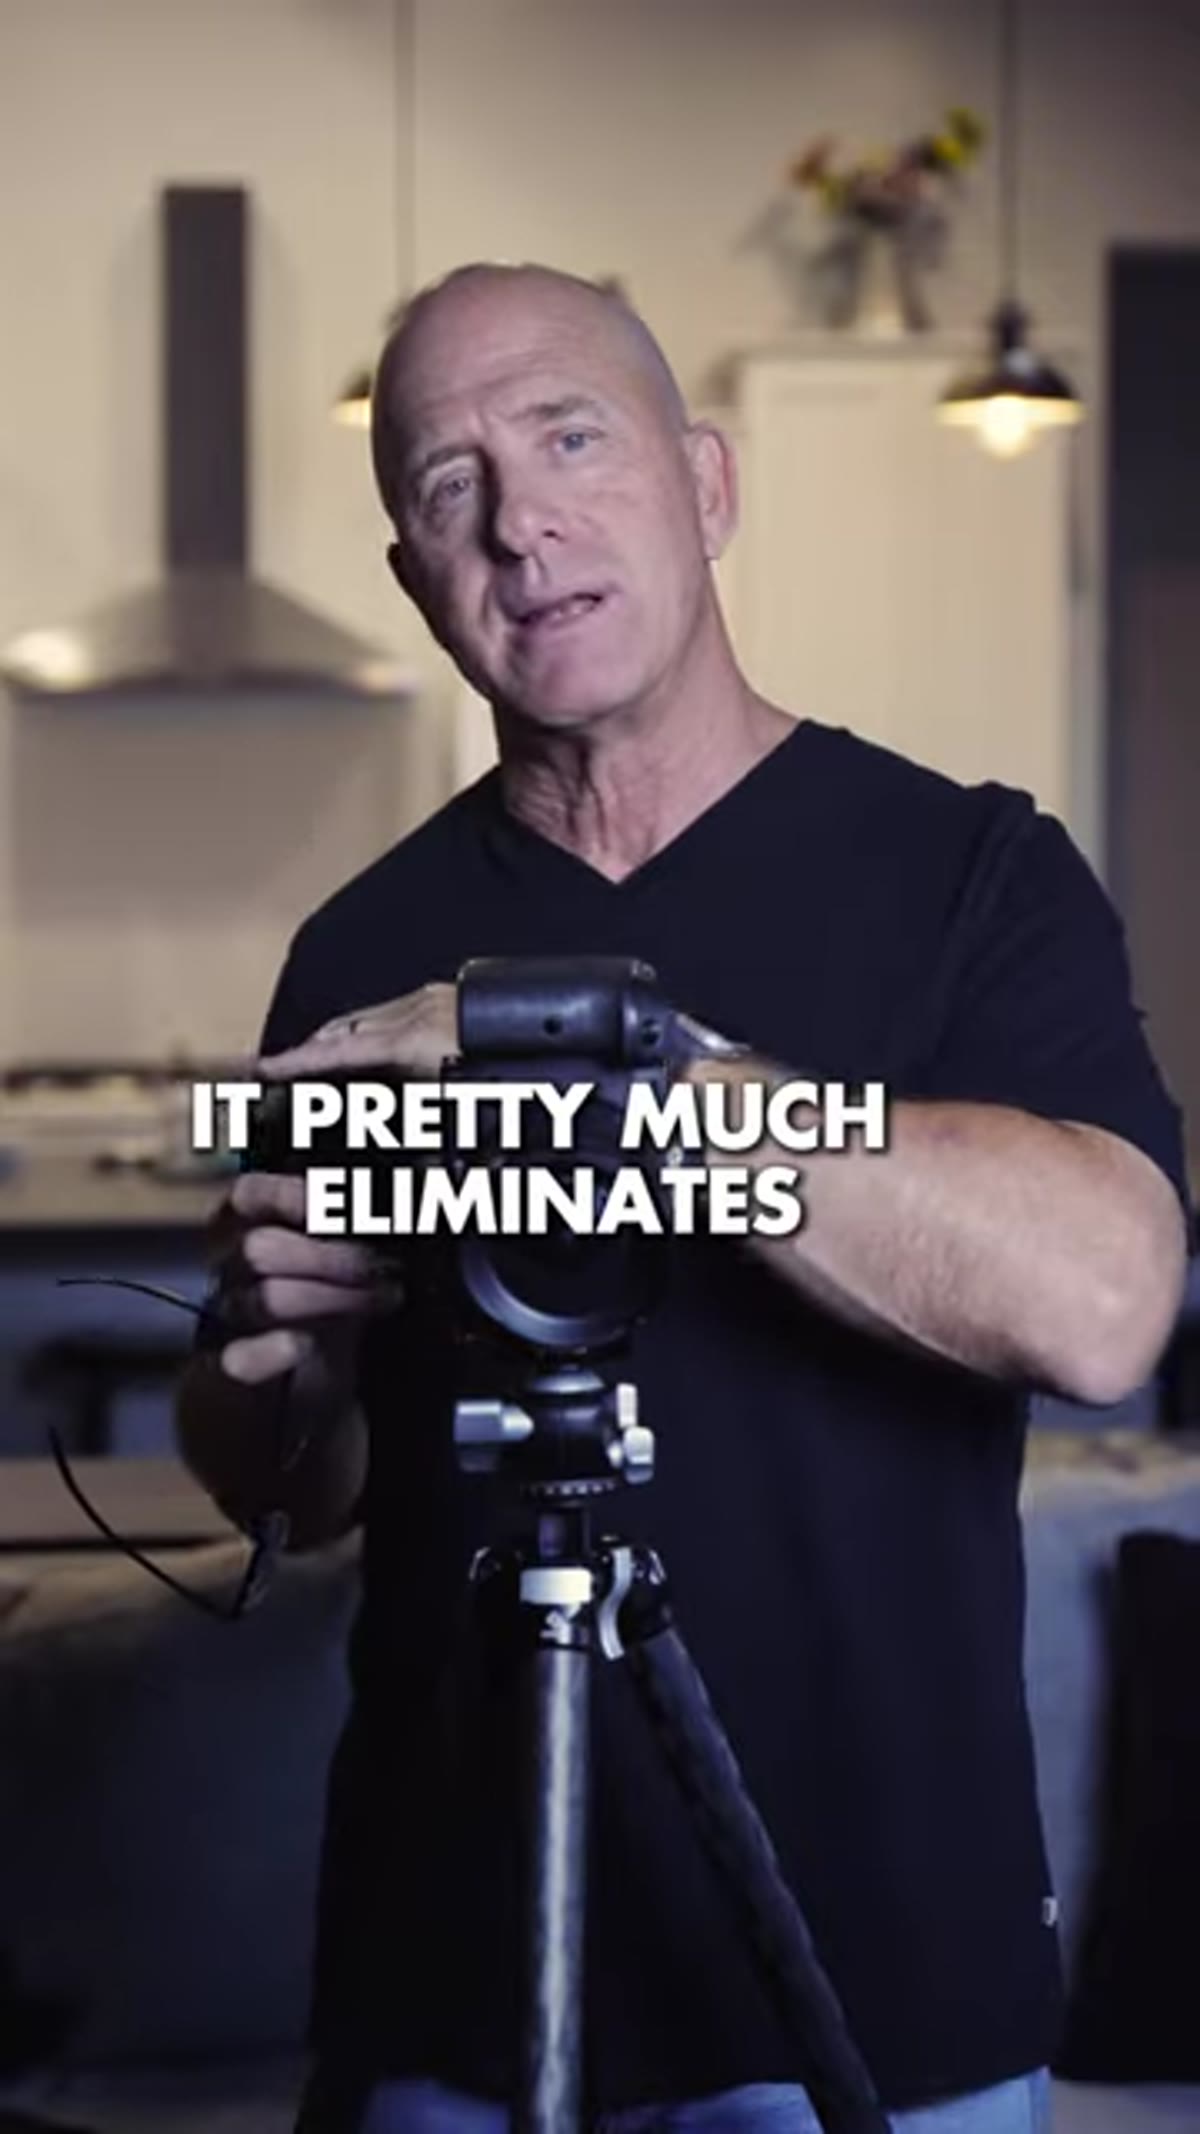 Empty scene result of long ND exposure implied in discussion
These three techniques aren’t meant to live in separate categories in your head. They work together, and the most demanding shots you’ll ever attempt will require all three running at once. Picture this: you’re shooting a waterfall or a crowded plaza on a bright afternoon. You mount your camera on a tripod, dial in your composition, and stack your ND filters to bring your exposure time up to several minutes. You set your timer to two seconds so the shutter fires without any physical contact from you. And before the long exposure starts, you take a quick focus-stacked series of the scene to make sure every depth plane is covered.
Empty scene result of long ND exposure implied in discussion
These three techniques aren’t meant to live in separate categories in your head. They work together, and the most demanding shots you’ll ever attempt will require all three running at once. Picture this: you’re shooting a waterfall or a crowded plaza on a bright afternoon. You mount your camera on a tripod, dial in your composition, and stack your ND filters to bring your exposure time up to several minutes. You set your timer to two seconds so the shutter fires without any physical contact from you. And before the long exposure starts, you take a quick focus-stacked series of the scene to make sure every depth plane is covered.
That combination gives you motion blur in the water or the crowd, zero camera shake, and full depth-of-field sharpness throughout the frame. Each individual technique is simple. Together, they’re the difference between a postcard and a snapshot.
A Note From My Own Experience: Test All of This Before You Need It
I learned the hard way that the worst moment to figure out your gear is when you’re standing in front of something beautiful. I once spent an entire week of a trip trying to nail one waterfall shot, adjusting on the fly every single evening, and missing dinner more nights than I’d like to admit. The techniques worked. But I wasted time troubleshooting things I could have sorted out in my backyard.
My advice is to run through all three of these at home before you take them somewhere that matters. Practice the focus stacking workflow end to end, including the Photoshop blend, so you know what to look for when you’re reviewing frames in the field. Test your ND filters in your neighborhood during your next Sunday photo walk. That way, when the light is perfect and the location is somewhere you’ll never be again, you’re executing, not experimenting.
The single most useful thing I took from this tutorial is also the simplest: the 2-second timer. It requires no extra gear, no Photoshop skills, no budget. It’s a setting change that takes about 10 seconds to make, and it will immediately improve the sharpness of every image you take on a tripod. Start there. Then add the touchscreen focus stacking. Then invest in one ND filter and build from there.
Watch the full tutorial on YouTube to see Joel demonstrate all three tips with his own camera.
Comments
Leave a Comment