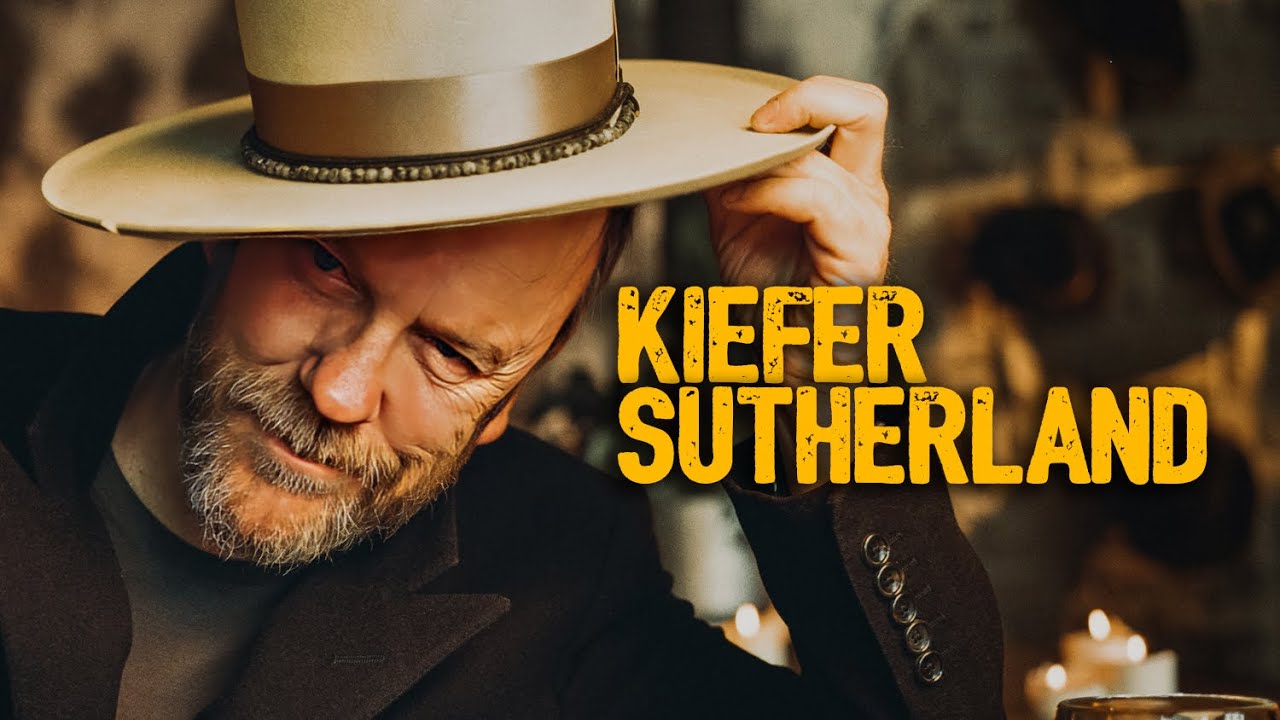
There’s a portrait I’ve been trying to nail for three years. It’s of my neighbor, an older fisherman named Gil who has the kind of face that seems carved out of Pacific Northwest weather. Every time I’d plan the shoot, I’d spiral: studio lights or window light? Digital or film? Wide or tight? I’d talk myself into paralysis before I ever picked up a camera. So when I stumbled onto a Peter McKinnon tutorial where he describes waiting twenty years to photograph one of his personal heroes, only to realize he’d never once thought through what he actually wanted the image to look like, I felt that specific embarrassment of being seen. Watch the full tutorial on YouTube
What makes this video worth breaking down isn’t the celebrity factor. It’s the honest, slightly chaotic process McKinnon walks through in the hours before the shoot: talking himself down from over-engineering the lighting, deciding between digital and film, testing gear he’s never used before, and landing on something elegantly simple. The decisions he makes, and the ones he walks back, are the whole lesson.
Step 1: Admit What You Actually Don’t Know
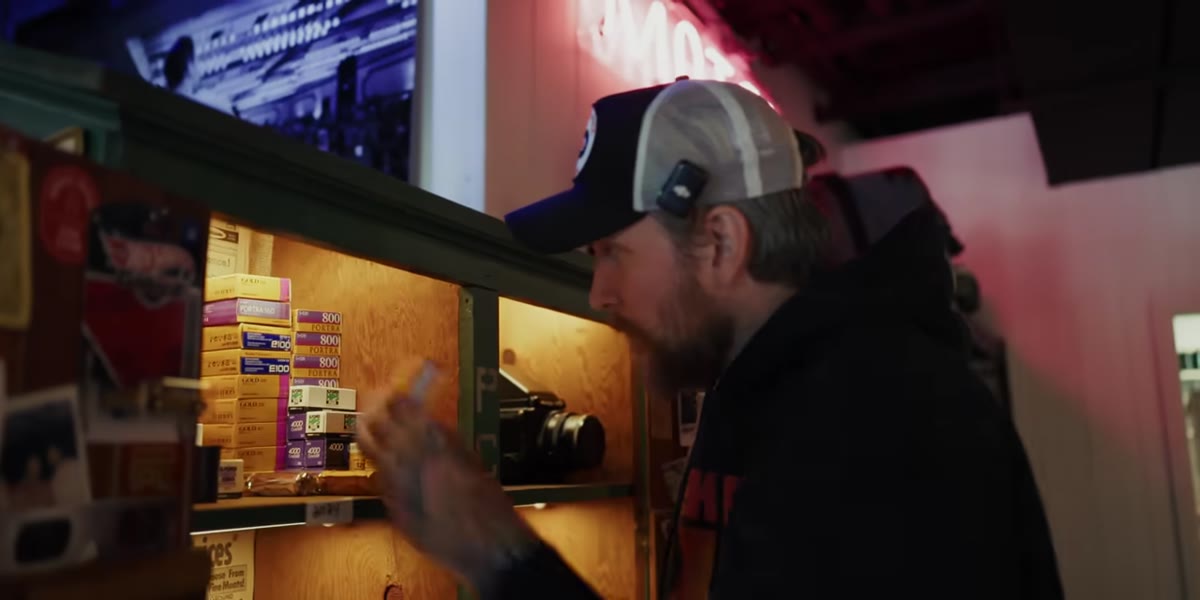 Peter realizing he never visualized the final portrait
McKinnon admits early on that despite thinking about this portrait for two decades, he has no concrete vision for what it should look like. He doesn’t know if it should be digital or film. He doesn’t know the framing. He just knows he wants to take it.
This is the most useful place to start: a genuine inventory of what’s unresolved. Before your next portrait session, write down three things you’re unsure about. Not to answer them immediately, but to stop pretending they’re already decided. Ambiguity you name is ambiguity you can actually work with.
Step 2: Call Your Thinking Partner Before You Touch Your Gear
 Peter on the phone getting advice from Matt Barnes
McKinnon calls his friend and collaborator Matt Barnes and asks a direct question: “What do you want it to look like?” Barnes doesn’t give him a lighting diagram. He asks McKinnon what he’s actually going for, which forces the real conversation.
If you don’t have a Matt Barnes, that’s okay. The move is to find someone who will ask you questions instead of just validating your existing plan. For me, that’s sometimes my husband (who has zero photography training but asks annoyingly good “why” questions), and sometimes it’s just writing out my plan in a notes app and reading it back cold. Externalize the thinking. Your gear bag can wait five minutes.
Step 3: Make the Film-or-Digital Call Early, Then Commit Your Lighting to It
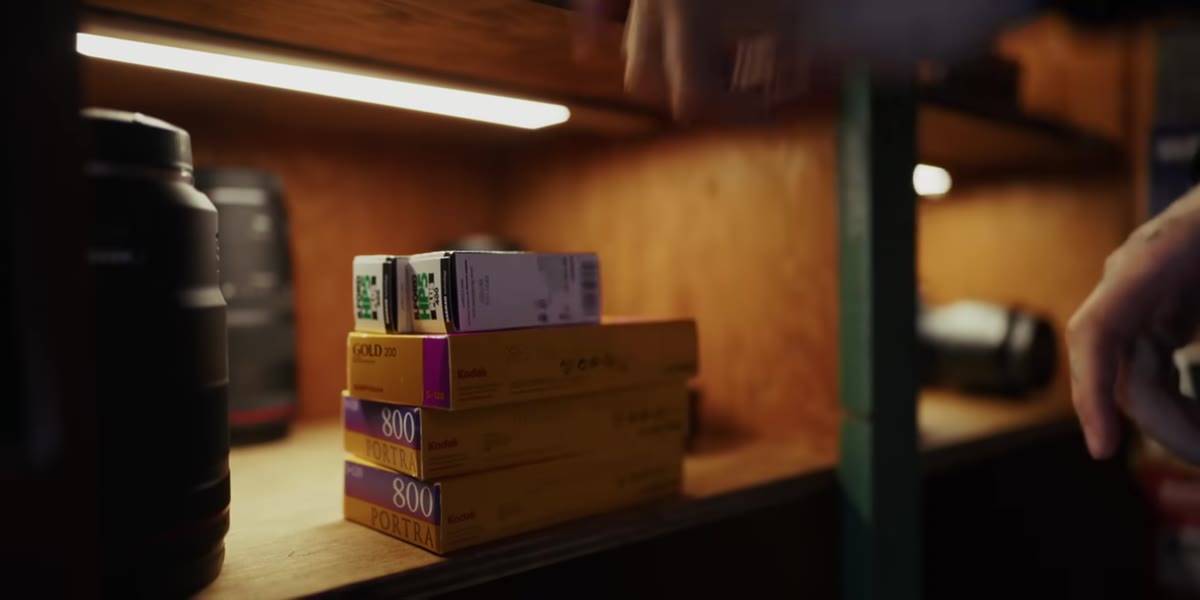
 Peter deciding to shoot on film for the portrait session
Once McKinnon lands on film, specifically medium format, the downstream decisions start to simplify. Film changes your exposure latitude, your color response, and your ISO options in ways that directly affect how you light. If you’re shooting color negative film like Kodak Portra 400, you have more shadow forgiveness than digital but less highlight recovery. That shapes how aggressive you can be with window light.
McKinnon’s choice here also narrows his equipment list. He’s not setting up two strobes and a flag system. He’s looking at the available light and deciding whether it’s enough. Make your format decision first. Everything else, lens choice, light modifiers, shooting position, should serve that decision rather than compete with it.
Step 4: Test New Gear Before the Real Session, Not During It
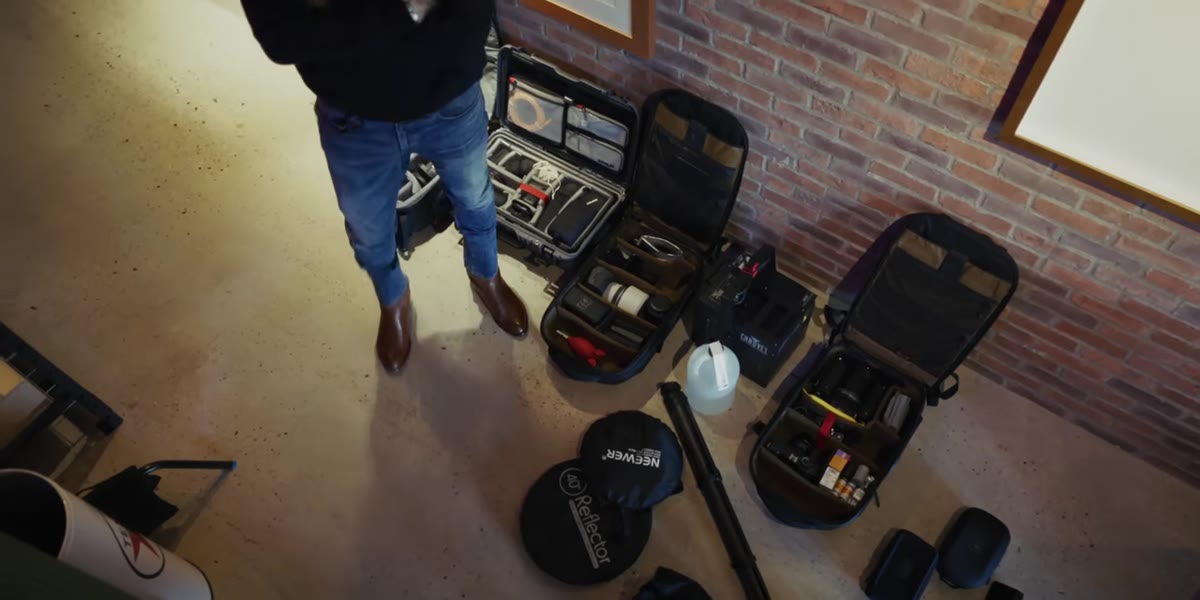
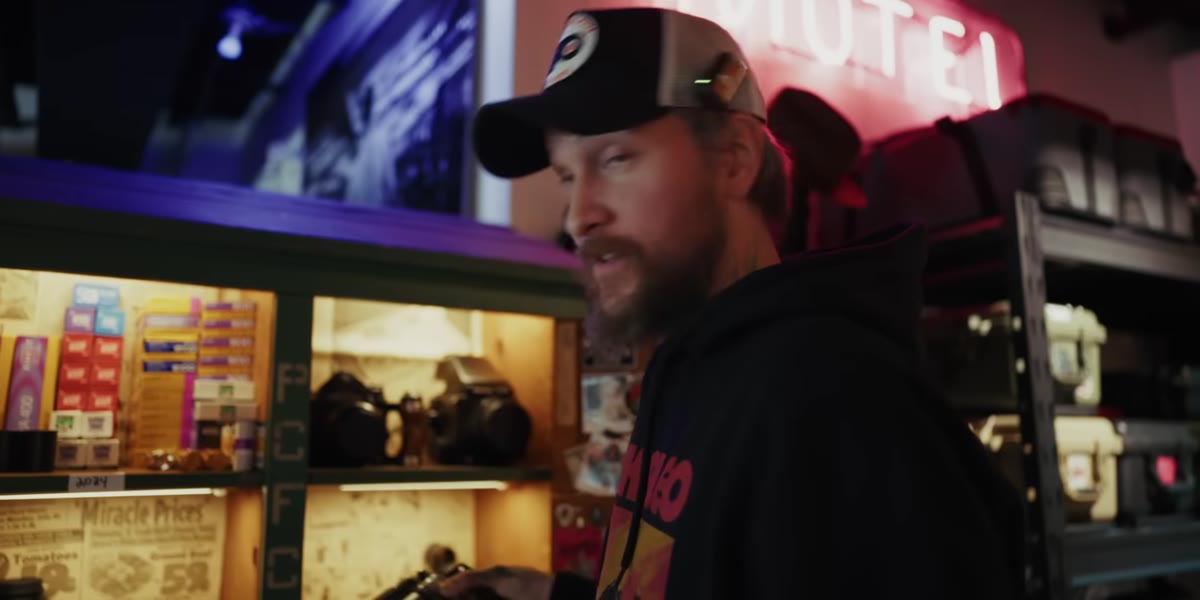 Peter showing the medium format wide lens camera he’s never used
McKinnon has a medium format wide camera he’s never used before. His solution is smart and practical: shoot a test portrait on a stand-in subject that same day, take the film to a lab for same-day processing, review the results, and then decide whether the camera is the right tool for the actual shoot.
This is a step most people skip because it feels like extra work. It is extra work. It is also the step that keeps you from discovering a focusing issue or an exposure problem during the 45-minute window you have with your actual subject. If you’re introducing new gear into an important session, build in a test run. Even a quick roll through a lab, or a test card on digital, is better than a gap in your contact sheet you can’t explain.
Step 5: Simplify the Setup When Stakes Are High
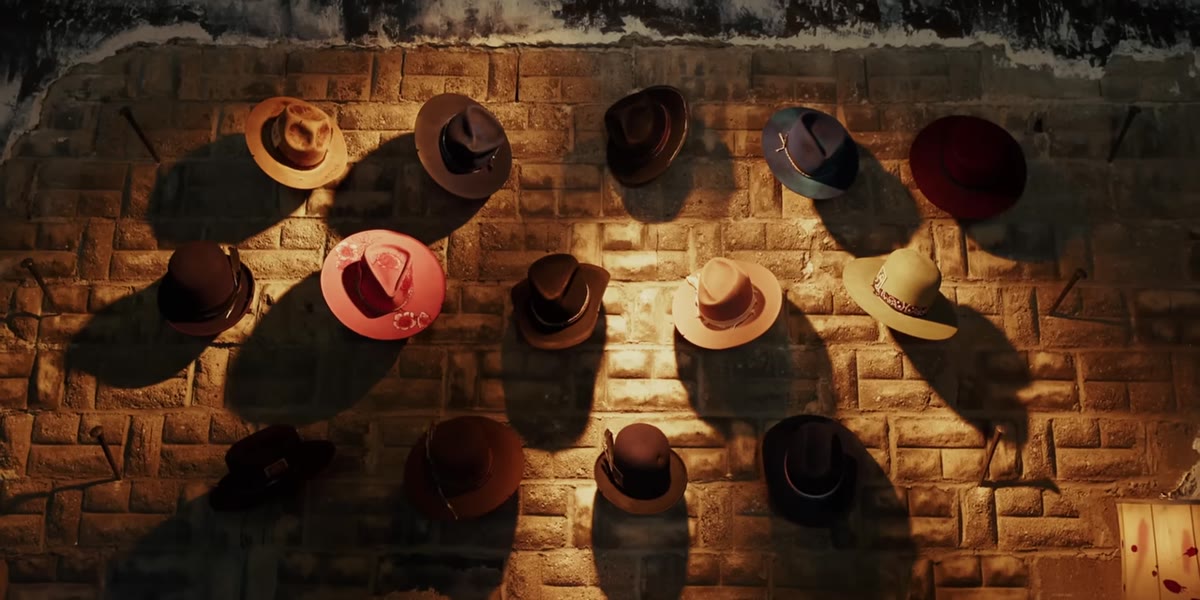 Peter deciding against complex strobes and choosing window light instead
Here’s the counterintuitive move McKinnon makes: the more important the shoot, the simpler he goes with the lighting. Barnes talks him out of the dual-strobe setup and suggests sitting the subject near a window. McKinnon agrees.
There’s real logic here. Complex setups take longer to adjust, have more failure points, and eat into the time your subject is relaxed and present. Window light, especially diffused north-facing or overcast light, is consistent, flattering, and fast to work with. Place your subject two to four feet from the window, with their face angled slightly toward the light source. Use a reflector or a white foam board on the shadow side if you want to open up the contrast. That’s the whole setup. The image lives or dies by your subject’s expression, not your gear count.
Step 6: Use the Karsh Principle - Capture the Unexpected Moment
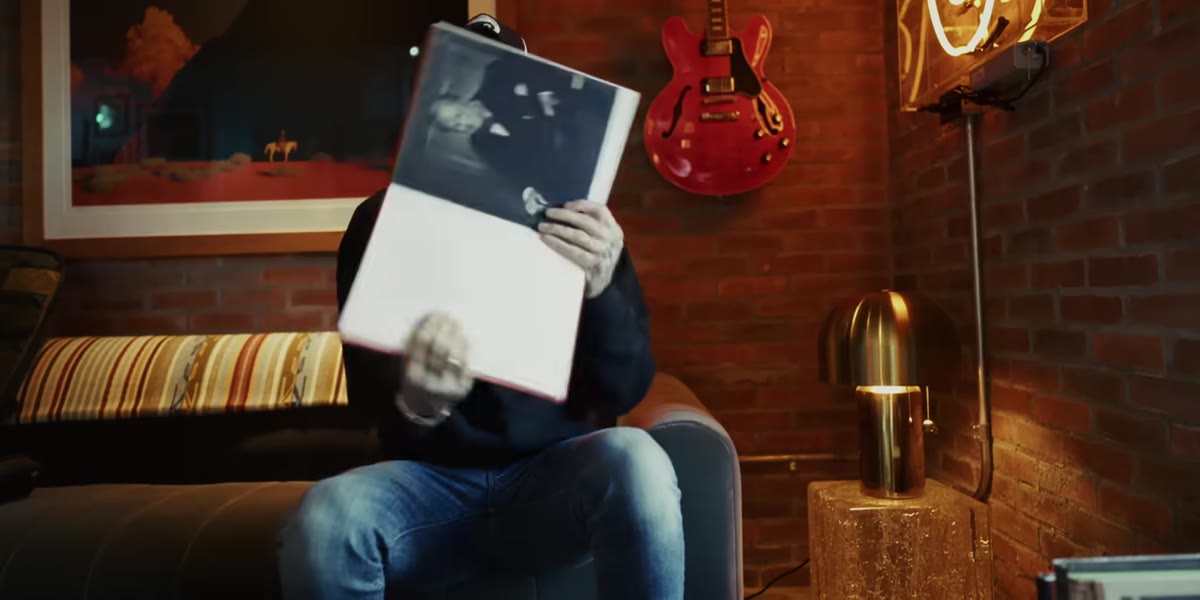 Peter describing Yousuf Karsh’s famous Churchill portrait technique
McKinnon references the story of photographer Yousuf Karsh, who photographed Winston Churchill with almost no time and no prepared setup. The famous image came from an unexpected moment of reaction, not from careful posing. McKinnon uses this as a blueprint: rather than staging a formal portrait scenario, he plans to have his subject walk in naturally, try on a hat, and let the camera catch what happens.
The practical application is this: set your exposure before your subject arrives, know your focus point, and then stop directing and start watching. The transition moments, putting on a jacket, reacting to something said, breaking from a pose, are often where the real portrait is hiding. Keep your shutter hand ready during those in-between seconds.
What I Do Differently With This Approach
I’ve started applying McKinnon’s simplification instinct to my Sunday morning photo walks in Seattle. I used to pack three lenses and spend the first twenty minutes switching between them. Now I leave with one lens decided the night before, and I let that constraint build the edit instead of fighting it. It removes the “what if I’d used the other one” noise that used to follow me home.
The other thing I’d add: McKinnon’s nervous energy in this video is part of the technique. He’s not suppressing it, he’s using it. That nervousness sharpens his attention in a way that calm indifference doesn’t. If a session feels high-stakes to you, that’s information. Work with it rather than waiting for it to go away.
The single biggest takeaway from this tutorial is one that sounds almost too simple: know your format before you touch your lights, and let your lights follow from that decision rather than the other way around. Twenty years of anticipation didn’t give McKinnon a finished image in his head. One direct conversation and a commitment to film did. Sometimes the clearest creative decisions are the ones you make out loud.
Watch the full tutorial on YouTube to see how the session unfolds and what McKinnon actually pulls from that day.
Comments (3)
Applied this to my portfolio shots and the improvement is noticeable.
Bookmarked. Coming back to this one for sure.
Love how you break down complex stuff into manageable steps.
Leave a Comment