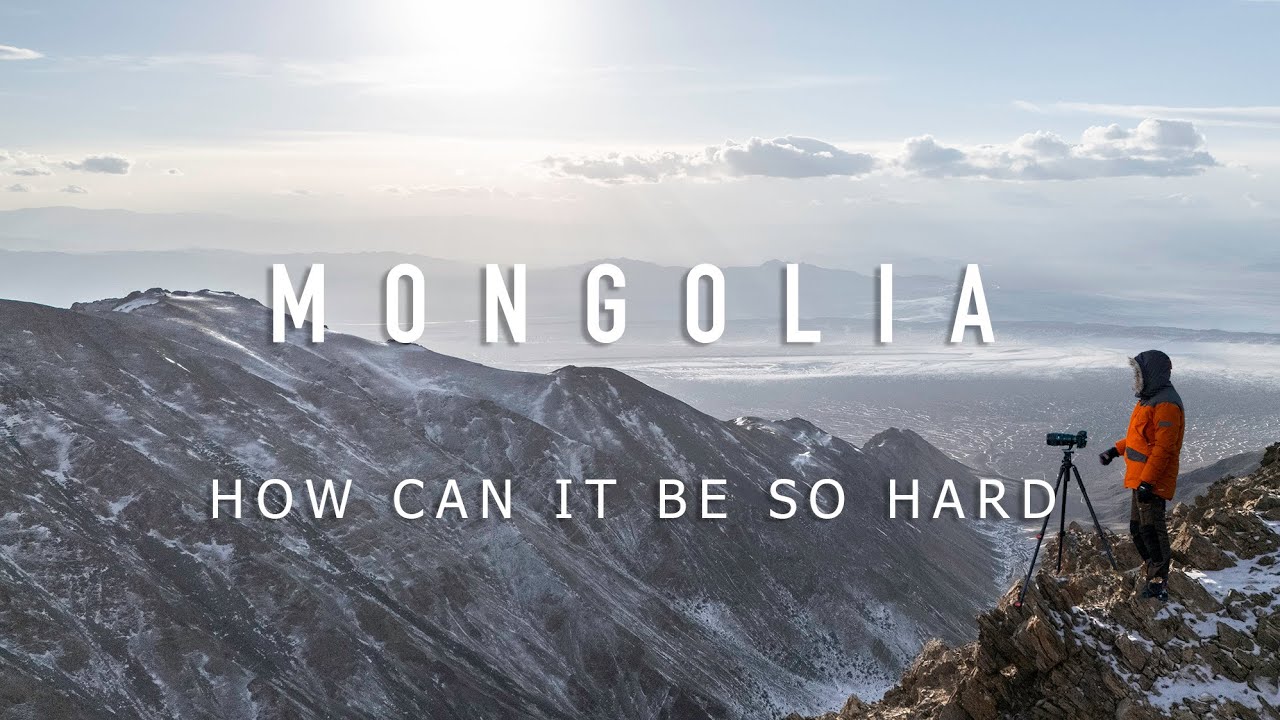
There’s a particular kind of frustration I know well: you show up to a location with one shot in mind, and the conditions refuse to cooperate. I’ve done it with waterfalls, with golden hour hillsides, with foggy mornings that cleared too fast. The temptation is to pack up and wait for better circumstances. What Thomas Heaton’s Mongolia tutorial showed me is that the photographers who come home with great work are the ones who pivot instead of pout. Watch the full tutorial on YouTube
In this Thomas Heaton tutorial, the original plan was snow leopard photography in the mountains. What actually happened was a dust storm, brutal wind, and no leopard sightings. What Heaton brought home anyway was a compelling collection of camel portraits, sweeping landscape textures, and atmospheric weather shots. That gap between plan and reality is exactly where good photography education lives. If you’ve ever felt stuck on location, this breakdown will give you a practical framework for working through it.
The lessons here apply whether you’re shooting in Mongolia or on a Sunday morning walk through your own neighborhood. The gear changes. The light changes. The principles don’t.
Step 1: Drop Your Assumptions Before You Drop Your Bag
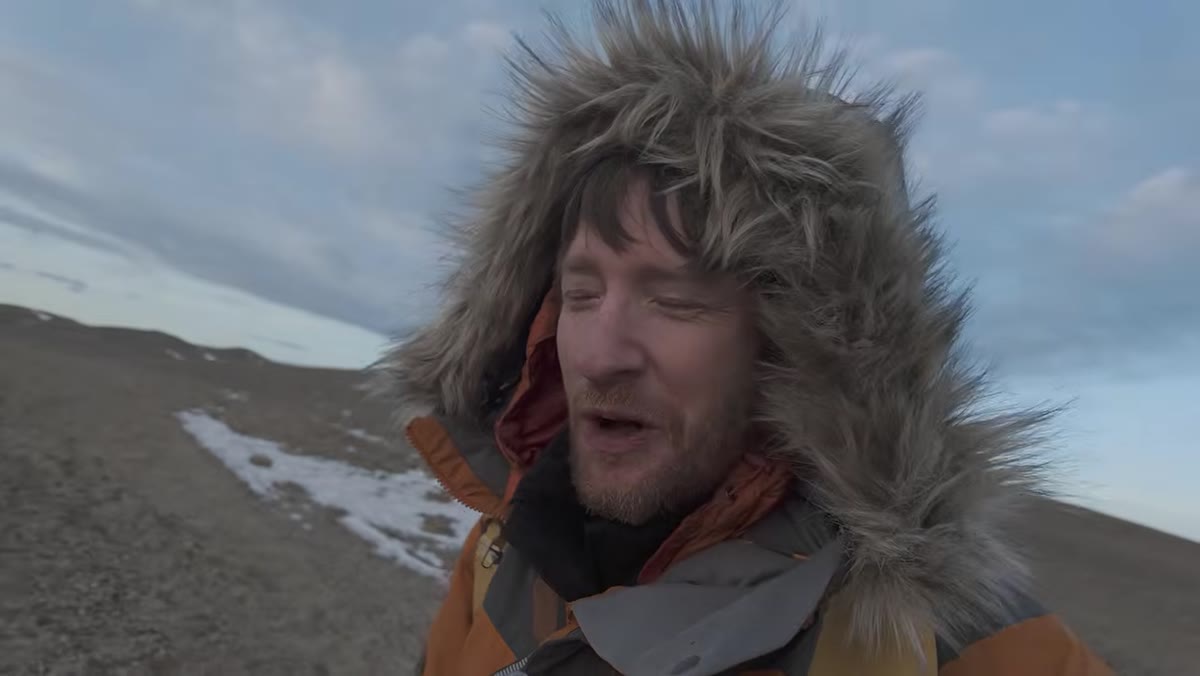
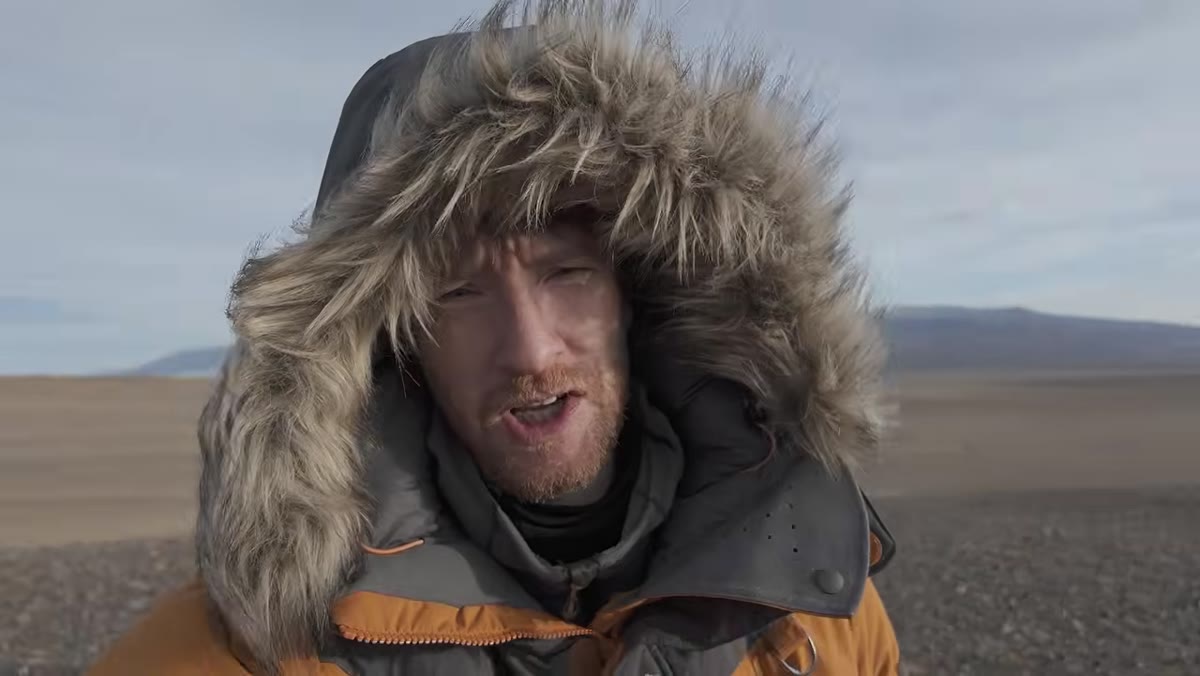
 Heaton admitting reluctance about photographing camels
Heaton admits early on that he wasn’t excited about photographing camels. Snow leopards were the goal, and camels felt like a consolation prize. But he went anyway, and the moment he reached the valley and saw the light hitting those animals, his perspective flipped completely.
This is worth practicing as a deliberate habit. Before you write off a subject or scene as “not what you came for,” give it ten minutes and an open aperture. Some of my most-liked work came from subjects I nearly skipped. The assignment you planned and the photograph worth making are not always the same thing.
Step 2: Use Backlit Subjects to Add Drama to Animal Portraits
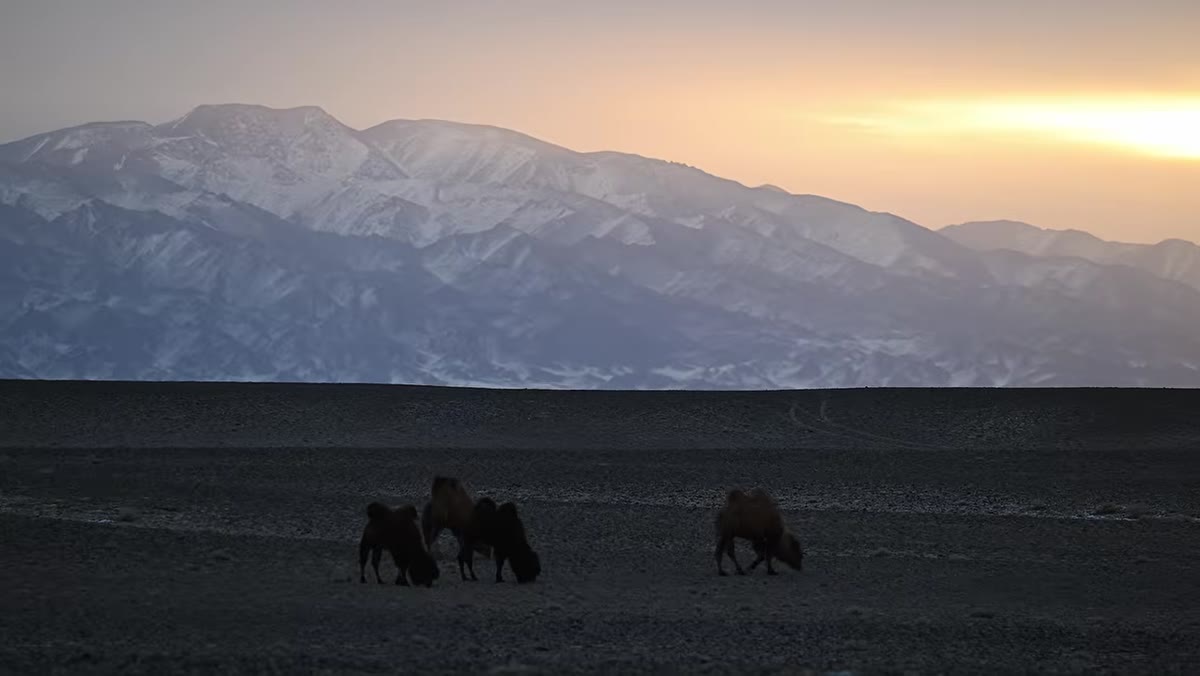
 Camels silhouetted against bright backlit sunrise sky
Heaton positioned himself so the rising sun was behind the camels, creating a rim-light effect that separated the animals from the background and gave the shots an almost painterly glow. Backlit animal photography is underused because it feels counterintuitive - most beginners learn to put the sun at their back. But rim lighting rewards you with texture along fur or hair, and it separates your subject from busy backgrounds without needing a wide aperture.
To pull this off, expose for the highlights first, then decide how much shadow detail you want to recover in post. Shoot in RAW. Set your exposure compensation to roughly -1 to -1.5 stops to protect that bright background, and let the subject go a little darker than you think you want. You’ll be surprised how much shadow information is recoverable, and the resulting contrast looks far more dynamic than a flat, front-lit frame.
Step 3: Get Ahead of Moving Subjects and Let Them Walk Into Your Frame
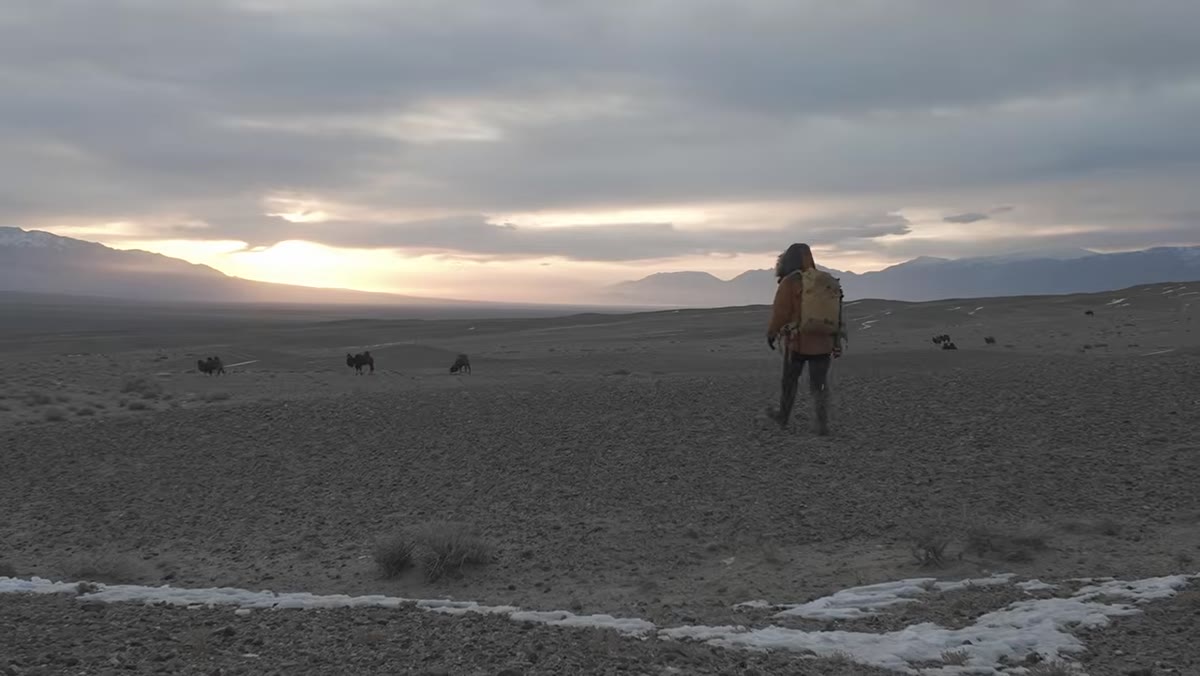 Heaton positioning ahead of camel herd to pre-compose shot
Because the camels were semi-domesticated and moving in a consistent direction, Heaton used a simple but effective technique: he ran ahead of the herd, chose his composition, and waited for one animal to move into the right position within the frame. He wasn’t chasing the shot. He was setting a trap for it.
This works for any predictably moving subject - livestock, street performers, birds walking along a shoreline. Pick your background first, nail your focus point, and let the subject come to you. It removes the frantic energy of chasing and gives you cleaner compositions because you’ve already solved the frame before the subject arrives. Use continuous autofocus with a single point or small zone so you’re tracking accurately without the camera hunting across the whole scene.
Step 4: Read Texture and Pattern as Compositional Elements
 Wide shot of patterned, colorful hillsides with no subject
One of the most useful things Heaton does in this tutorial is stop and photograph landscapes that have no obvious subject - no animal, no person, no leading line. What they do have is texture, color, and pattern across rolling hills. He treats the land itself as the composition.
When you’re in a visually rich environment, train your eye to notice repeating shapes and tonal contrast before you look for a focal point. Ask yourself: does this frame hold up if I remove the subject? If the answer is yes, you’ve found something. If the answer is no, you need either a stronger subject or a tighter crop that emphasizes the texture itself.
Step 5: Use a Polarizing Filter for Richer Landscape Color and Contrast
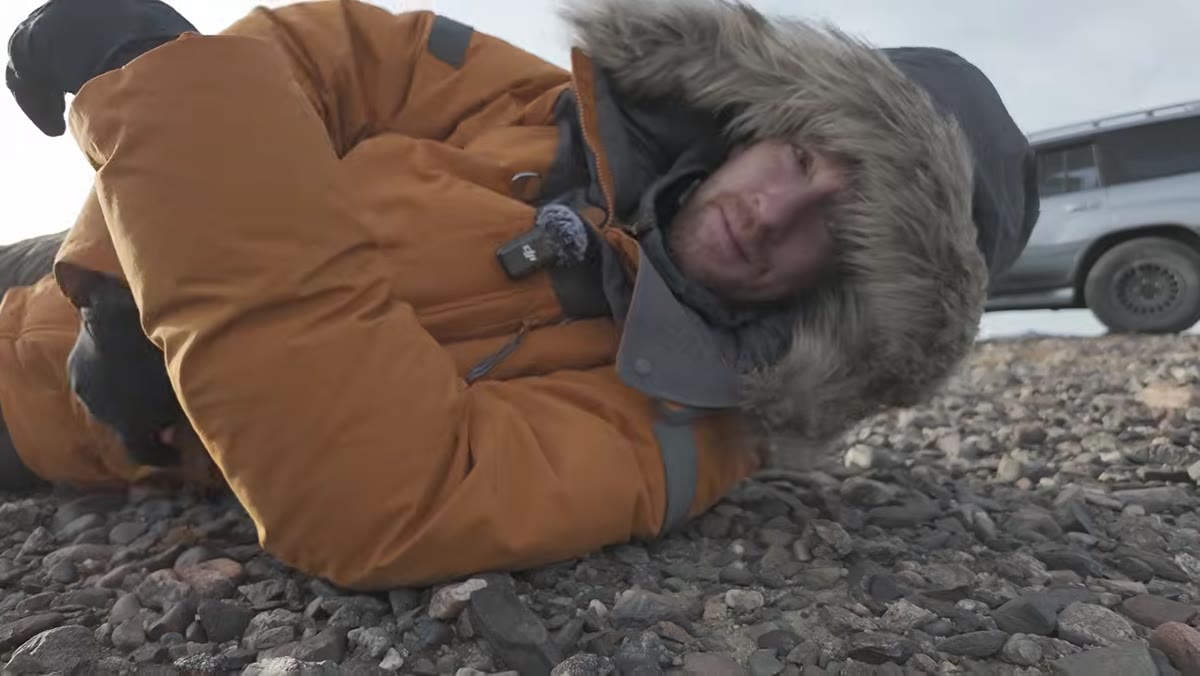 Heaton attaching polarizer to lens in windy conditions
Shooting the textured hillsides, Heaton reached for a circular polarizing filter to deepen the color saturation and improve clarity across the landscape. A polarizer cuts reflected light from non-metallic surfaces, which means greens get greener, earth tones get richer, and the sky gets darker and more defined without touching a slider in Lightroom.
Rotate the filter slowly while looking through the viewfinder until you see the colors shift - there’s a sweet spot roughly 90 degrees from the sun where the effect is strongest. Keep in mind you’ll lose one to two stops of light, so adjust your shutter speed or ISO accordingly. In windy conditions like Heaton was dealing with, bump your shutter speed up slightly anyway to prevent camera shake, especially on a longer focal length.
Step 6: Work the Weather Instead of Waiting It Out
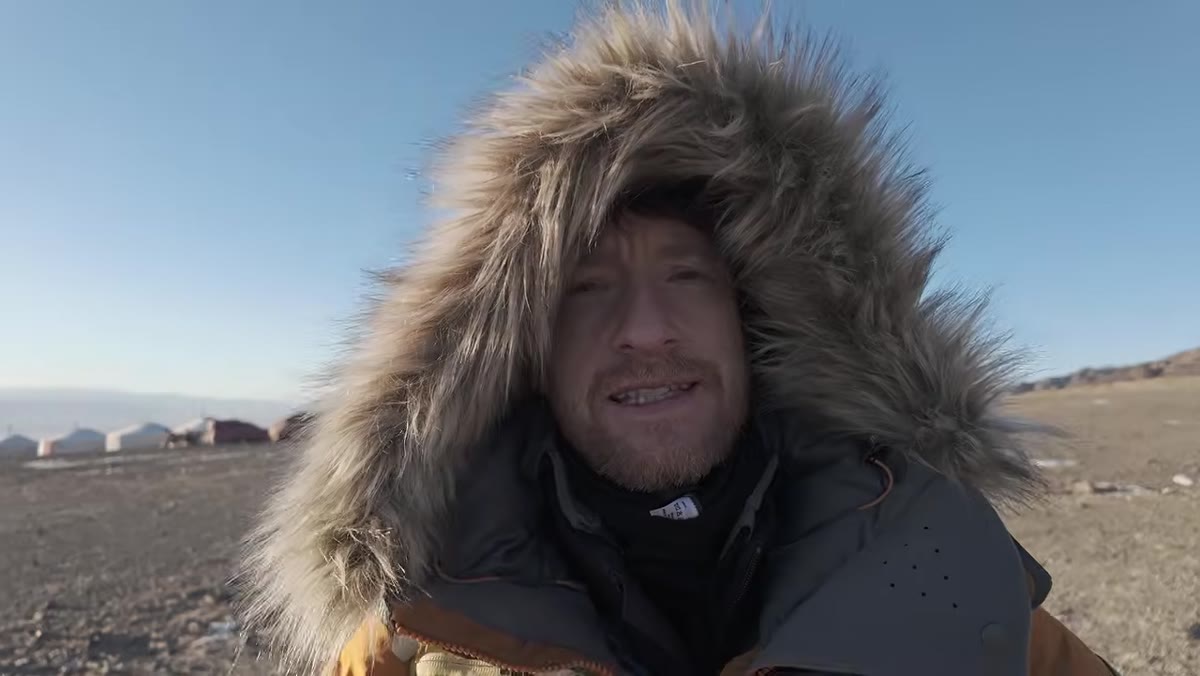 Dust storm moving through valley at sunset
The snow leopard search was cancelled due to wind. A lesser response would be to go back to camp and scroll your phone. Heaton took his camera out into the dust storm at sunset instead. The result was an entirely different category of image - atmospheric, moody, almost cinematic. The valley filled with dust acted like a natural diffusion filter, softening the light and adding a sense of scale and drama.
When conditions turn bad, ask what those conditions are actually creating before you decide they’re a problem. Rain creates reflections. Fog creates depth. Wind creates motion. Dust creates atmosphere. Your job is to identify what the light is doing right now, not what you wish it were doing.
A Note on Patience as a Technical Skill
I used to think patience was a personality trait some photographers had and others didn’t. After years of leading photo walks every Sunday morning through Seattle, I’ve come to think of it differently. Patience is a workflow choice. Heaton doesn’t just stand around waiting - he’s constantly solving problems while he waits: checking focal lengths, adjusting filters, repositioning for a better background. He’s working.
The photographers I see struggle most on location are the ones who stop shooting when the shot isn’t there yet. The ones who improve fastest are the ones who keep experimenting with what is in front of them, even when it feels like nothing.
The single most transferable lesson from this tutorial is this: the subject you planned to photograph and the photograph worth making are often different things. Show up with intention, then stay flexible enough to see what’s actually there. That flexibility is what separates a great travel day from a great body of work.
Watch the full tutorial on YouTube to see Thomas Heaton work through every one of these decisions in real time, in one of the most visually stunning locations I’ve seen on a photography channel.
Comments (1)
Tried this technique this morning. Game changer for real.
Leave a Comment