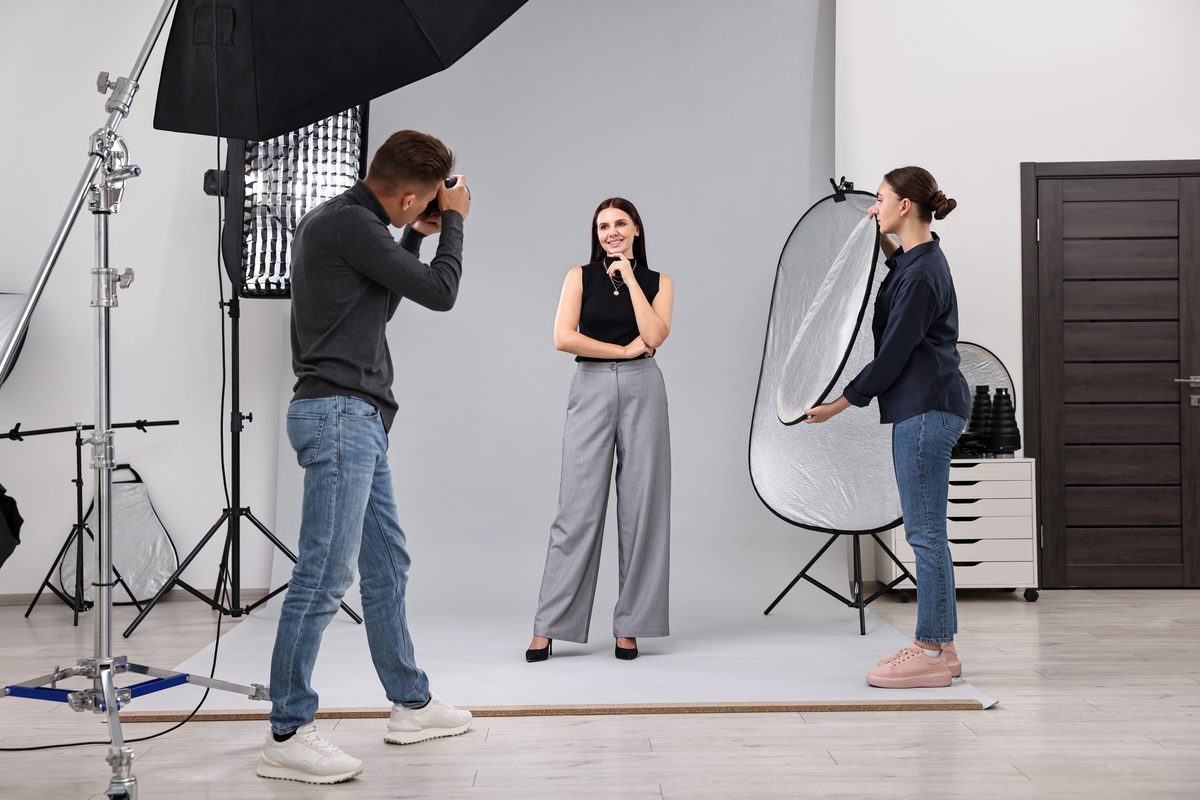
There are mornings in Seattle when the light through my studio window is absolutely perfect. Soft, directional, wrapping around a subject like it was designed for portraits. And then there are the other mornings, which is most of them, when it’s flat grey and useless. I spent way too long early in my career either waiting for good light or driving subjects to locations just to stand near a window. It took me embarrassingly long to figure out that you can just build the light yourself, and that the result can look just as natural as the real thing.
That realization got a lot sharper after I watched this tutorial from Westcott Lighting, where photographer Julie Gayler walks through her complete process for faking window light using studio strobes. Watch the full tutorial on YouTube before or after reading through the breakdown below. What I love about her approach is that it’s not just “point a softbox at someone.” She has a system, and the system has a logic to it that transfers to whatever gear you already own.
The core idea is this: real window light has three qualities working together. It has a shape or character, it has a direction, and it lifts shadows throughout the room because light bounces off walls and floors. Miss any one of those three, and the image reads as studio, not window. Her tutorial walks through how to fake all three, in the right order.
Step 1: Decide What Kind of Window You’re Faking
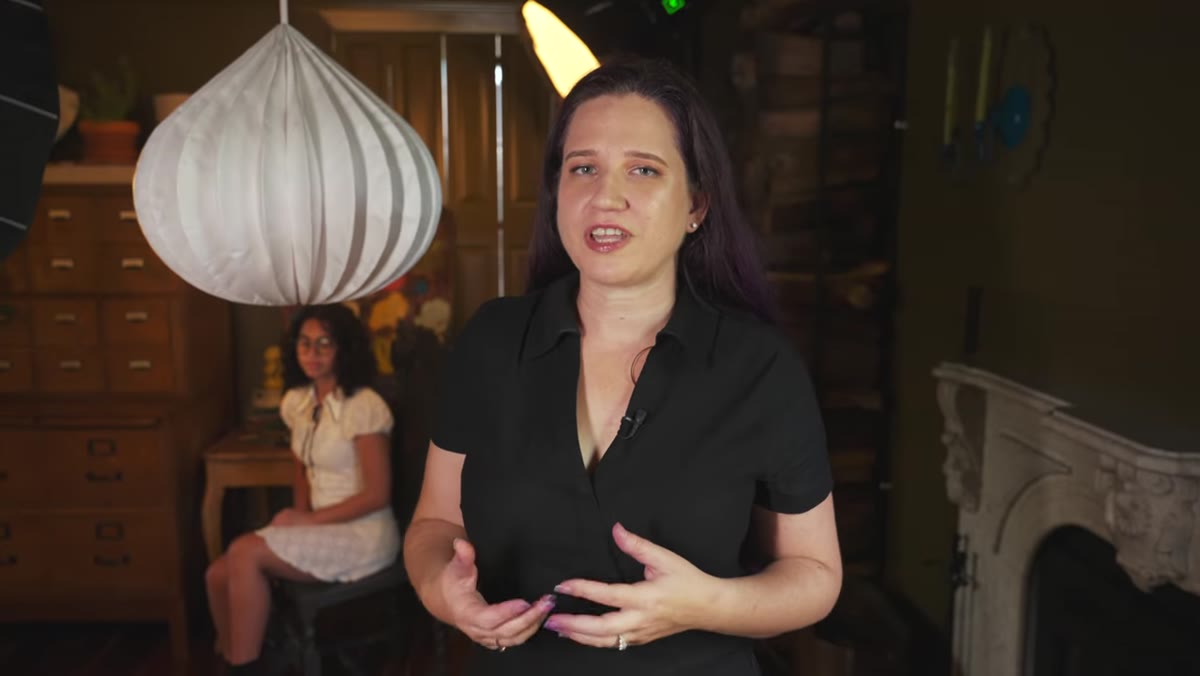 Optical spot modifier with window-blind gobo attached
Before you touch a light, make a creative decision about what type of window light you want to simulate. In Gayler’s shoot, the goal is to mimic light coming through horizontal blinds. That texture and pattern is what gives the shot its character and tells the viewer’s brain “window” without showing a single window in frame.
Optical spot modifier with window-blind gobo attached
Before you touch a light, make a creative decision about what type of window light you want to simulate. In Gayler’s shoot, the goal is to mimic light coming through horizontal blinds. That texture and pattern is what gives the shot its character and tells the viewer’s brain “window” without showing a single window in frame.
She uses an optical spot modifier with a gobo insert cut in the shape of window blinds to project that pattern onto the scene. If you don’t have an optical spot, you can experiment with placing a physical blind or grid of black tape across a gridded softbox, but the optical spot gives you sharp, clean pattern edges. The point is to commit to a window type before you start lighting, because every other decision flows from that.
Step 2: Position Your Main Light to Match a Real Window’s Direction
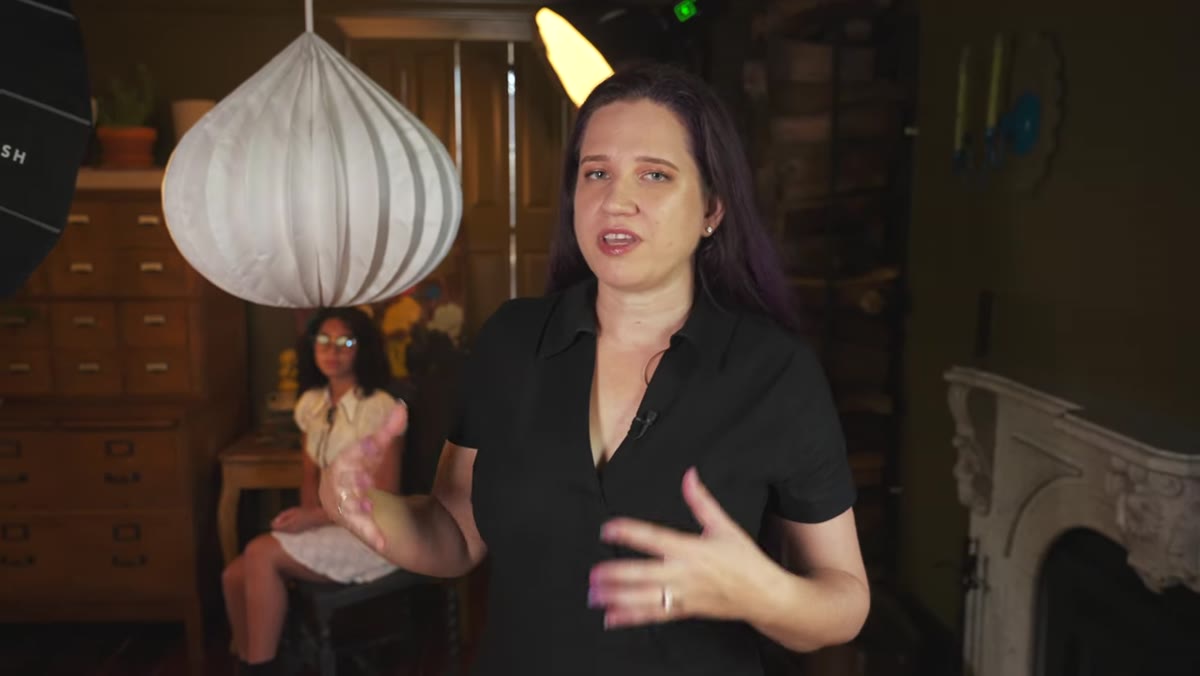 Main strobe positioned to the side of the subject
Genuine window light comes from the side. It’s lateral. One of the most common mistakes when building faux window light in studio is placing the shaped light too far in front of the subject because that’s where we’re used to putting portrait lights. Gayler is explicit about this: move the light to the side, the way an actual window would be positioned relative to a person sitting in a room.
Main strobe positioned to the side of the subject
Genuine window light comes from the side. It’s lateral. One of the most common mistakes when building faux window light in studio is placing the shaped light too far in front of the subject because that’s where we’re used to putting portrait lights. Gayler is explicit about this: move the light to the side, the way an actual window would be positioned relative to a person sitting in a room.
The FJ800 with the optical spot goes to the side of the subject in her setup. If you only take one thing from this step, it’s that the direction of the light tells the story. A light pattern projected from directly in front of the subject looks like a stage effect. The same pattern from the side looks like afternoon sun through a window.
Step 3: Light the Background Shadows First
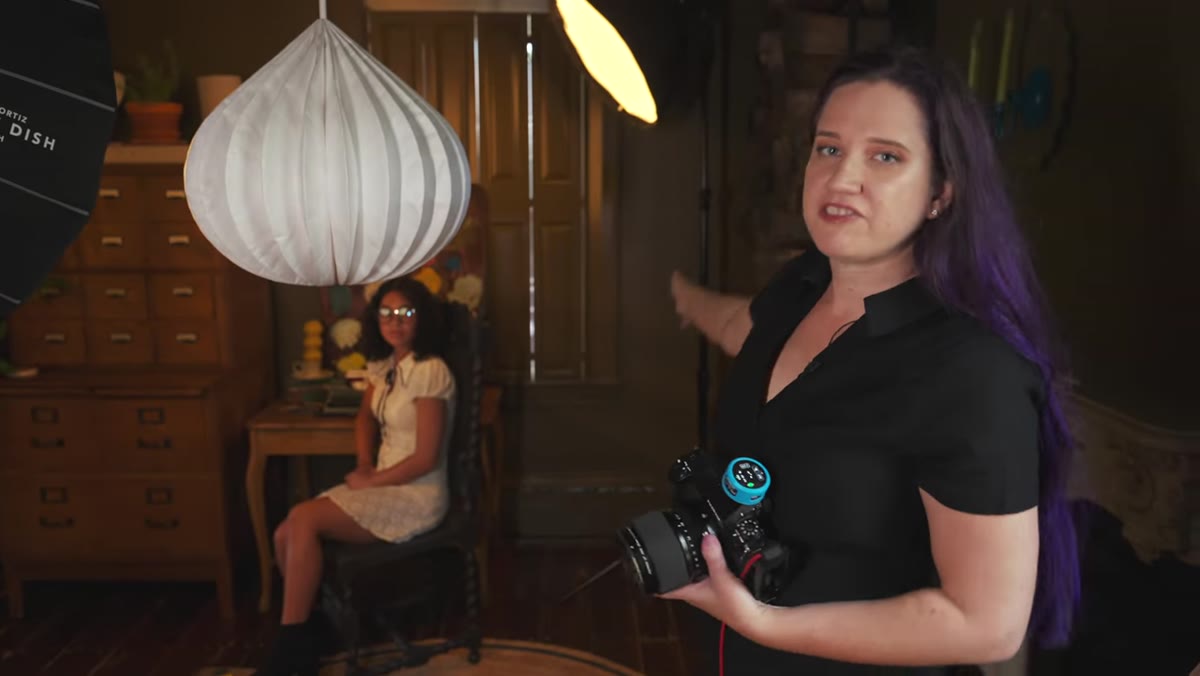 FJ400 V2 with beauty dish firing behind subject toward dark wall
Here’s the counterintuitive part of Gayler’s method, and honestly the piece that changed how I think about multi-light setups: start with your shadows, not your main light. Her reasoning is practical and worth internalizing. If you build your main light first and then try to add fill, you end up chasing your tail, turning things up and down in circles. Starting with the darkest areas of the frame gives you a stable base.
FJ400 V2 with beauty dish firing behind subject toward dark wall
Here’s the counterintuitive part of Gayler’s method, and honestly the piece that changed how I think about multi-light setups: start with your shadows, not your main light. Her reasoning is practical and worth internalizing. If you build your main light first and then try to add fill, you end up chasing your tail, turning things up and down in circles. Starting with the darkest areas of the frame gives you a stable base.
Her first light to fire is a strobe positioned behind the subject, aimed at the dark wall and chair. The goal isn’t drama, it’s just enough lift to define the subject’s shoulders, hair edge, and the back of the chair. She keeps it intentionally low so it doesn’t introduce a competing light direction. Think of it as whispering detail back into the shadows, not shouting.
Step 4: Add Front Fill to Simulate Bounce Light
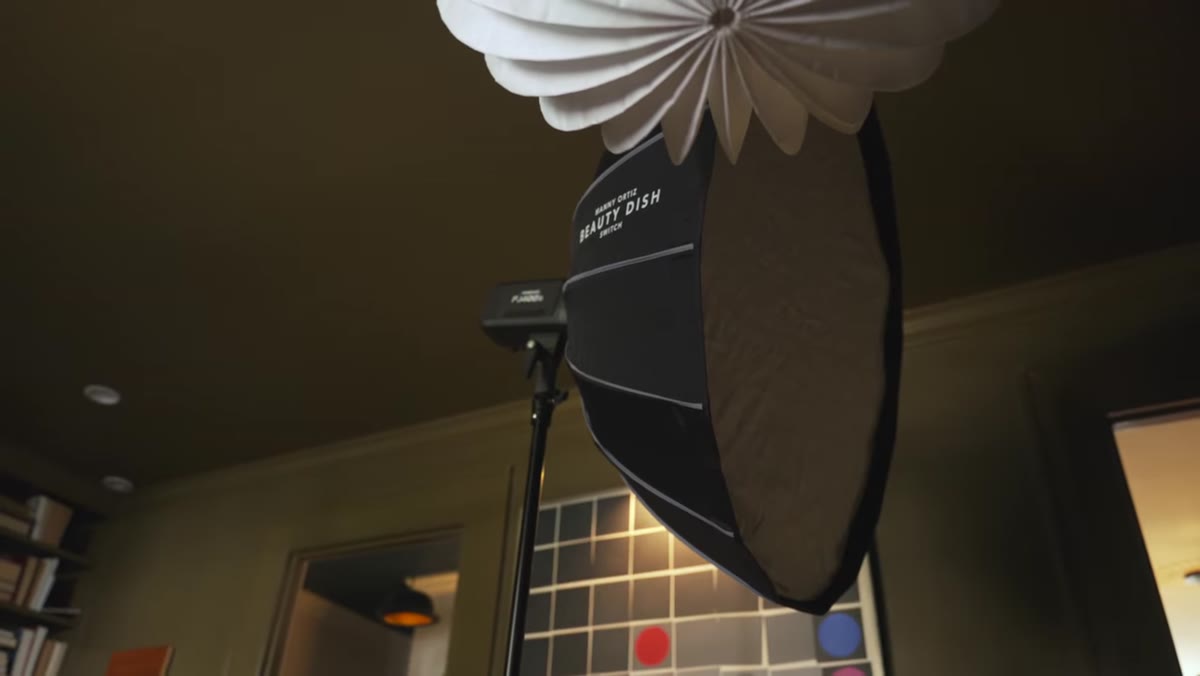 FJ400 V2 with beauty dish firing from front to lift foreground shadows
Real window light doesn’t just illuminate one side of a room. It bounces off the opposite wall, the floor, the ceiling, and finds its way into the shadows on the far side of your subject. Without simulating that bounce, even a perfectly shaped window pattern will look like a spotlight in a black void.
FJ400 V2 with beauty dish firing from front to lift foreground shadows
Real window light doesn’t just illuminate one side of a room. It bounces off the opposite wall, the floor, the ceiling, and finds its way into the shadows on the far side of your subject. Without simulating that bounce, even a perfectly shaped window pattern will look like a spotlight in a black void.
Gayler adds a second FJ400 V2 with a white beauty dish from the front to act as that ambient fill. She shoots a test frame and looks for lifted shadow detail across the whole scene, including the subject’s legs, the floor, and their shoes. How much fill you add is a creative call. More fill creates an airy, daytime feel. Less fill pushes toward a moody, late-afternoon look. But some fill is non-negotiable if you want the image to read as a room with a window rather than a studio with a spotlight.
Step 5: Dial In the Ratio and Make the Creative Call
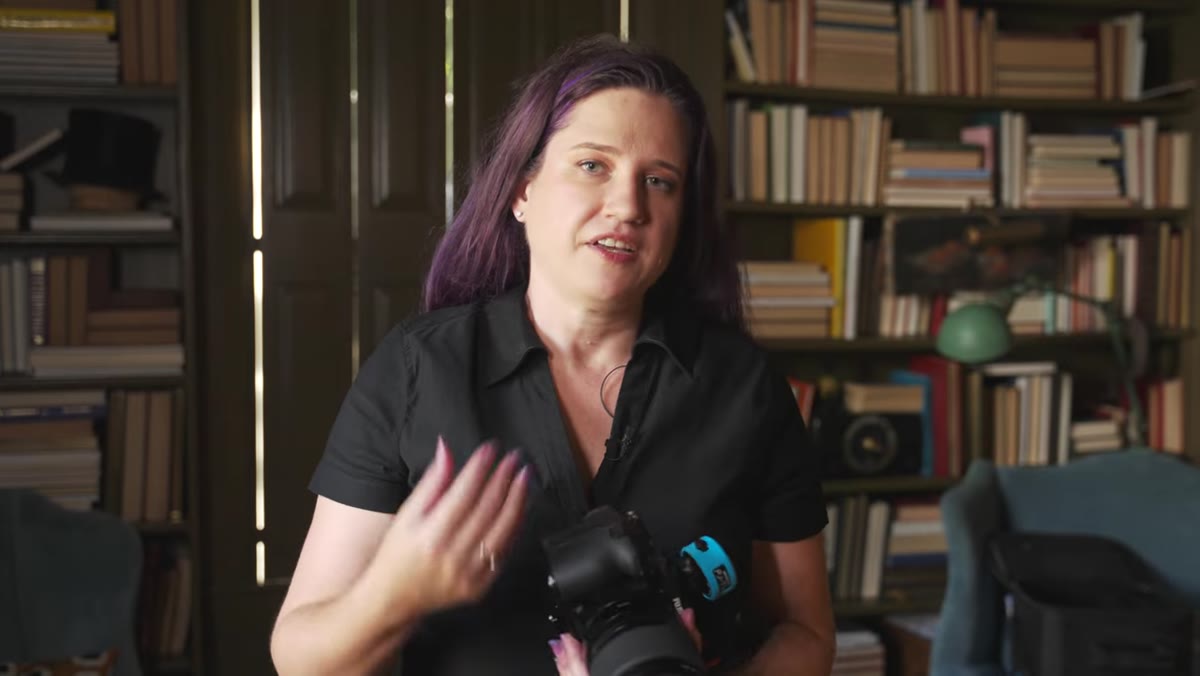 Photographer reviewing test shots and adjusting power ratios
Once all three lights are on, the balance between them is where the image gets its personality. Gayler notes that the dramatic quality of the final shot is determined at this stage. A tighter ratio between main and fill reads as overcast. A wider ratio, where the fill is several stops below the main, reads as direct sunlight through blinds on a bright day.
Photographer reviewing test shots and adjusting power ratios
Once all three lights are on, the balance between them is where the image gets its personality. Gayler notes that the dramatic quality of the final shot is determined at this stage. A tighter ratio between main and fill reads as overcast. A wider ratio, where the fill is several stops below the main, reads as direct sunlight through blinds on a bright day.
Take test shots, look at your shadows, and ask whether the image feels like a room. If the shadow side of the subject’s face drops to pure black, your fill is too low. If the light pattern from the optical spot is getting washed out, your fill is too high. Adjust them independently, in the order you set them up, and you’ll land on the exposure much faster than if you’re tweaking everything at once.
A Note From My Own Experience: Cheaper Versions of This Work Too
I’ve run a similar setup using a single flash through a homemade gobo and a white foam core board on the opposite side as fill. It does not look as polished as what you see in Gayler’s studio, but the underlying logic, shape plus direction plus fill, still produces something that reads as window light rather than studio strobe. The technique is gear-agnostic. What you’re really building is a mental model of how light behaves in a room, and then engineering that behavior artificially.
The part that I think most photographers skip is the fill. It feels unnecessary when you’re looking at the main light firing and thinking it looks fine. But photograph it, and the flatness gives it away every time.
The single biggest idea here is this: faking natural light is less about mimicking appearance and more about mimicking behavior. Window light is directional, has character, and fills a room. Build those three qualities in the right order, starting with your shadows, and the camera will believe you even when the windows don’t exist.
Watch the full tutorial on YouTube to see Gayler’s results side by side with her lighting setup. The before and after alone is worth the watch.
Comments (2)
Put this into practice over the weekend. My portraits have never looked better.
Mostly agree, though I've had better results doing step 2 before step 1.
Leave a Comment