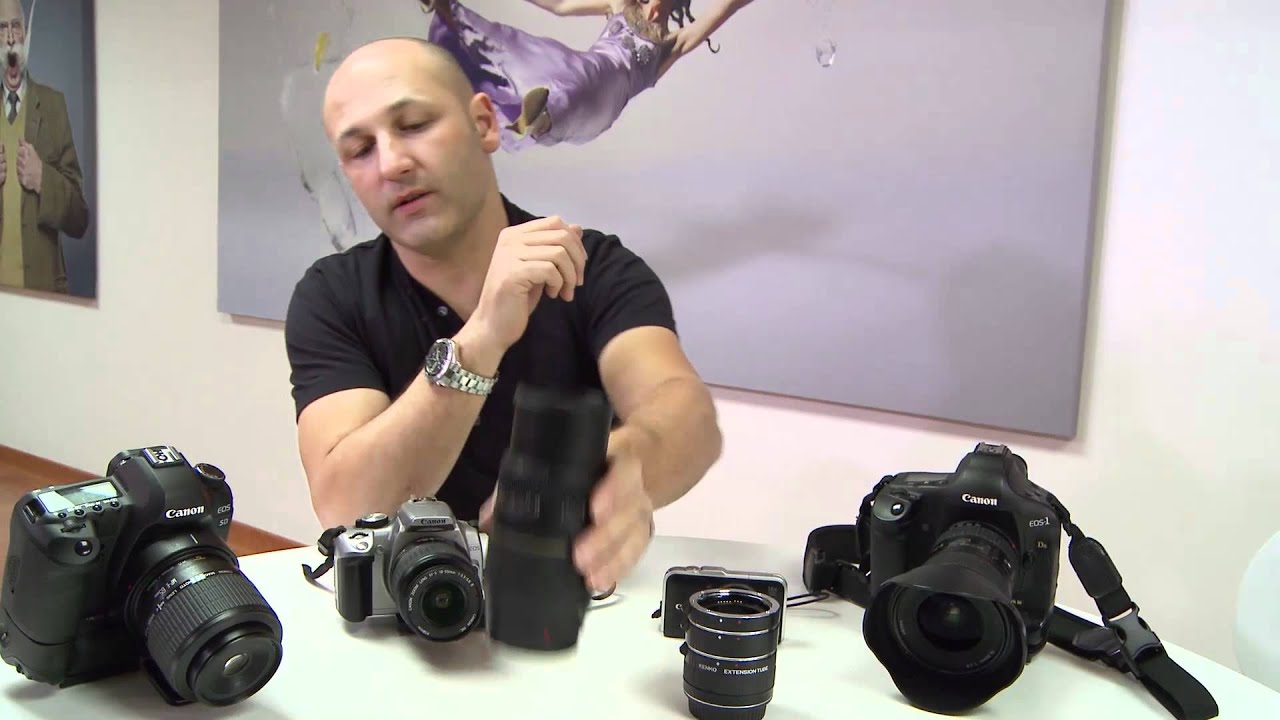
Every spring I drag myself out for my Sunday morning photo walk and get completely humbled by flowers. Not in a poetic way. In a “why does this tiny thing look so flat and boring in my frame when it’s so stunning in real life” way. Close-up photography sounds simple until you’re crouched on wet grass realizing your kit lens just won’t cooperate.
That’s exactly why this Visual Education tutorial on saving money with macro photography stopped me mid-scroll. Watch the full tutorial on YouTube before you spend a single dollar on new gear. The tutorial lays out a practical, honest comparison of macro options at different price points, and it starts with equipment you almost certainly already own. The core argument is refreshing: you don’t need a dedicated macro lens to get started, and understanding why will make you a smarter buyer when you eventually do upgrade.
What I love about this breakdown is that it’s genuinely sequential. You start with the cheapest option, work your way up, and understand the trade-offs at each level. Here’s how to follow along.
Step 1: Understand What “Macro” Actually Means
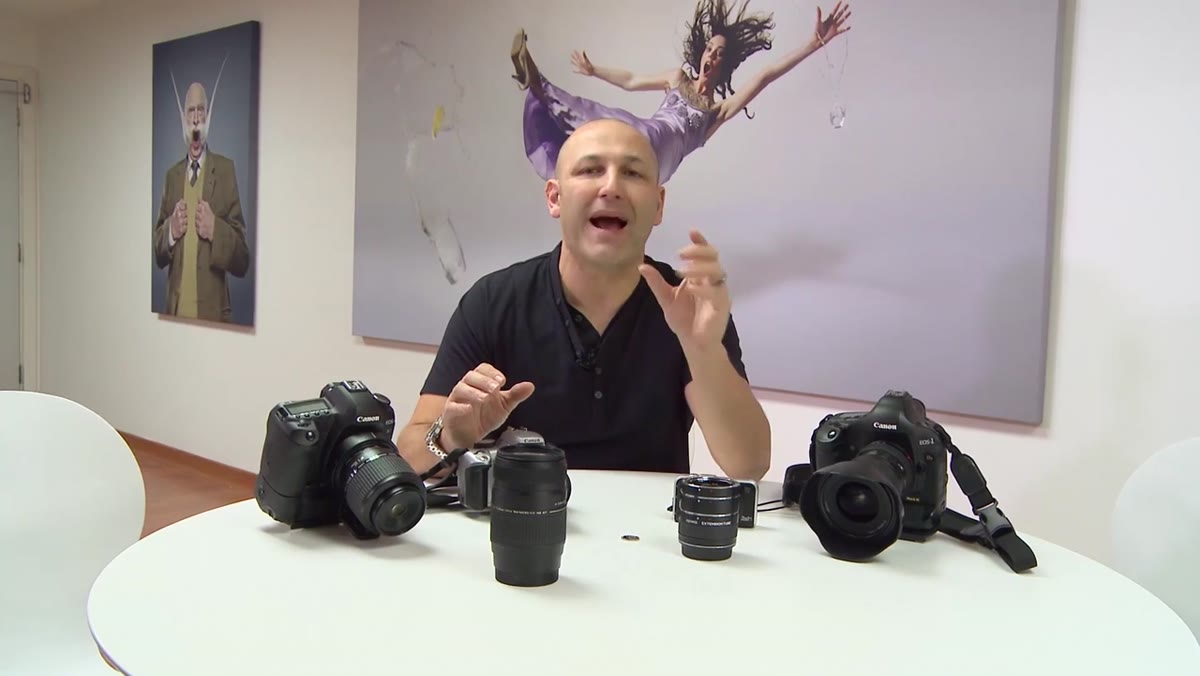 Definition of macro ratio explained with coin on camera sensor
Before reaching for any gear, get clear on the definition. True macro photography means capturing a subject at a minimum of 1:1 magnification, meaning the image projected onto your camera sensor is at least the same size as the subject in real life. A 20-pence coin photographed at 1:1 on a full-frame sensor would appear roughly life-size in the resulting image. Some dedicated macro lenses and techniques push beyond that, reaching 2:1, 5:1, or higher. Knowing this benchmark helps you evaluate every option that follows, because “macro mode” on a cheap lens and true 1:1 reproduction are not the same thing.
Step 2: Push Your Kit Lens to Its Limits First
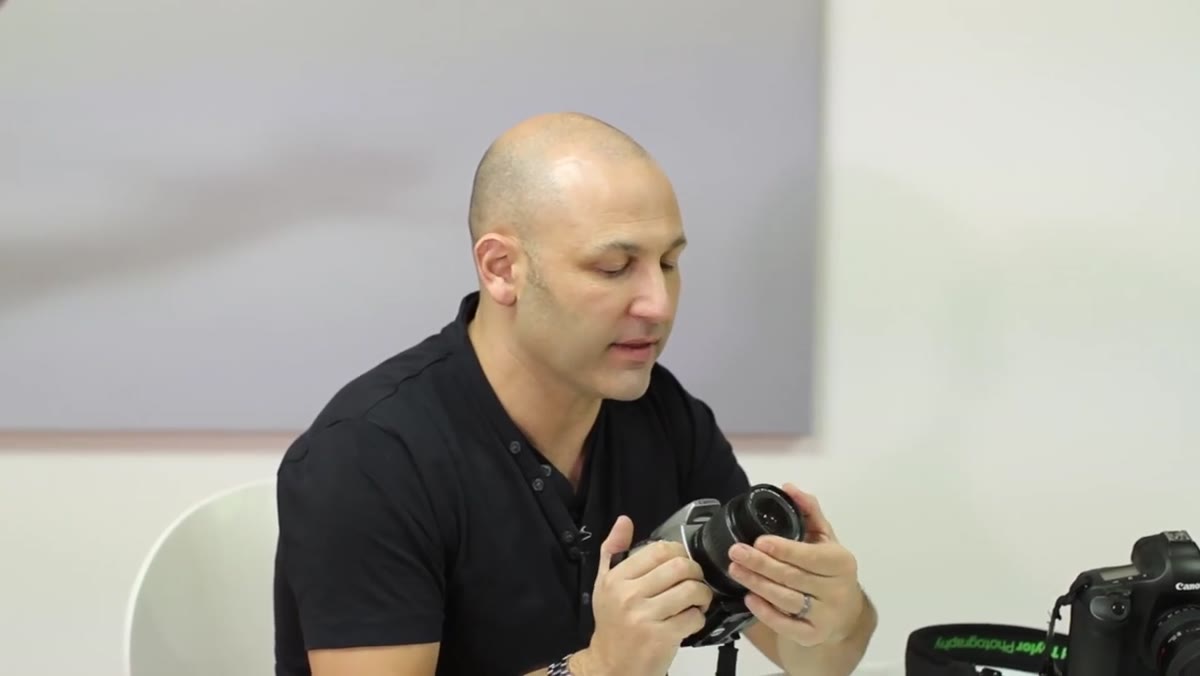 Standard 18-55mm kit lens mounted on Canon EOS 350D
If you have a standard zoom lens, typically an 18-55mm kit lens, you already have a starting point for close-up work. Set the focal length to its longest end, in this case 55mm, then switch the lens to manual focus. Turn the focus ring all the way to its minimum focusing distance. Don’t use autofocus here. It will hunt and you’ll lose the shot. Once the lens is locked at its closest focus point, move your whole body forward and backward until the subject sharpens. That physical rocking motion is your focusing mechanism now.
This won’t get you to true 1:1 macro, but it will produce close-up results that work well for flowers, textures, and detail shots. It costs nothing, and it teaches you how shallow depth of field gets as you close in on a subject. That lesson is worth more than any lens upgrade.
Step 3: Check Your Telephoto Zoom for a Built-In Macro Mode
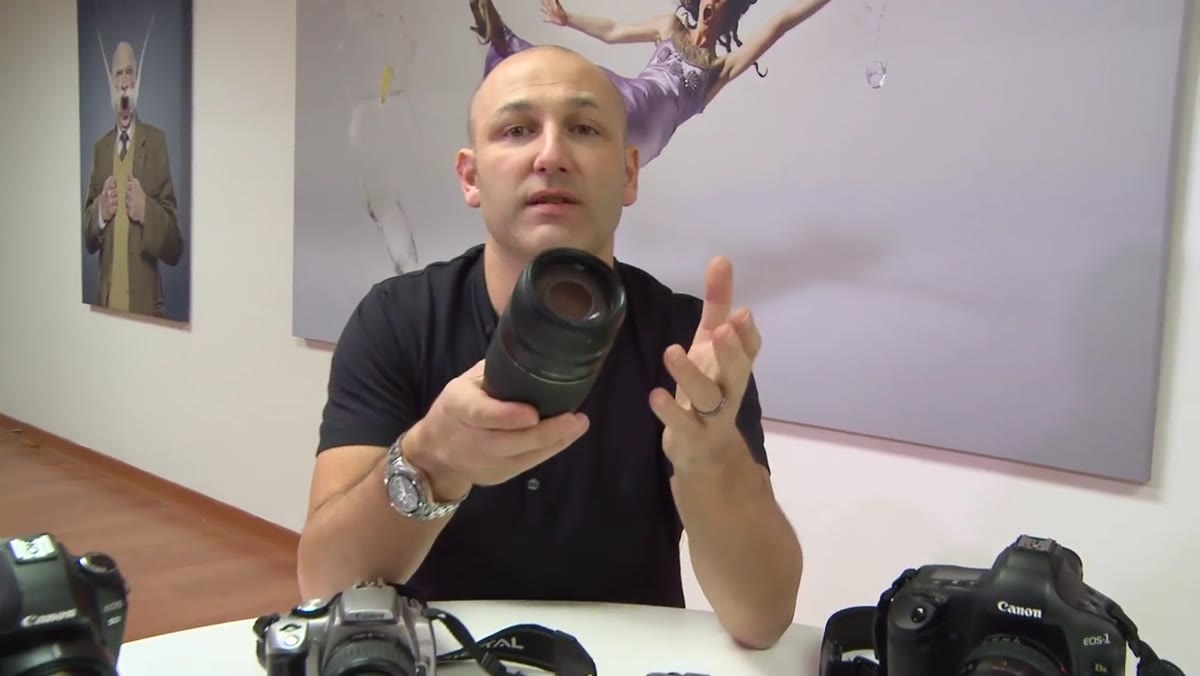 Tamron 70-300mm telephoto lens with macro mode switch highlighted
This one surprised a lot of people in my beginner workshops. Many third-party telephoto zoom lenses, like the Tamron 70-300mm shown in the tutorial, include a dedicated macro mode that enables much closer minimum focusing distances than a standard kit lens can manage. It’s usually engaged by a switch or by rotating the zoom ring into a marked macro zone.
If you already own a telephoto zoom for wildlife or sports, check the lens barrel and your manual. You may have a macro capability you’ve never used. A lens like this sits in the range of a few hundred dollars, and if you already own one, the macro feature is essentially free. The image quality and magnification won’t match a dedicated macro lens, but for flowers, coins, or small objects, it can produce genuinely impressive results.
Step 4: Know What a Dedicated Macro Lens Unlocks
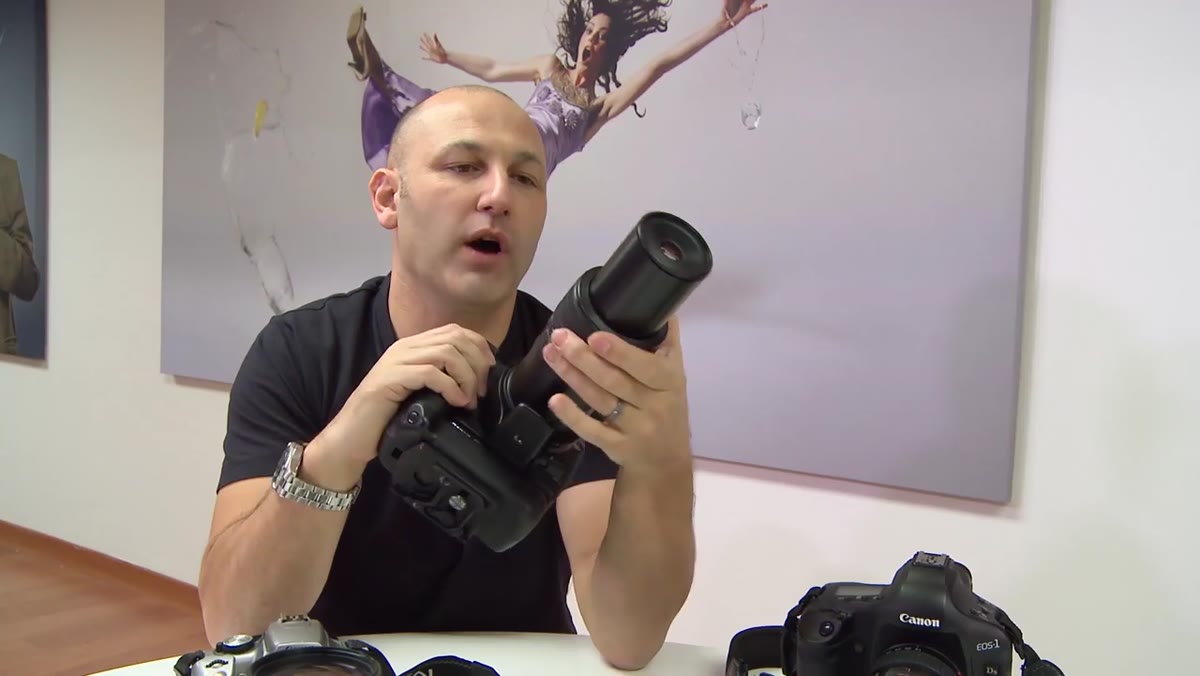 Canon MP-E 65mm 5x macro lens shown next to kit lens for scale
At the high end of the spectrum sits the dedicated macro lens. The tutorial highlights the Canon MP-E 65mm as an extreme example, a lens that shoots at up to 5x life-size magnification. That means a subject that’s a few millimeters across can fill your entire frame with sharp, usable detail. For insect photography, pollen structure, or anything tiny, this kind of lens is transformative.
The honest trade-off is cost. A lens like this retails well above $1,000. For most beginners and hobbyists, that’s not the entry point. The good news is that the tutorial is building toward a cheaper alternative that gets you closer to that performance without the price tag, which is the whole point of this series.
Step 5: Add Extension Tubes to Boost What You Already Own
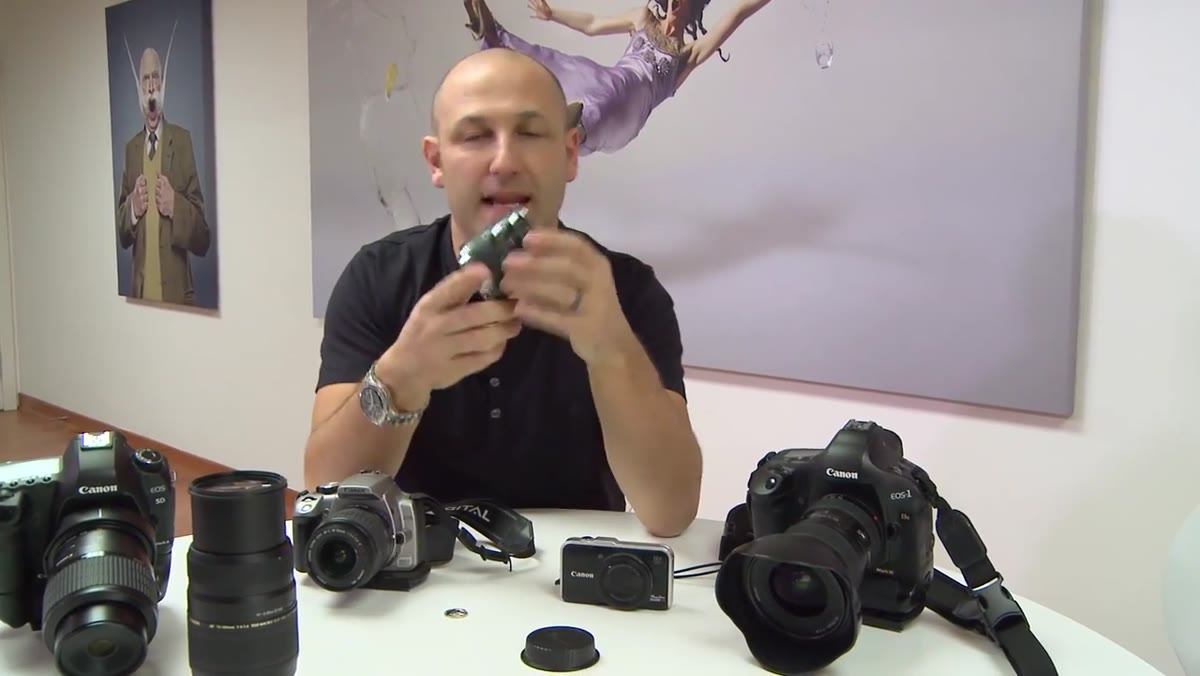 Extension tubes displayed next to camera body and kit lens
Extension tubes are the budget macro solution that the whole tutorial is building toward, and they’re genuinely clever. They’re hollow rings with no glass inside. They mount between your camera body and your existing lens, physically moving the lens further from the sensor. That increased distance changes the optical math and dramatically reduces the minimum focusing distance, allowing you to get much closer to a subject and achieve higher magnification.
A set of extension tubes for most popular mounts runs anywhere from $15 to $100 depending on brand and whether they maintain electronic communication with the camera body. The ones that preserve the electronic connection are worth the modest extra cost because they allow you to keep autofocus and auto-exposure functions. Stack multiple tubes together for even greater magnification. Combined with the 55mm kit lens from Step 2, you can get surprisingly close to true macro performance for a fraction of the price of a dedicated lens.
What I’d Add: Light Is Your Real Variable
Extension tubes and macro modes solve the magnification problem, but close-up photography introduces a lighting challenge that the tutorial doesn’t dig into here. The closer you get to a subject, the more your lens and camera body block natural light from reaching it. I’ve ruined beautiful shots of dewy leaves because my lens cast a shadow right across the frame at 1:1 distance.
A cheap ring flash or even a DIY reflector made from white card can fix this immediately. I’ve also used my phone’s flashlight bounced off a piece of paper in a pinch, which feels ridiculous but works. When you’re shooting macro on a budget, light control often matters more than the lens choice. Keep that in mind as you experiment.
The single most important thing this tutorial reinforced for me: start with what you have and understand why it’s limiting you before you spend money. If your kit lens at 55mm with manual focus isn’t giving you enough magnification, add extension tubes. If extension tubes still fall short of what you need, then you have a real, informed reason to invest in a dedicated macro lens.
Gear upgrades mean more when you’ve felt the gap yourself.
Watch the full tutorial on YouTube to see the actual side-by-side comparison of these lenses in the follow-up episode. Seeing the magnification differences in real images makes every step of this breakdown click.
Comments (2)
This saved me so much time on my last edit. Wish I'd found this sooner.
This is going in my reference folder. Incredibly useful.
Leave a Comment