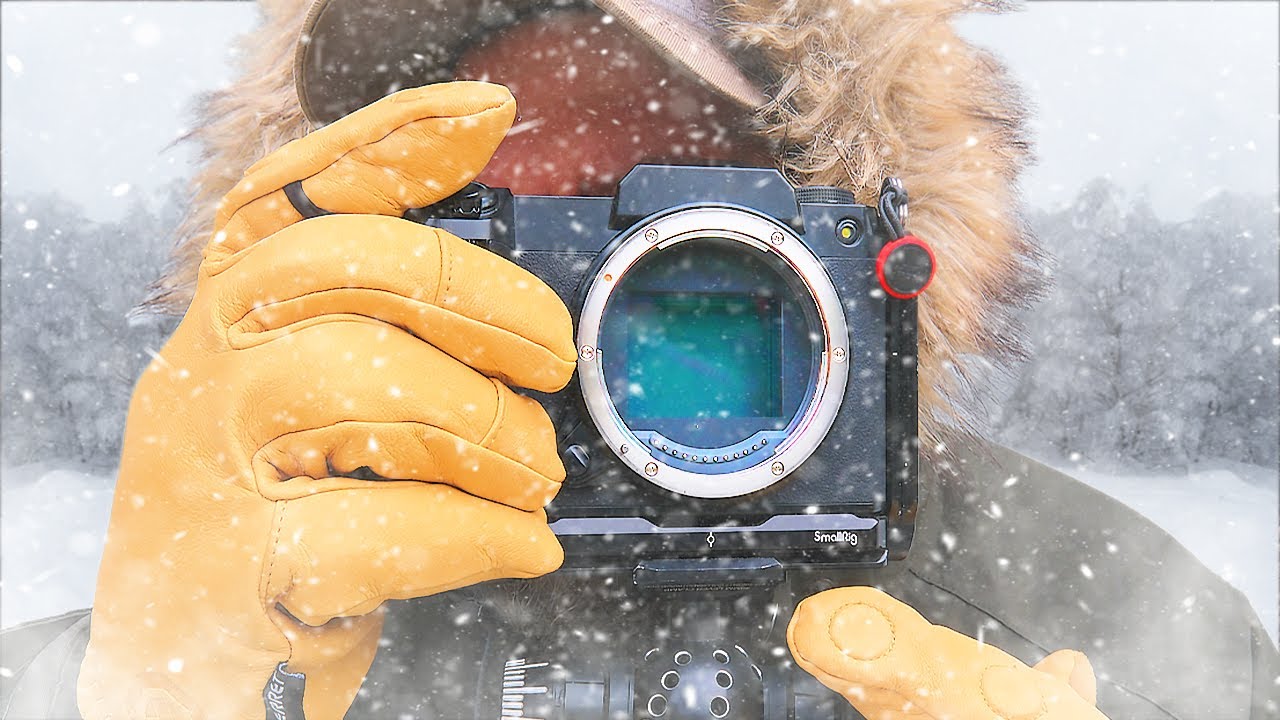
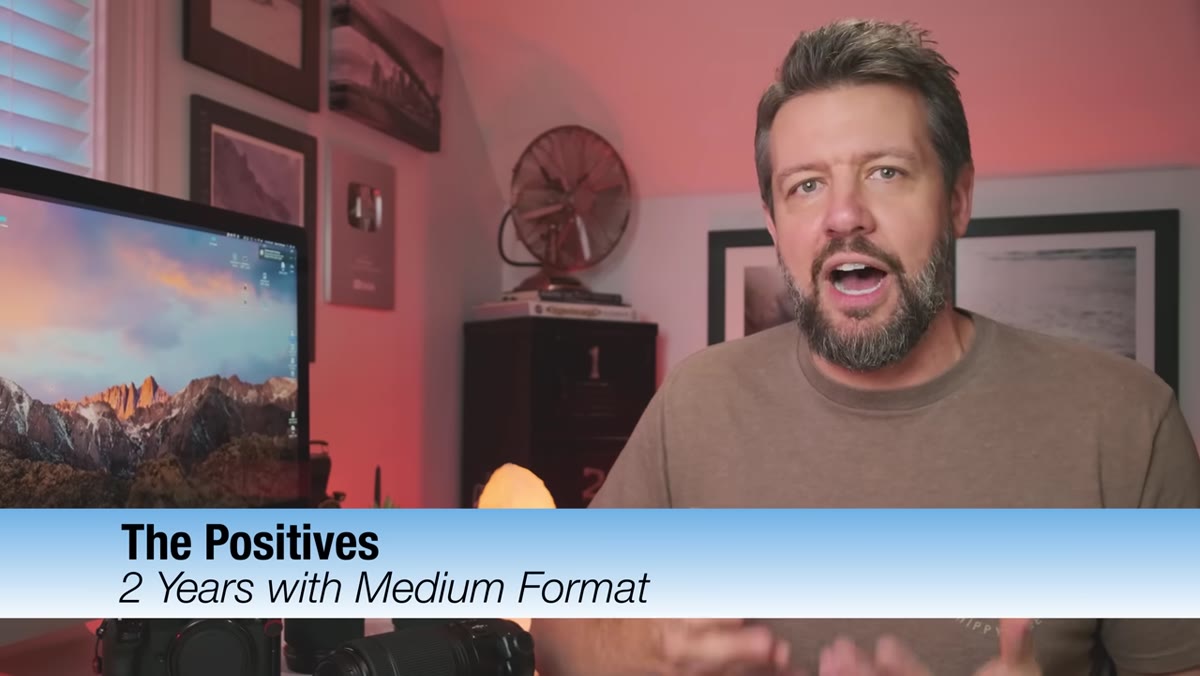
There’s a question I get on almost every Sunday photo walk: “Do I need a better camera?” My answer is almost always no, and I’ll stand by that. My most-liked Instagram post was taken on a $200 phone, and that photo still gets brought up in my workshops. But that doesn’t mean gear is irrelevant. It means gear decisions deserve honest, experience-backed answers rather than spec-sheet comparisons. That’s exactly what Mark Denney delivers in this tutorial, where he reflects on two full years of shooting landscape photography exclusively on the Fujifilm GFX 100S - a medium format system that runs about $13,000 when you start adding lenses and accessories.
What I appreciate most about this breakdown is that Mark doesn’t just review the camera. He accounts for the whole system: the financial reality, the workflow changes, the things he expected to hate and actually didn’t mind, and the things he genuinely wishes were different. If you’re a landscape photographer even loosely considering a jump to medium format, this is the kind of honest debrief that could save you from a very expensive mistake. Watch the full tutorial on YouTube and then come back here for the full walkthrough.
Step 1: Understand What “Image Quality” Actually Means at This Level
 Close-up of a landscape photo showing tonal gradation across the frame
The GFX 100S shoots at 102 megapixels, and resolution is the first thing most people cite. But Mark makes a point that I think gets overlooked: resolution alone isn’t the most valuable part. What matters more for landscape work is the tonal smoothness across the sensor. The way this camera transitions from bright highlights to deep shadows - across the full histogram - is exceptionally gradual and clean. That translates directly into prints and large-scale crops that feel lifelike rather than digital.
For photographers coming from full-frame systems, the upgrade in resolution is real but the upgrade in tonal quality is what tends to surprise people most. When you’re editing, you’ll notice smoother gradients in skies, more natural-looking midtones in foliage, and less of that harsh “digital” bite in high-contrast scenes.
Step 2: Test Your ISO Ceiling Before You Assume Medium Format Is Slow
 Landscape image taken at high ISO showing retained detail in shadows
One common assumption about medium format is that you’re locked into low ISOs to get clean files. Mark’s experience pushes back on that firmly. He shoots comfortably at ISO 1600 and 3200, and sometimes pushes to 6400 without meaningful noise problems. For landscape photographers, this matters most during blue hour and in deep forest environments where light drops faster than you expect.
If you’re evaluating a system like this, don’t just test it at base ISO. Take it out in genuinely low light and shoot at the ISOs you’d actually use in the field. A clean ISO 6400 image from a medium format sensor can outperform a noisy ISO 400 image from an older crop sensor in terms of usable detail and post-processing flexibility.
Step 3: Use Shadow Recovery as a Composure Tool, Not Just an Edit Fix
 Landscape photo with blown highlights corrected through shadow recovery in post
This is the step that changed how Mark actually shoots, and it’s worth slowing down on. Because the GFX 100S has such deep shadow recovery - he consistently pulls back underexposed scenes by up to four stops - he now uses exposure intentionally to protect the highlights. He exposes for the sky and trusts the sensor to hold shadow detail that he recovers cleanly in post.
The practical result is that he hasn’t needed to bracket a single exposure in two years. For landscape photographers who’ve spent time blending multiple exposures or wrestling with graduated ND filters, that’s a significant workflow simplification. This doesn’t mean you should ignore your histogram. It means you can bias your exposures toward protecting highlight detail without sacrificing your shadows, which is a fundamentally different approach than trying to nail the “perfect” single exposure.
Step 4: Factor Aggressive Cropping Into Your Compositional Workflow
 Before and after crop of a landscape image showing composition refinement
With 102 megapixels, Mark treats the sensor as a compositional safety net - and I think that’s a healthy way to think about it. He openly admits he doesn’t always nail the composition in-camera on location. Sometimes the light is moving fast, the conditions are changing, or the terrain limits where he can physically place his tripod. Having that much resolution means he can crop significantly in post and still have more than enough data for large prints or detailed edits.
This doesn’t mean you should stop thinking about composition in the field. But it does mean you can shoot a little wider than your intended frame, give yourself room to refine the crop later, and not feel like a loose composition ruins an otherwise excellent shot. If you’re shooting full-frame or crop sensor and already practice intentional composition, moving to medium format essentially gives you a buffer that wasn’t there before.
Step 5: Account for the Full System Cost Before You Commit
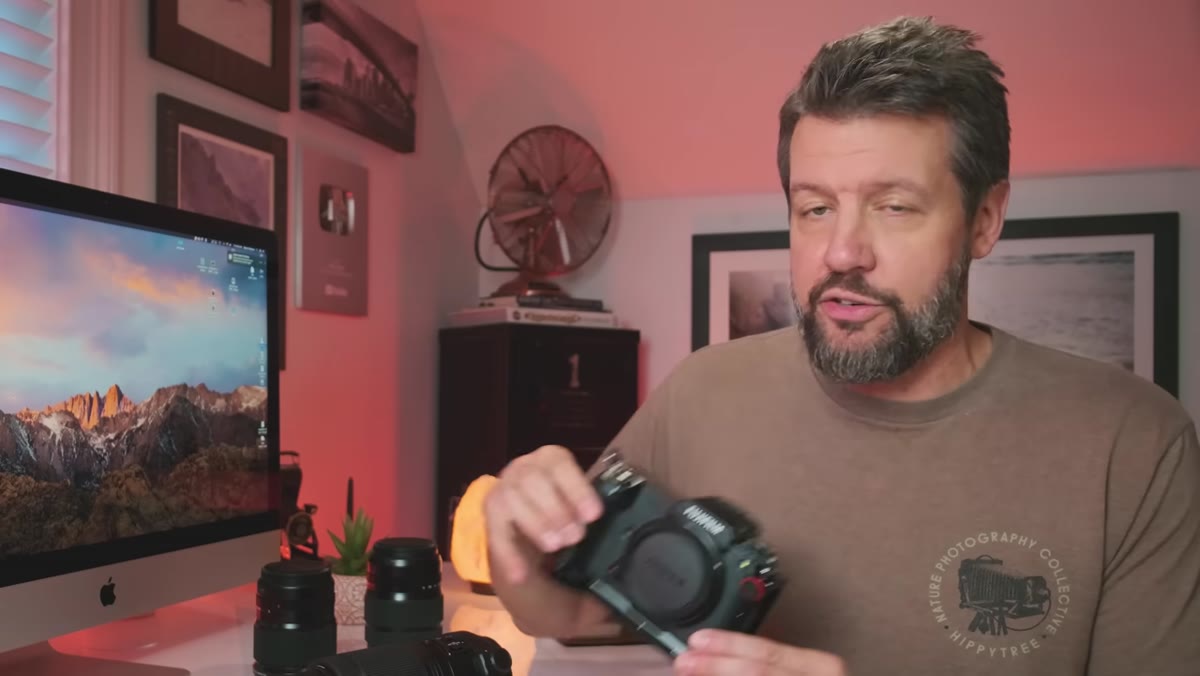
 Mark discussing camera costs with accessories visible in frame
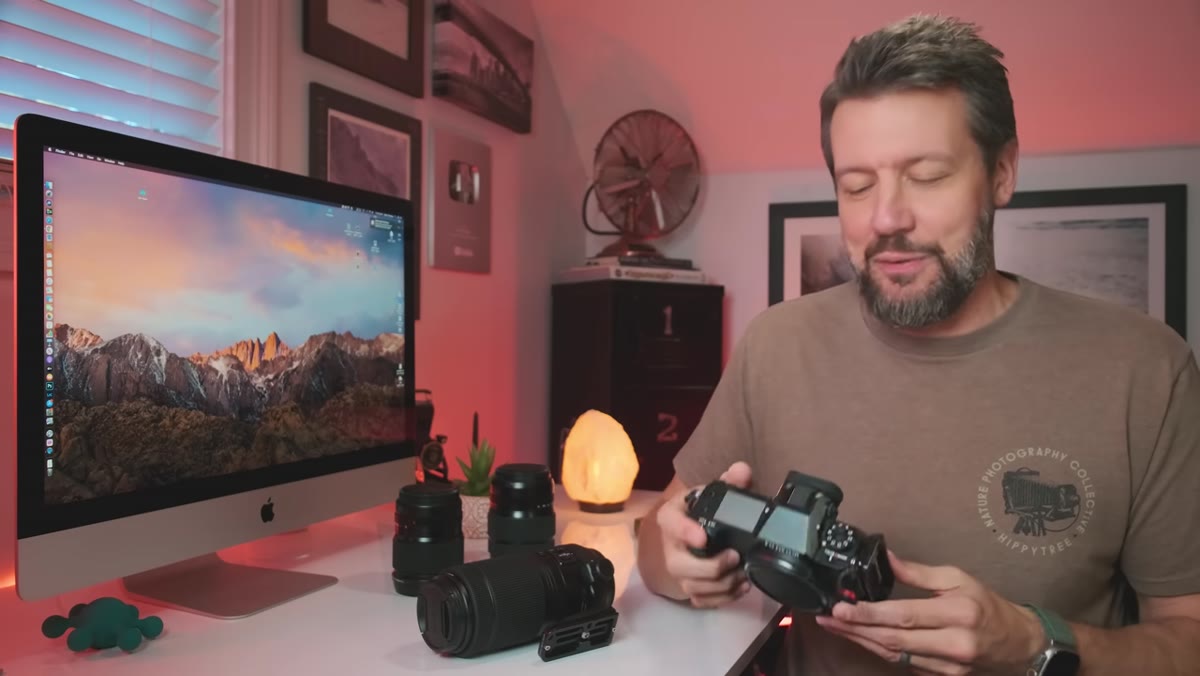
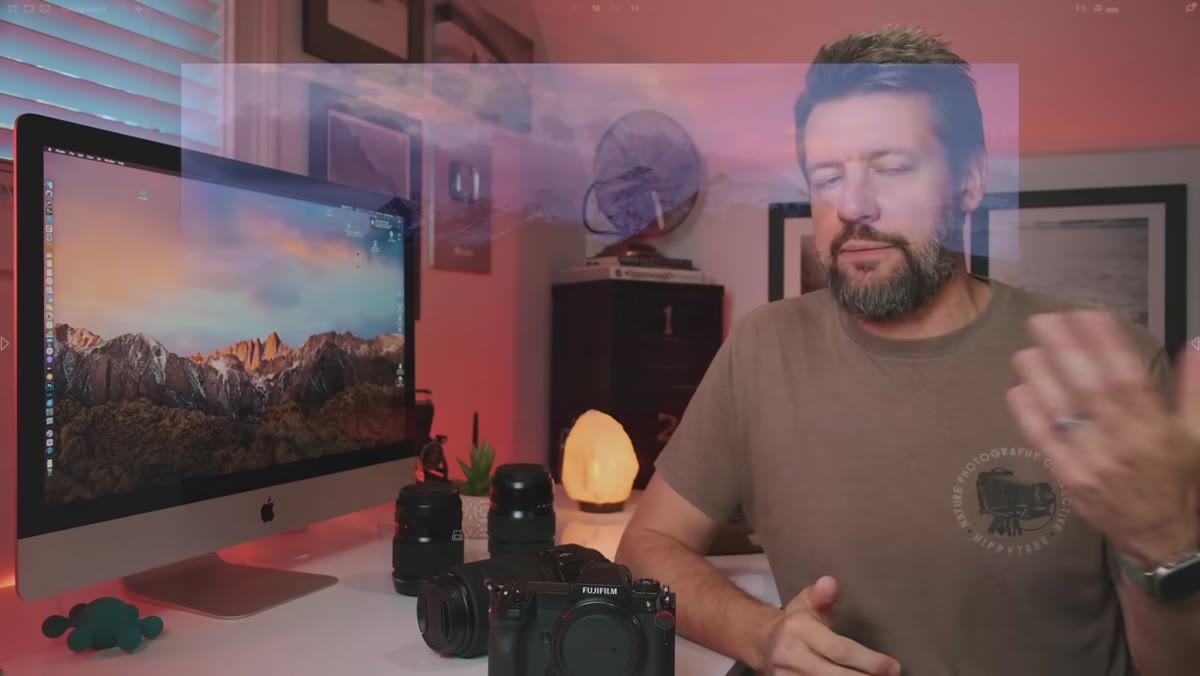
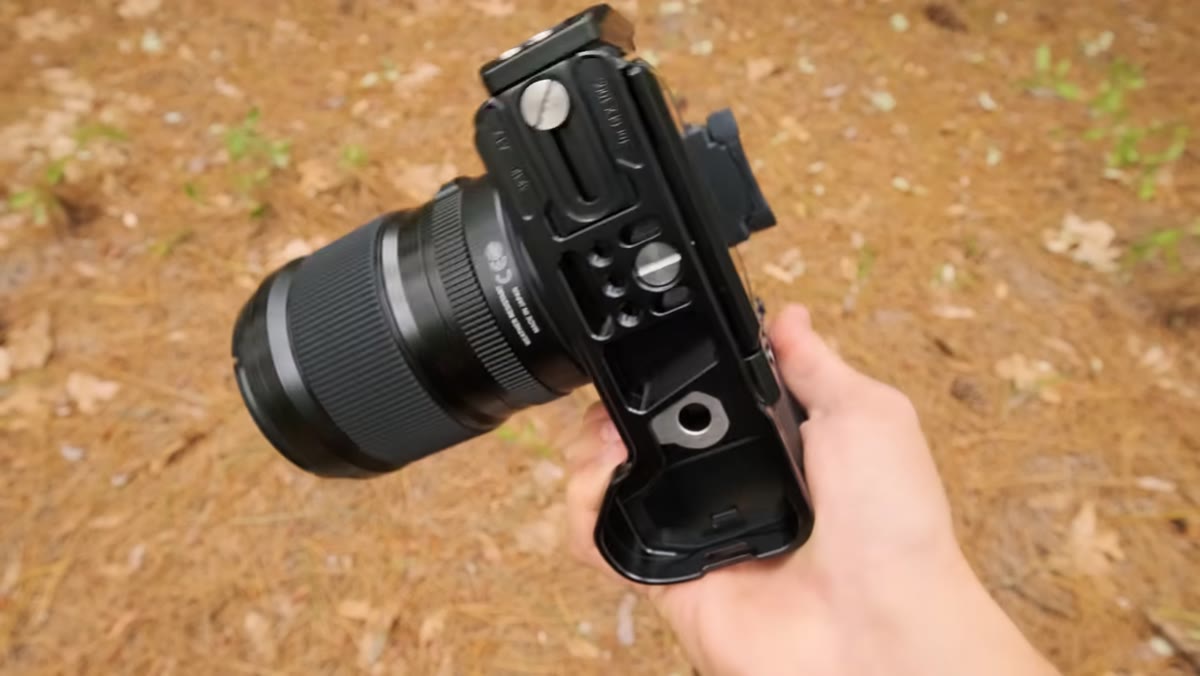
The body price is just the beginning. Mark is transparent about the fact that the GFX 100S system adds up quickly once you factor in lenses, L-brackets, filters designed for larger front elements, and storage solutions that can keep up with 100-megapixel RAW files. Those files are large, which means faster cards, more hard drives, and a computer that won’t groan every time you open Lightroom.
Before making this kind of investment, write out the full system cost - not just the camera body. Price the two or three lenses you’d realistically use, the accessories you’d need, and the storage upgrade your current computer might require. The total number will be significantly higher than the body price, and knowing that number upfront prevents the creeping sticker shock that comes with building the system over time.
What I’d Add From My Own Experience
I’ve never shot medium format myself, and honestly, based on where I am in my work right now, I don’t need to. But what strikes me about Mark’s breakdown is how much of it applies to gear decisions at every level. The discipline of protecting highlights and recovering shadows, the habit of leaving yourself compositional room, the honesty about what you’re actually spending - those are principles that work whether you’re shooting a $500 mirrorless or a $6,000 medium format body.
The question I always ask myself before any gear decision is this: will this tool change how I see, or just how I shoot? For Mark, two years in, the answer sounds like both. That’s a good sign. But it took two full years of exclusive use to know for certain - which is a commitment most of us aren’t ready to make on faith alone. If you’re considering it, start by renting a medium format system for a full weekend trip and shooting the way you actually shoot, not just testing it in a parking lot.
The single most important takeaway from this tutorial is that medium format photography isn’t a resolution upgrade - it’s a workflow shift. The shadow recovery capability alone changes how you approach exposure in the field, and that change ripples through everything from how you use filters to whether you bracket at all. That’s the kind of practical knowledge that only comes from sustained real-world use, and Mark delivers it without the usual gear-review fluff.
Watch the full tutorial on YouTube to hear Mark walk through every pro, con, and surprise from his two-year experience with the GFX 100S.
Comments
Leave a Comment