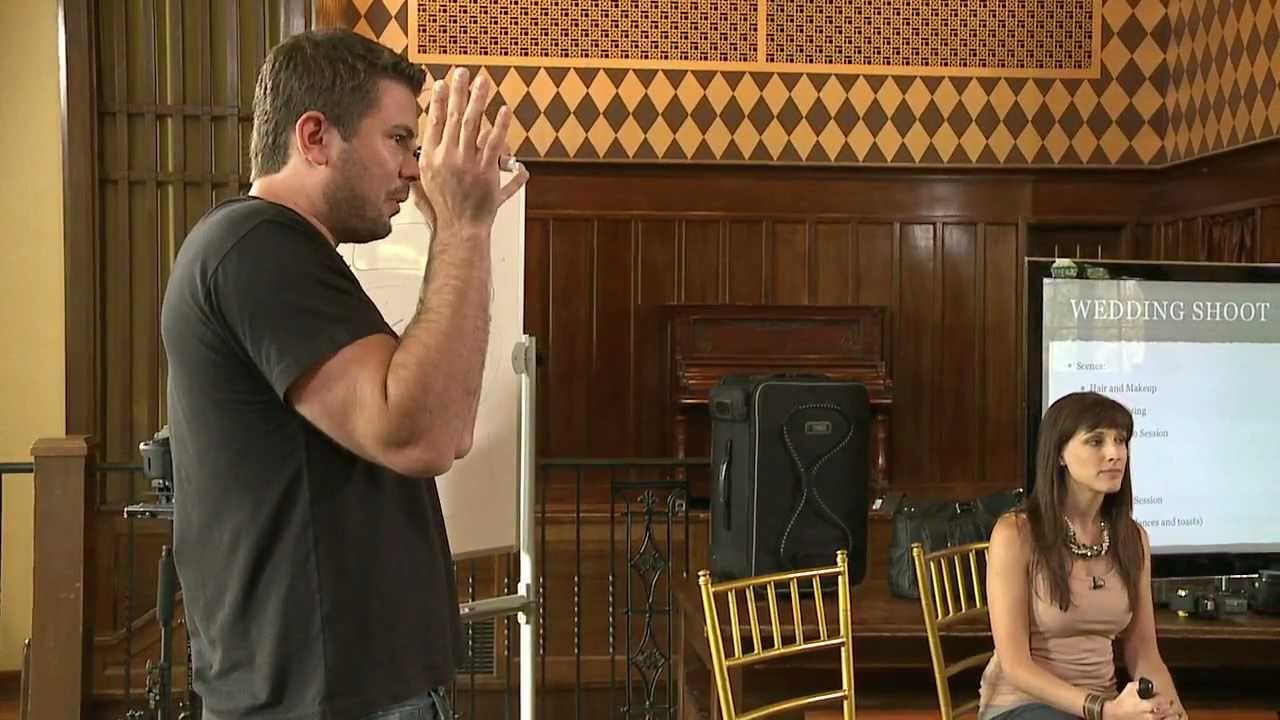
Wedding shoots used to genuinely stress me out. Not the technical side, but the planning side. You show up with a shot list, and within twenty minutes the flower girl is crying, the MOH can’t find her shoes, and the father of the bride is already tearing up in the hallway before anyone’s even dressed. For a long time I treated that chaos as something to survive rather than something to shoot. It took watching professionals who specialize in this world to realize I had the whole thing backwards.
In this CreativeLive tutorial, photo-video fusion artists Vanessa and Rob walk through how they approach a wedding day from a planning and storytelling perspective, starting with the morning prep and working through each section of the day. Watch the full tutorial on YouTube – it’s worth your full attention. What struck me most wasn’t any single tip. It was their entire mental framework: every moment they walk into, they’re already asking “what’s the story here?” That question changes everything about how you move through a space with a camera.
This walkthrough pulls out their core techniques from the morning prep sequence, the section of the day that most shooters treat as a warm-up but that Rob and Vanessa treat as prime storytelling territory.
Step 1: Break the Day Into Distinct Scenes Before You Arrive
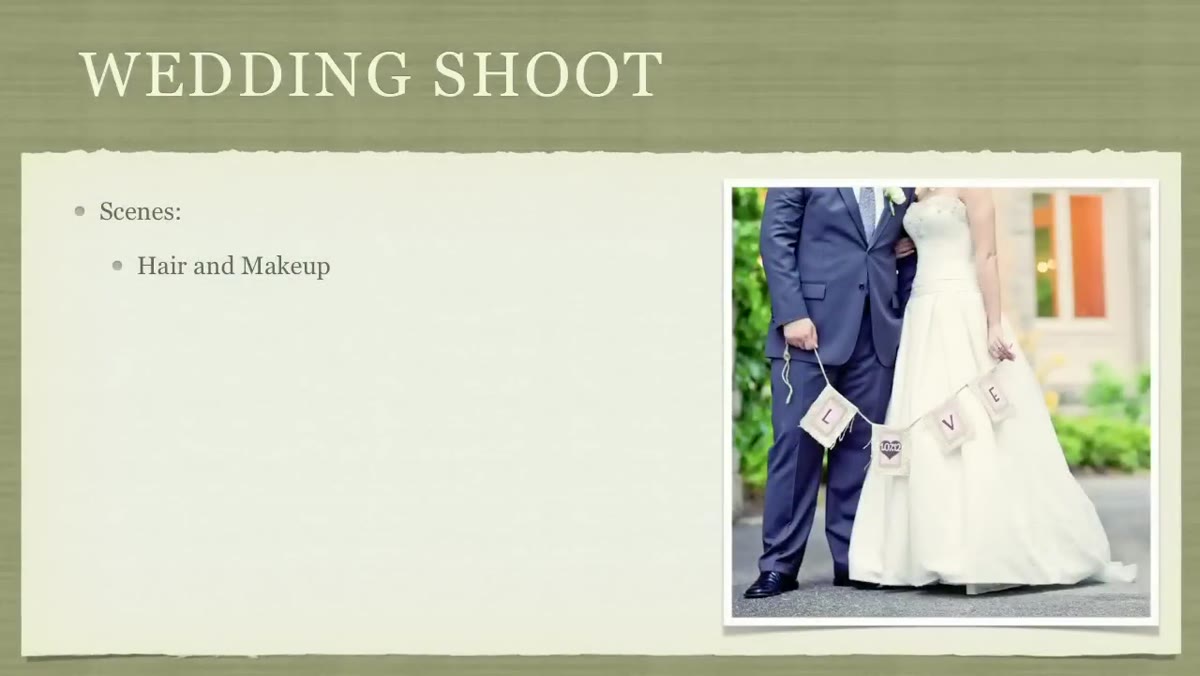 Instructors reviewing a visual scene board behind them
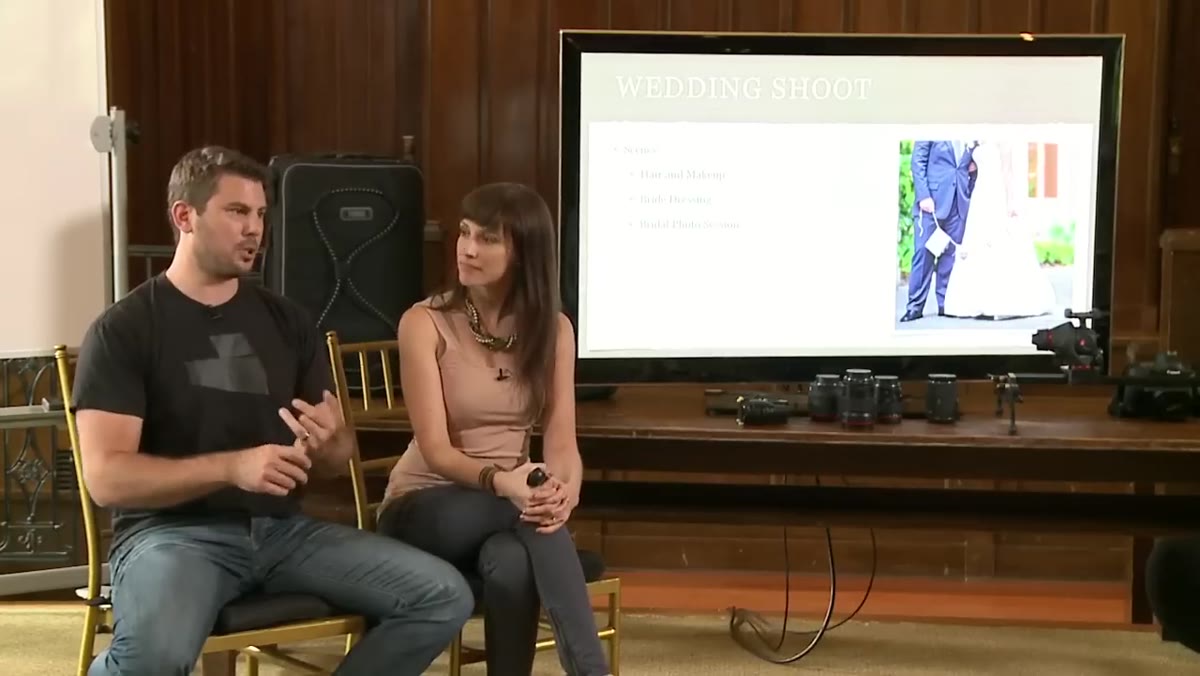
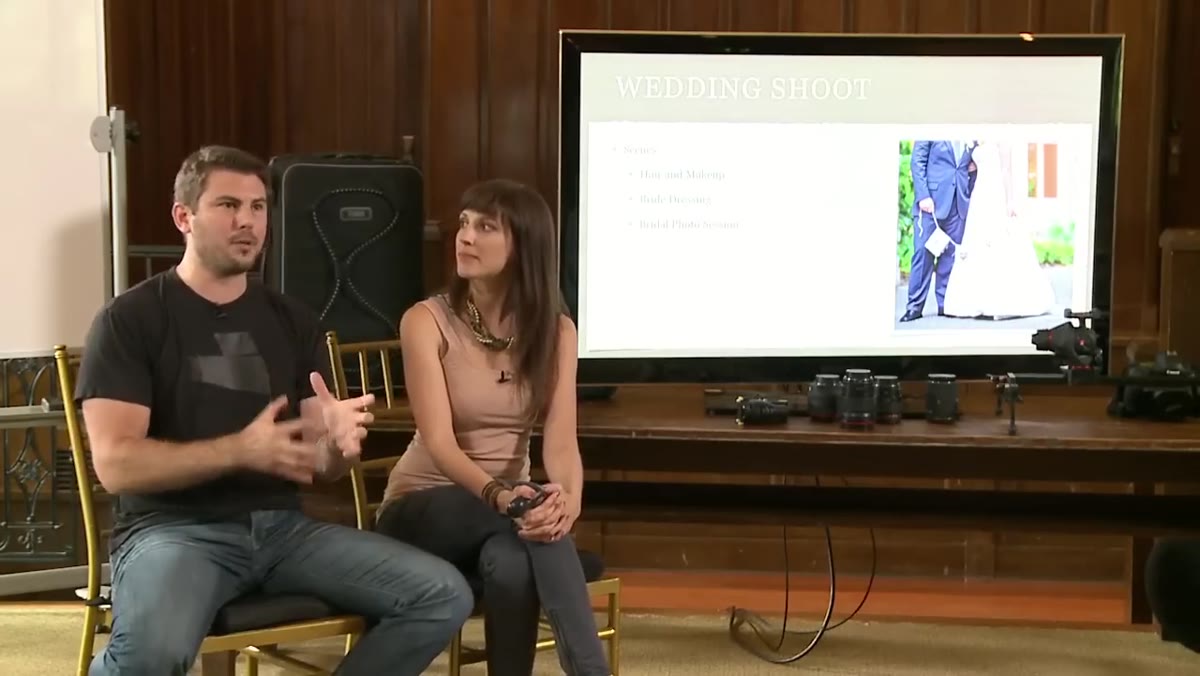
Before you pick up your camera, map the day on paper. Vanessa and Rob use a physical board to lay out each part of the wedding as its own scene: hair and makeup, dressing the bride, the bridal portrait session, and so on. Each scene gets its own intention. This isn’t just scheduling. It’s screenwriting. When you know what each section of the day is supposed to feel like, you stop being reactive and start being intentional.
For photographers coming from portrait or lifestyle work, this kind of pre-production thinking can feel foreign. But even a simple notes app list organized by time block will push you to think about what you’re trying to capture in each moment, not just document it.
Step 2: Shoot Details First, Before the Bride Is Camera-Ready
 Rings, dress, and shoes laid out as detail shots
Rob’s first move when he arrives at the bridal suite is to photograph the objects, not the person. Rings, shoes, the dress hanging up, invitations, jewelry. He does this deliberately while the bride is still mid-prep, because she isn’t ready to be on camera yet and he doesn’t want to waste that window.
This approach also gives you a natural buffer. You’re working the room, getting your eye in, figuring out the light, without any pressure to get “the shot.” By the time the bride is polished and ready, you’ve already warmed up and scouted the space. If you’re a solo shooter handling both stills and video, this is especially valuable because you can flip between formats during this quieter window.
Step 3: Time Your Transition to Makeup Coverage Carefully
 Makeup artist working, Rob describing when to shift focus
Rob is specific about this: he doesn’t start filming the makeup process until the bride looks presentable enough that she’d want to be in her own film. Hair half-done, false lashes half-on – that’s not the moment. You’re not chasing a reality-TV look. You’re building a cinematic memory.
Once she’s close to finished, that’s when you start working the makeup scene. And the advice here is to avoid the flat, front-on shot of someone getting their lips done. Instead, look for the makeup artist’s focused expression, the motion of a brush, the texture of a moment that communicates effort and care. These are the frames that actually cut well in a final film or photo series.
Step 4: Work 360 Degrees Around Your Subject
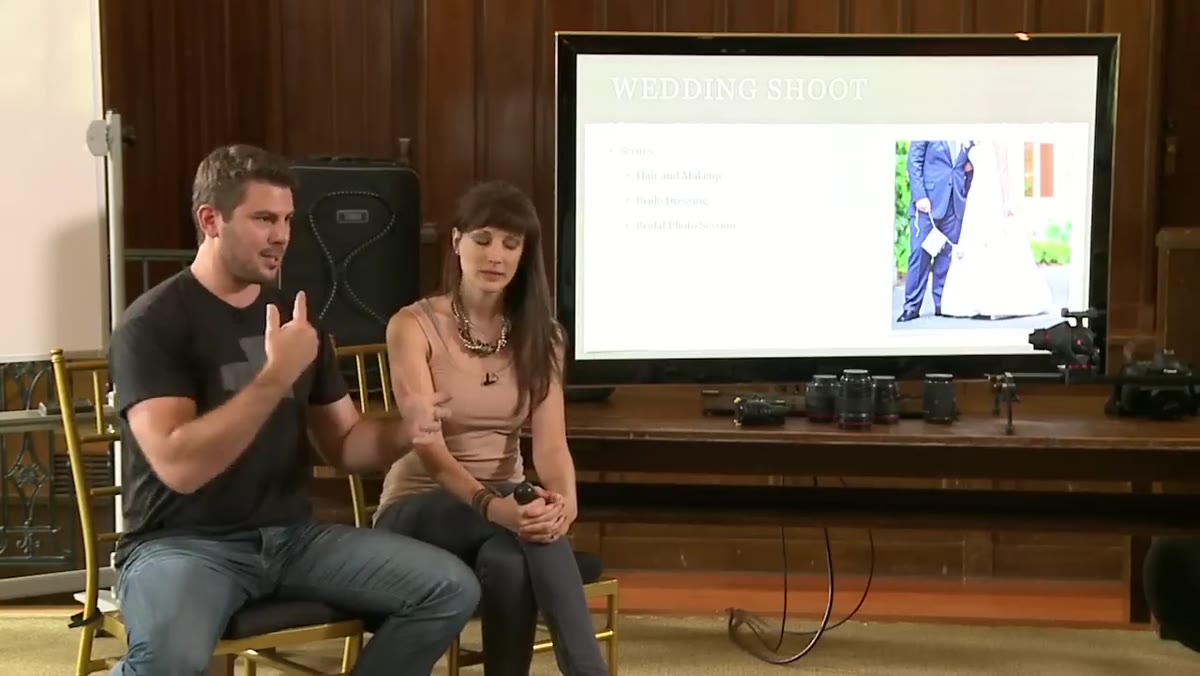 Rob describing moving fully around the subject to find angles
One of the most practical things Rob says in this whole tutorial: don’t plant yourself in one spot and shoot from there. Move all the way around your subject. Look for angles that feel unexpected. Try a wider frame that places the bride in the context of the room. Shoot through a glass or a reflective surface for a layered, editorial look. Use a slider if you have one to add movement.
This is advice I try to apply even when I’m just shooting with my phone on a Sunday walk. The habit of circling a subject before committing to a frame will improve your images no matter what gear you’re using. It trains you to see compositional options instead of defaulting to the first workable angle.
Step 5: Anticipate Emotional Moments – Don’t Wait for Them to Happen
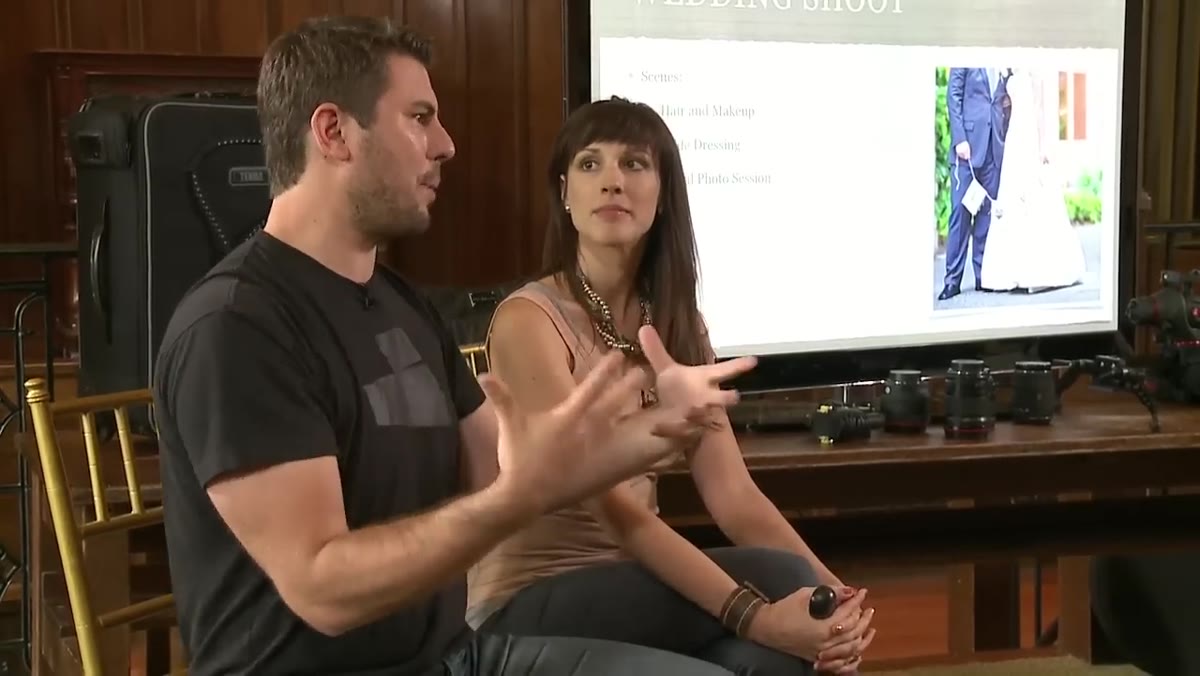 Discussion of anticipation, father about to enter the room
This is where Vanessa and Rob’s approach really separates from the average shooter. They talk about “anticipation of action” as a core skill: knowing what’s about to happen and being positioned for it before it does. If the father of the bride is waiting in the hallway, he’s going to come through that door at some point. When he sees his daughter, there will be a reaction. That reaction lasts about two seconds. You need to already be framing for it.
This means keeping part of your awareness on the edges of the room, not just what’s directly in front of your lens. Watch the people watching the bride. The mother helping with the dress, the sister standing back with her hand over her mouth. Those secondary figures carry so much emotion, and they’re almost always unguarded.
A Note From My Own Experience
The hardest thing about applying this framework isn’t technical – it’s behavioral. It requires you to slow your nervous system down in a high-adrenaline environment and stay observational instead of reactive. I find it helps to arrive earlier than you think you need to, even just fifteen minutes, so you’re not scrambling to set up while the moment is already happening.
I also keep a running mental checklist during prep: details, context, faces, motion, reaction. Not rigid. Just enough of a scaffold that when I glance around the room, I’m scanning for something specific rather than hoping the right moment announces itself.
The single most important shift this tutorial pushed me toward is this: treat morning prep as scene one of a film, not a warm-up for the “real” shooting later. The light is often softer, the schedule is looser, and the emotional stakes are genuinely high. If you’re only firing on all cylinders by the time the ceremony starts, you’ve already missed a third of the story.
Watch the full tutorial on YouTube – Vanessa and Rob go much deeper into the full day structure, and their on-set demonstrations are worth studying closely.
Comments (2)
Clear and practical. No fluff. Appreciate that.
Couldn't agree more. I've seen this make a huge difference in lighting work specifically.
Leave a Comment