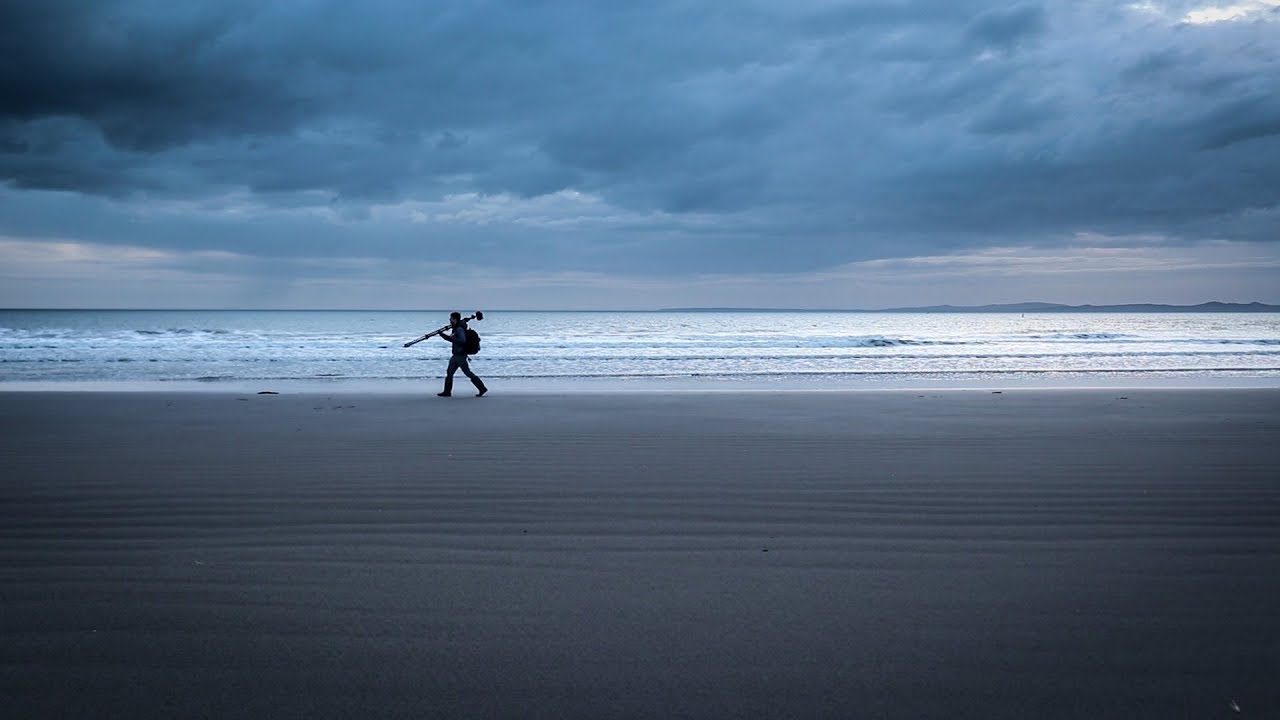
There’s a particular kind of shot I used to avoid completely: the wide, almost-empty frame with one small subject and a lot of breathing room around it. It felt lazy to me, like I hadn’t tried hard enough to fill the scene. Then I started studying how photographers like Thomas Heaton actually approach those images, and I realized I had it completely backwards. The emptiness is the subject. Learning to see it, find the right anchor within it, and expose for the mood rather than the detail has quietly changed the way I shoot beaches, fields, and open landscapes. Watch the full tutorial on YouTube
In this Thomas Heaton tutorial, he heads to the sand dunes and beach along the Llyn Peninsula in North Wales during genuinely difficult conditions. It had been raining for two straight days. He slipped in the mud and nearly hurt himself. The light was unreliable. And yet he came away with a quietly beautiful minimalist coastal image. What makes the video worth studying isn’t just the final photo. It’s watching him think out loud as he scouts, commits, backtracks, and adapts. That problem-solving process is where the real lesson lives.
If you’ve ever stood on a beautiful beach and come home with nothing you wanted to keep, this breakdown is for you.
Step 1: Choose Your Location Based on Mood, Not Just Drama
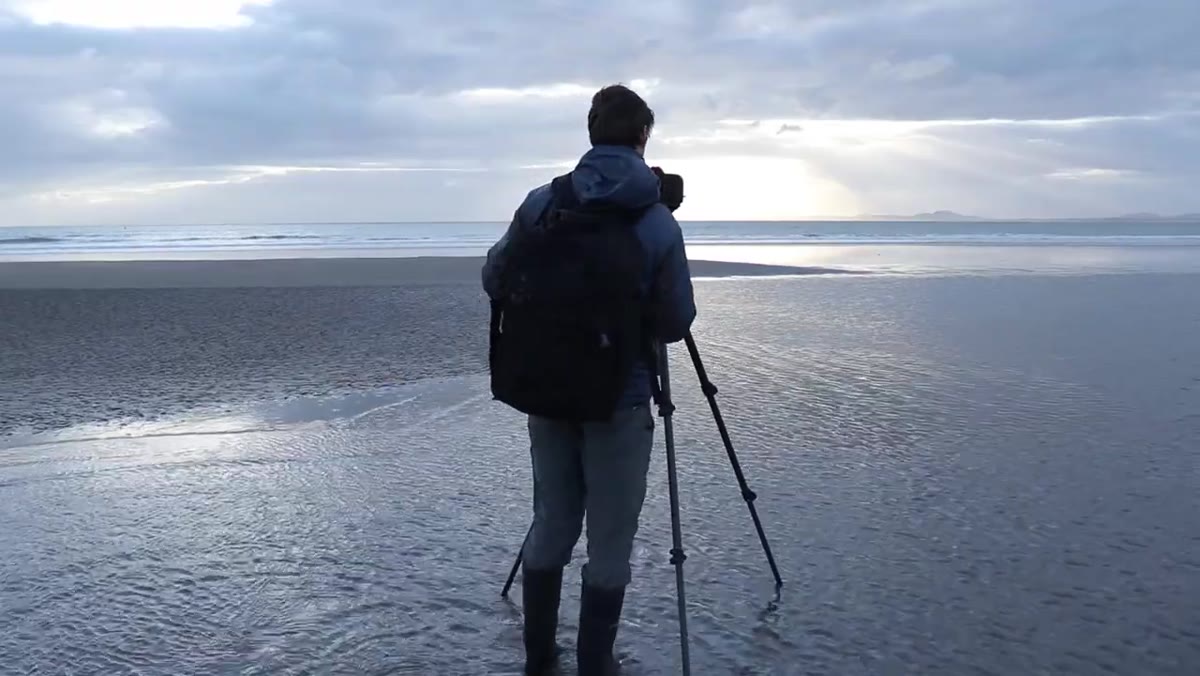
 Heaton walking across wide open sandy beach toward dunes
Before you pick a specific composition, Heaton makes a point of choosing the location based on the feeling he’s after. Here, he deliberately chose the beach over other suggested spots because he wanted open, calm space rather than rugged drama. That’s a creative decision most of us skip over because we head straight for the most famous or most photographed spot.
Ask yourself what emotional tone you want the image to carry. Minimalist and serene? You need open space with simple geometry. Dynamic and powerful? You might want converging rock formations or crashing surf. Matching the location to the intended mood before you arrive saves you a lot of frustration on the ground.
Step 2: Scout on Foot Before You Set Up
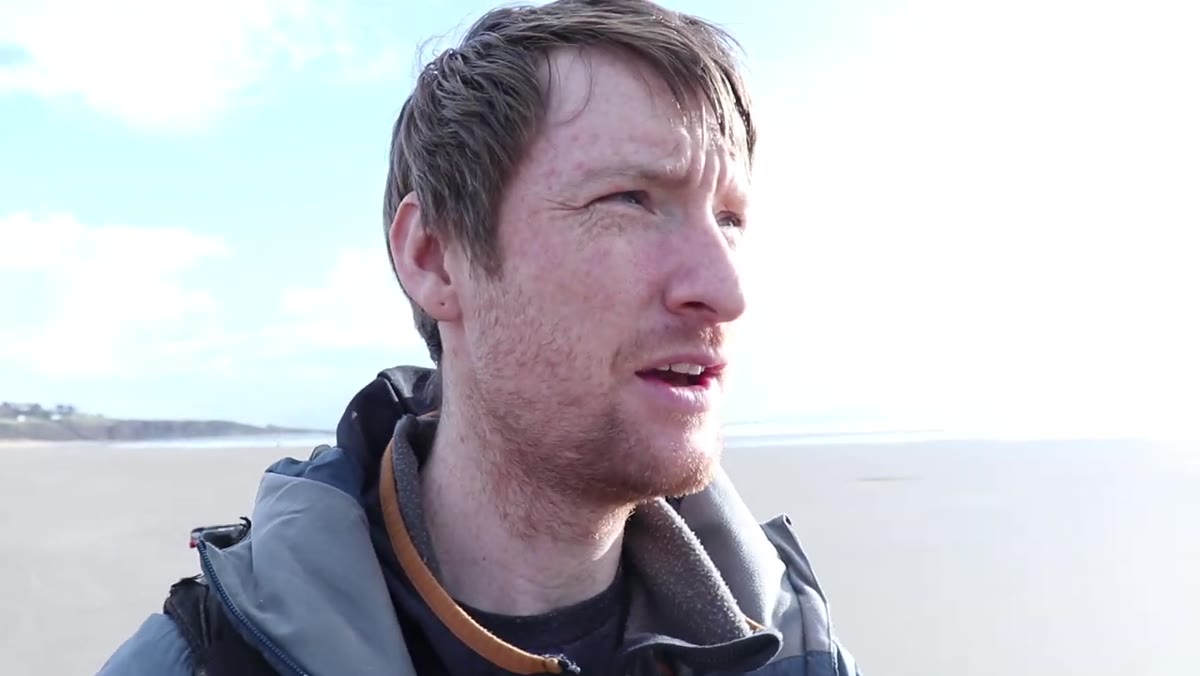
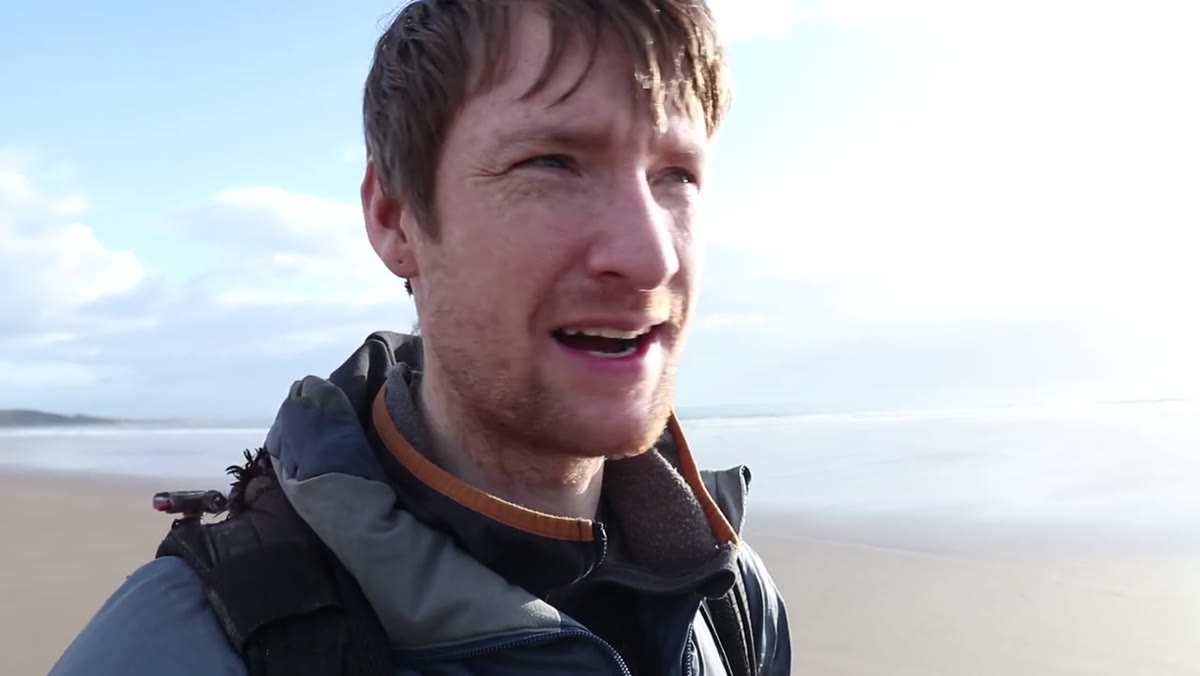 Heaton walking north along beach, deliberating which direction to continue
Heaton walks miles along the beach before he shoots a single frame. He’s actively looking for a subject anchor within the open space: a rock, a tide pool, a shape in the sand, anything that gives the viewer’s eye a place to land. He even turns around and backtracks when one direction isn’t offering what he needs.
This is a step I genuinely think most photographers rush. Even on my Sunday morning photo walks around Seattle, the shots I’m most proud of come from the second or third loop of a location, not the first. Give yourself permission to wander without your camera raised. Notice what’s changing, what the tide or light is doing, and where natural shapes or lines are forming before you commit to a tripod position.
Step 3: Let the Scene Change and Work With It
 Incoming tide beginning to surround a strip of exposed sand
Coastal conditions don’t hold still, and Heaton treats that as a feature rather than a problem. The incoming tide is actively reshaping the scene while he’s shooting. Instead of fighting it, he watches for the moment when the water creates something useful, in this case, a curving zigzag strip of dry sand surrounded by shallow water that acts as a natural leading line.
The practical takeaway: set a wider window of time for coastal shoots than you think you need. At least an hour before and after golden hour gives the tide room to give you something interesting. Watch the shoreline rather than your phone. The best compositions often appear and disappear in minutes.
Step 4: Find a Single Subject to Anchor the Emptiness
 Close view of sand strip forming abstract zigzag shape in water
A truly empty frame is very hard to pull off. What reads as minimalist in a great image almost always has one clear anchor point. For Heaton, it’s that isolated strip of sand cutting through the incoming water, with the sky reflected around it. The shape draws your eye in and then lets it travel.
When you’re in a wide open location, train yourself to look for these small anchors rather than trying to fill the frame with big features. A single piece of driftwood, a cluster of pebbles, a ripple in the sand, any of these can carry a composition if the light and space around them are treated with intention. The subject doesn’t have to be big. It has to be clear.
Step 5: Use Long Exposure to Reinforce the Mood
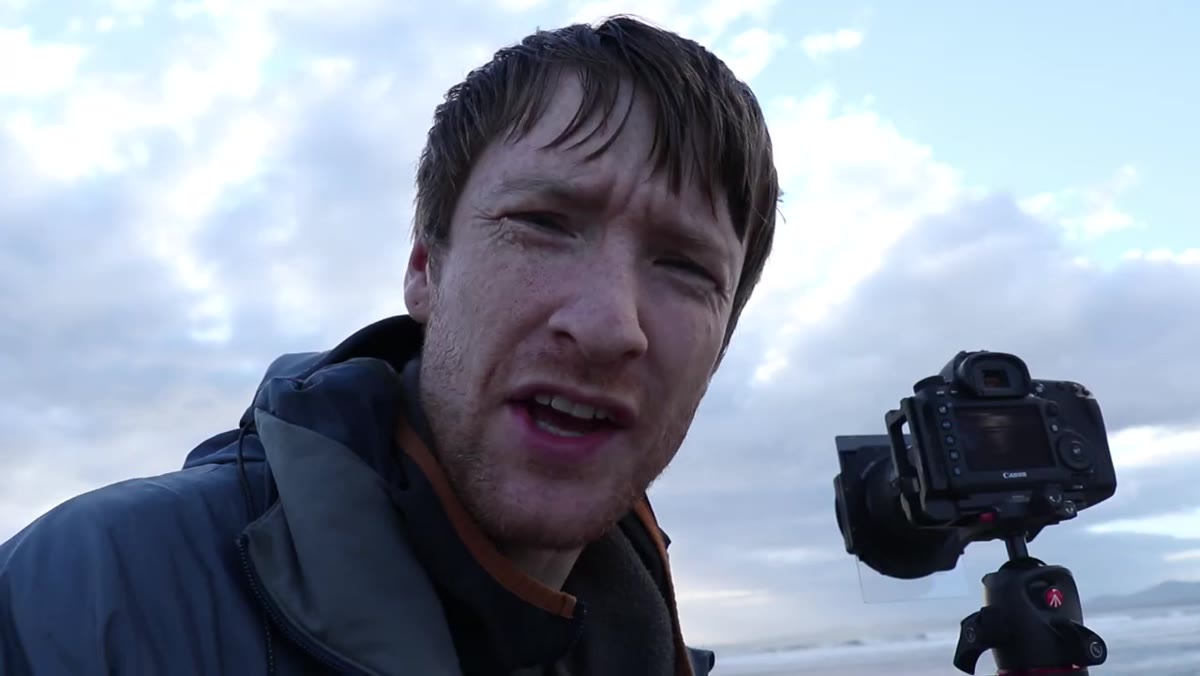
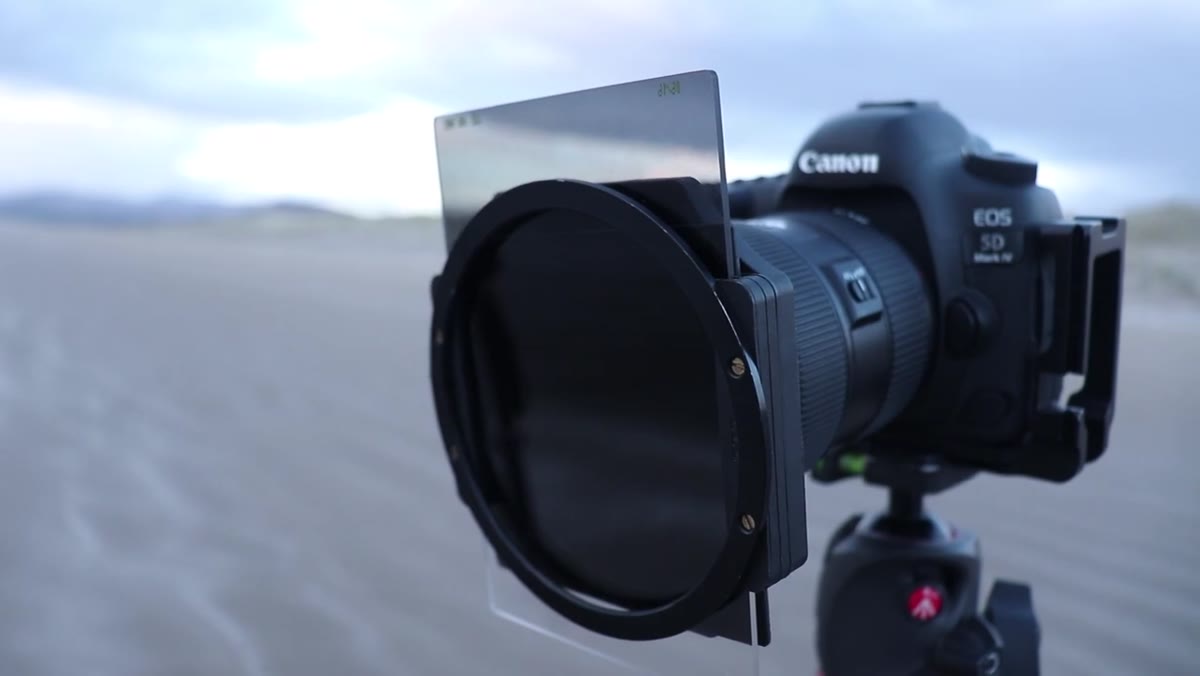 Camera on tripod with neutral density filter setup on beach
Once Heaton finds his composition, he reaches for a neutral density filter and shoots a long exposure. The softened, almost silky water and sky turn what could be a snapshot into something that feels meditative. That’s not an accident. The blur removes the busyness of moving water and sky, which supports the calm and open feeling he was after from the very start of the shoot.
For this kind of image, start with an ND filter that gives you somewhere between 1 and 4 seconds of exposure in bright coastal light. That’s usually enough to smooth the water without turning it completely featureless. Set your aperture to f/8 to f/11 for maximum sharpness across the frame, and use a remote shutter release or your camera’s timer to avoid any camera shake. If you’re not ready to invest in ND filters yet, shoot at the very edge of golden hour when the light is low enough to slow your shutter naturally.
Step 6: Commit to the Conditions You Have
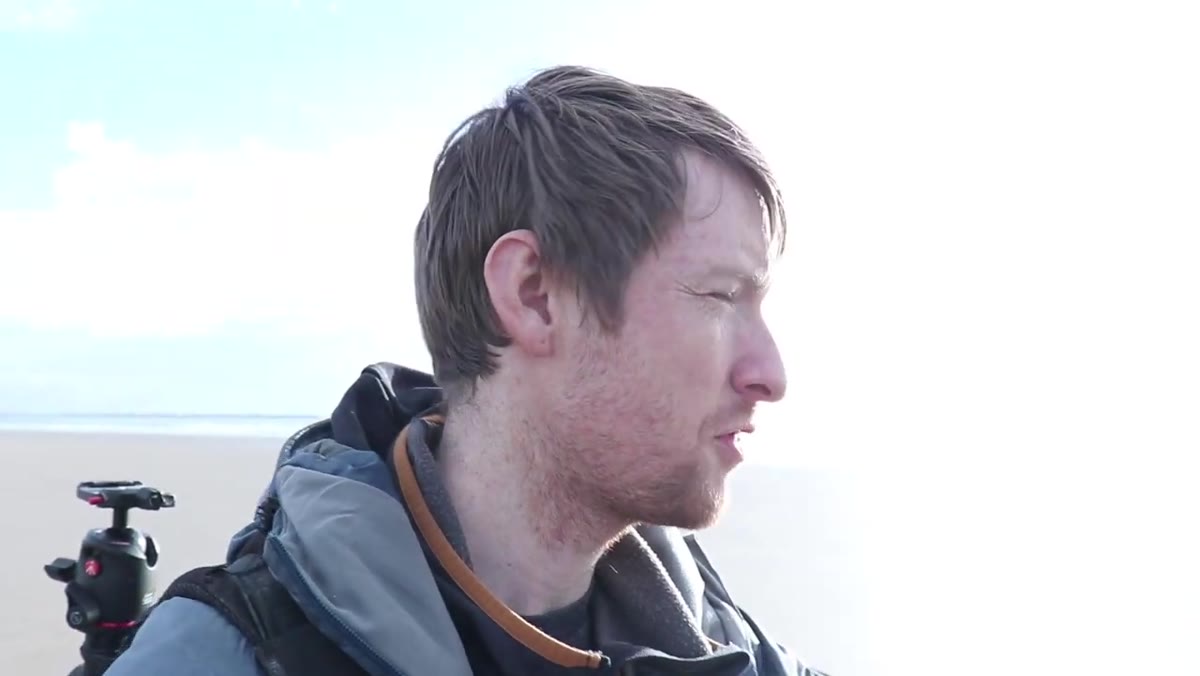 Heaton smiling despite overcast sky and challenging conditions
This one isn’t a camera setting. It’s an attitude. Heaton had two days of rain. He fell over in the mud. The tide wasn’t cooperating. And he still produced something worth sharing. The willingness to work within imperfect conditions rather than wait for perfect ones is what separates people who improve from people who have a lot of “almost went out shooting” stories.
Overcast light on a beach actually helps minimalist compositions because it removes harsh shadows and keeps tones even. Incoming tides give you dynamic shapes. What feels like a bad day to shoot is often just a different set of creative constraints, and constraints are useful.
What I’d Add From My Own Experience
The one thing I’d layer onto Heaton’s process is thinking about the foreground-to-sky ratio before you lock in your tripod height. In minimalist coastal shots, a small shift of a few inches can completely change how much weight the sky carries versus the sand or water. I shoot a few quick test frames at different heights, often just handheld, to get a feel for the balance before I commit. Sometimes the sky deserves to be two-thirds of the frame. Sometimes the sand earns that space. It depends on where the texture and light are strongest. Don’t set your tripod at standing eye level by default and walk away. Get low, get high, see what the scene is asking for.
The single most important thing Heaton demonstrates in this video is that the idea comes first. He decided on a mood, chose a location to match it, then let the specifics of composition, subject, and exposure serve that original intention. Every decision flows from that starting point. When a shoot feels scattered, it’s usually because that first step got skipped.
Watch the full tutorial on YouTube to see Heaton’s full scout and the final image side by side with the conditions he was working in. It’s a great reminder that the story behind a photo is usually messier, wetter, and more interesting than it looks.
Comments (1)
Printing this out and pinning it next to my monitor. That good.
Leave a Comment