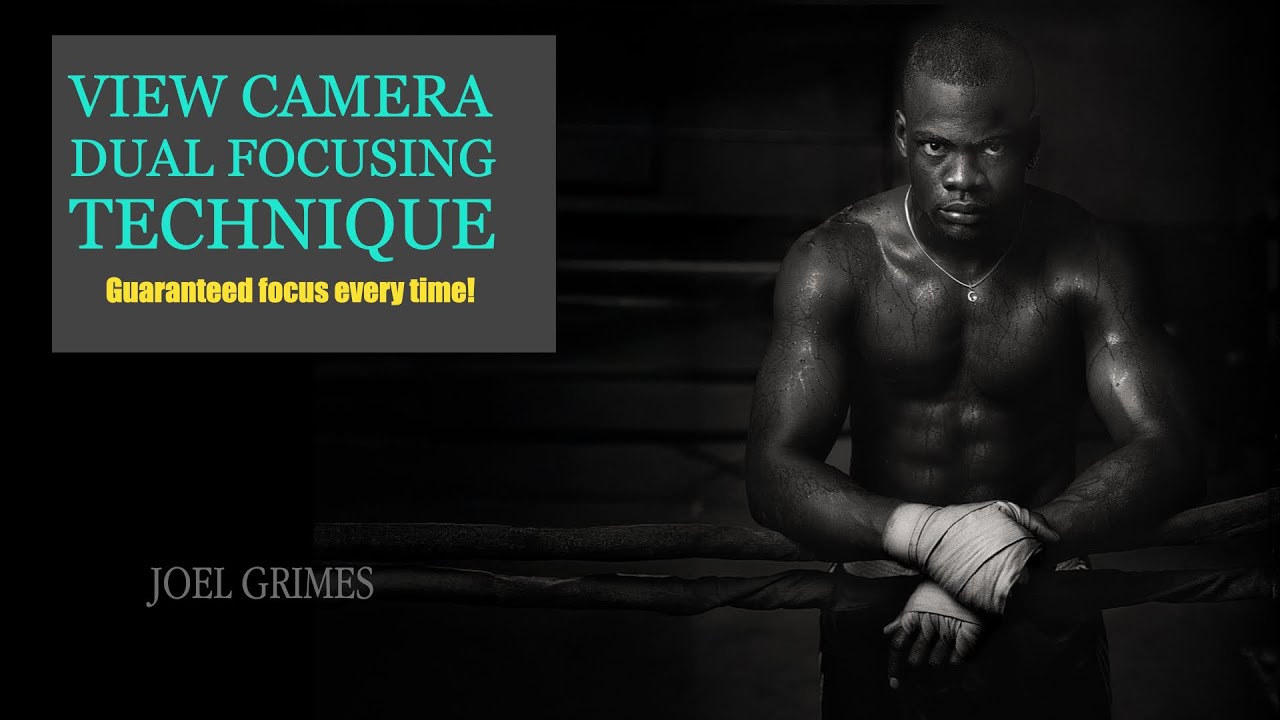
There is a specific kind of dread that comes from getting film back and realizing your shot is soft. Not artistically soft. Out of focus. I’ve felt a version of that with digital files, staring at a portrait at 100% zoom and watching the eyes dissolve into mush. Now multiply that by the cost, the rarity, and the sheer ceremony of shooting 4x5 film, and you start to understand the problem Joel Grimes was facing when he set out to photograph portraits on a large format view camera for major ad campaigns. Watch the full tutorial on YouTube
In this Joel Grimes Photography tutorial, Grimes walks through a technique he developed in the early 1990s after a painful lesson: a portrait of a Navajo medicine man, a once-in-a-lifetime subject, ruined by focus error. Large format cameras don’t have autofocus. They don’t have a viewfinder you can peer through while you shoot. You focus on a ground glass at the back of the camera, then pull the dark slide, then fire. If your subject moves even an inch forward or backward between those steps, the plane of focus shifts and the image is gone. Grimes refused to accept that as an inevitable trade-off, and what he came up with is genuinely one of those ideas that makes you wonder why nobody said it out loud sooner.
I keep coming back to this tutorial because the underlying principle, using two separate points of reference to lock in focus with confidence, applies far beyond 4x5 film. It’s a mindset shift about how we confirm and commit to a focal plane, and that thinking is useful whether you’re shooting tethered with a mirrorless camera or trying to lock focus on a subject who won’t stop slightly swaying.
Step 1: Understand Why Large Format Focus Is So Unforgiving
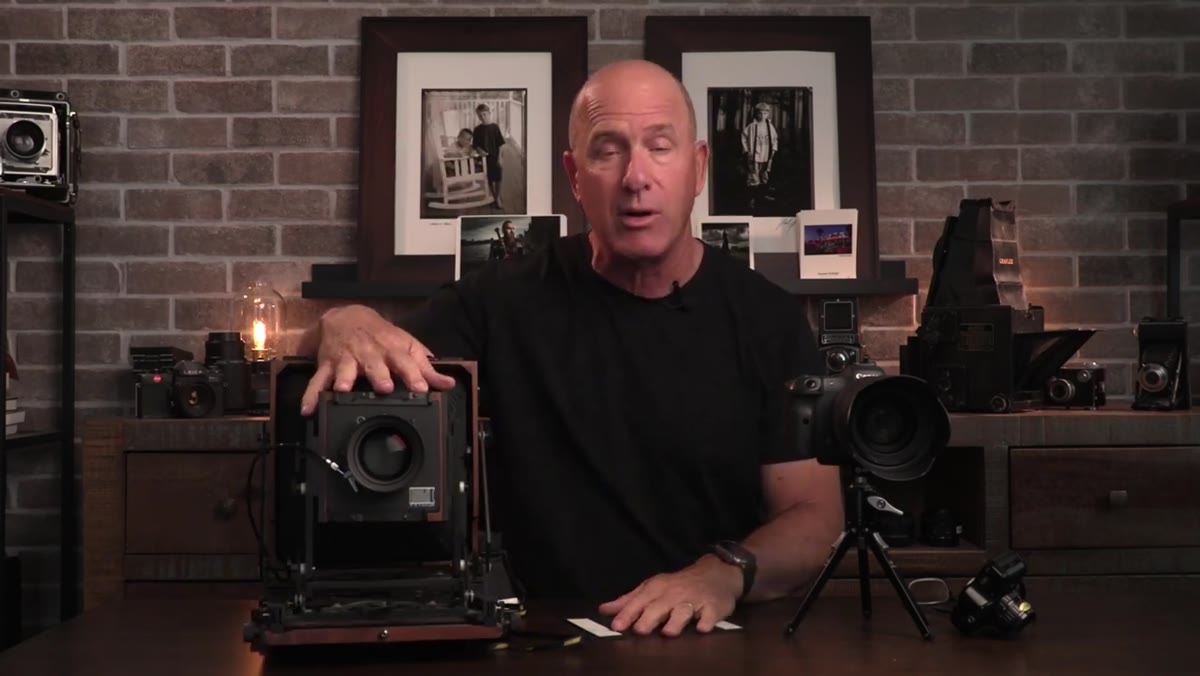 Joel holding a 4x5 view camera in studio
A 4x5 view camera produces exceptional image quality, but it asks a lot of the photographer in return. You focus by looking at a dim, upside-down image on a ground glass screen at the back of the camera, usually under a dark cloth. Once you’re satisfied with focus, you load the film holder, pull the dark slide, and only then do you trigger the shutter. That sequence takes time. Seconds, sometimes longer. A subject who shifts their weight, leans in, or even exhales deeply can move enough to place their eyes outside the depth of field, which at wider apertures on a large format lens is razor thin.
Joel holding a 4x5 view camera in studio
A 4x5 view camera produces exceptional image quality, but it asks a lot of the photographer in return. You focus by looking at a dim, upside-down image on a ground glass screen at the back of the camera, usually under a dark cloth. Once you’re satisfied with focus, you load the film holder, pull the dark slide, and only then do you trigger the shutter. That sequence takes time. Seconds, sometimes longer. A subject who shifts their weight, leans in, or even exhales deeply can move enough to place their eyes outside the depth of field, which at wider apertures on a large format lens is razor thin.
The traditional workarounds Grimes mentions, like a neck brace to prevent movement or a string measured to the subject’s nose, address the symptom but not the root problem. They try to hold the subject still rather than give the photographer a reliable way to confirm the subject is in the right position at the moment of exposure.
Step 2: Set Up Your Focus Point on the Ground Glass
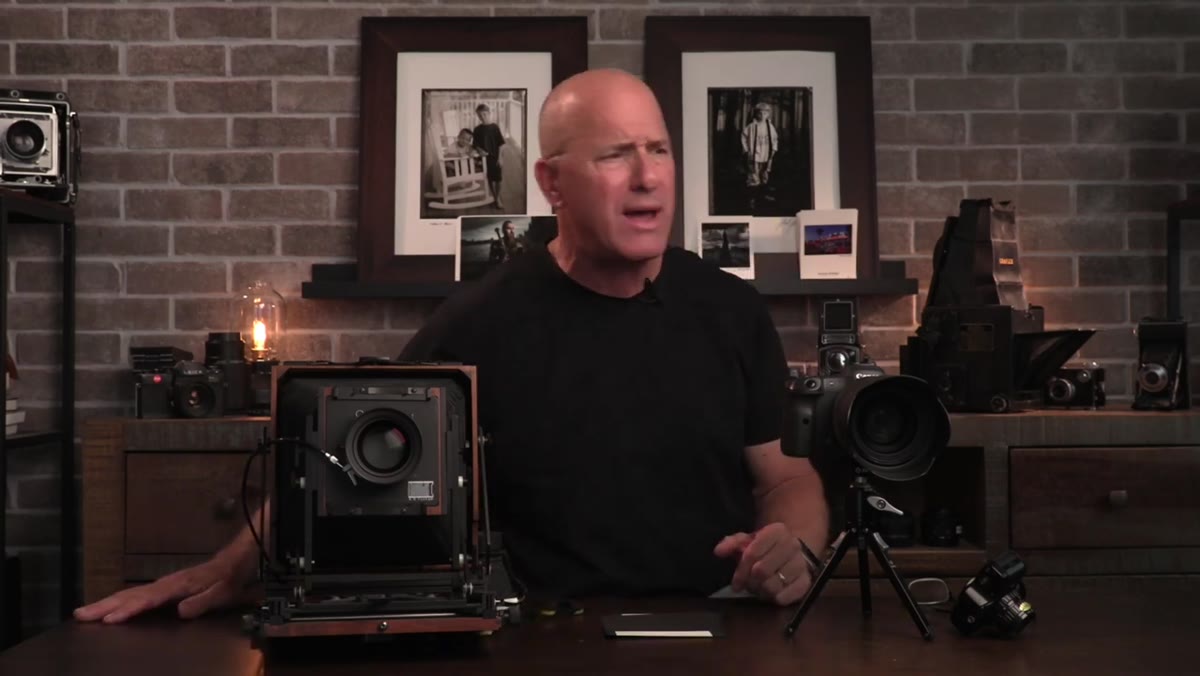 Ground glass view of portrait subject on 4x5 back
With the camera on a tripod and your subject in position, focus carefully on the ground glass as you normally would. For portraits, you’re focusing on the eyes, specifically the near eye if there’s any angle to the face. Take your time here. Use a loupe if you have one. This is the reference position, the exact plane in space where sharp focus lives for this setup.
Ground glass view of portrait subject on 4x5 back
With the camera on a tripod and your subject in position, focus carefully on the ground glass as you normally would. For portraits, you’re focusing on the eyes, specifically the near eye if there’s any angle to the face. Take your time here. Use a loupe if you have one. This is the reference position, the exact plane in space where sharp focus lives for this setup.
The key is that once you’ve achieved this focus on the ground glass, you do not touch the focus ring again for the rest of the session. The lens position is locked. Every adjustment from this point forward happens on the subject’s end, not the camera’s end.
Step 3: Mark the Exact Focus Distance with a Secondary Reference Point
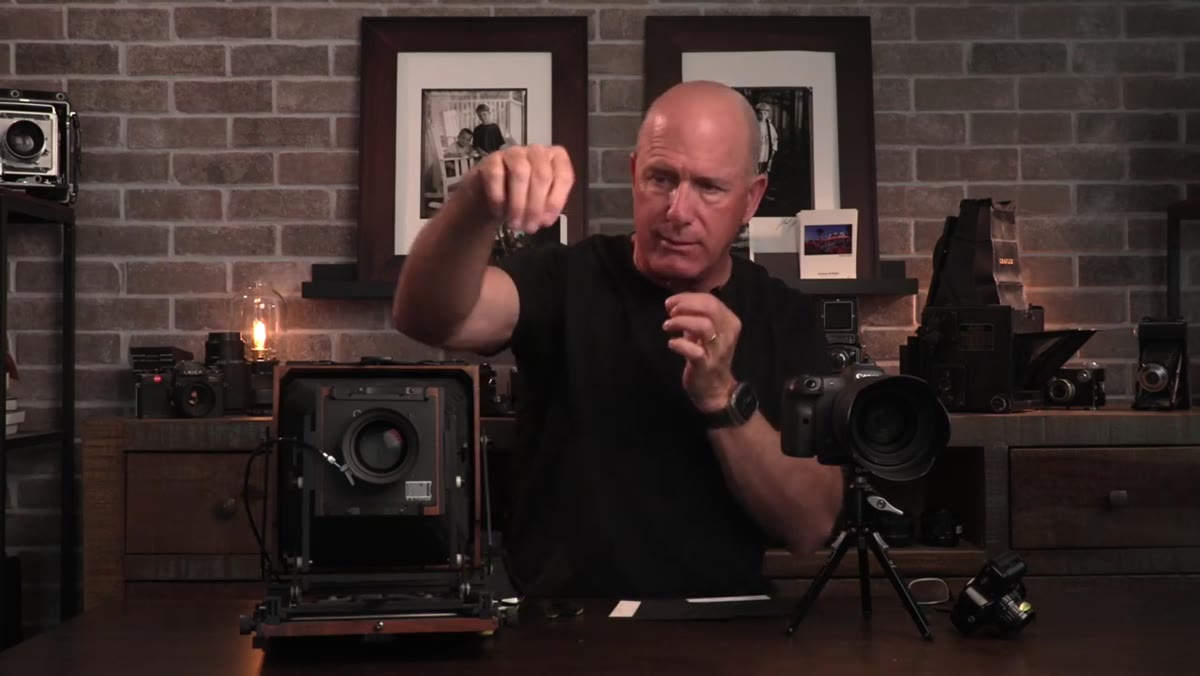 Measuring or marking subject position relative to camera
Here is the core of Grimes’s technique. Once focus is confirmed on the ground glass, identify a fixed, physical reference point in the scene at that exact focused distance from the lens. This becomes your anchor. Grimes describes this as a dual focusing approach because you’re not relying on a single method of confirming focus. You’re using the ground glass to establish the plane, and then you’re using a real-world marker to reproduce it reliably every time your subject needs to return to that spot.
Measuring or marking subject position relative to camera
Here is the core of Grimes’s technique. Once focus is confirmed on the ground glass, identify a fixed, physical reference point in the scene at that exact focused distance from the lens. This becomes your anchor. Grimes describes this as a dual focusing approach because you’re not relying on a single method of confirming focus. You’re using the ground glass to establish the plane, and then you’re using a real-world marker to reproduce it reliably every time your subject needs to return to that spot.
The reference point should be something visible and consistent. A mark on the floor, a piece of tape, a small object placed at the subject’s feet, anything that communicates to the subject where they need to be standing or leaning. The goal is that you can reload a film holder, have a conversation, adjust a light, and still bring your subject back to precisely the right position without touching the camera.
Step 4: Direct the Subject Back to the Reference Point Before Every Exposure
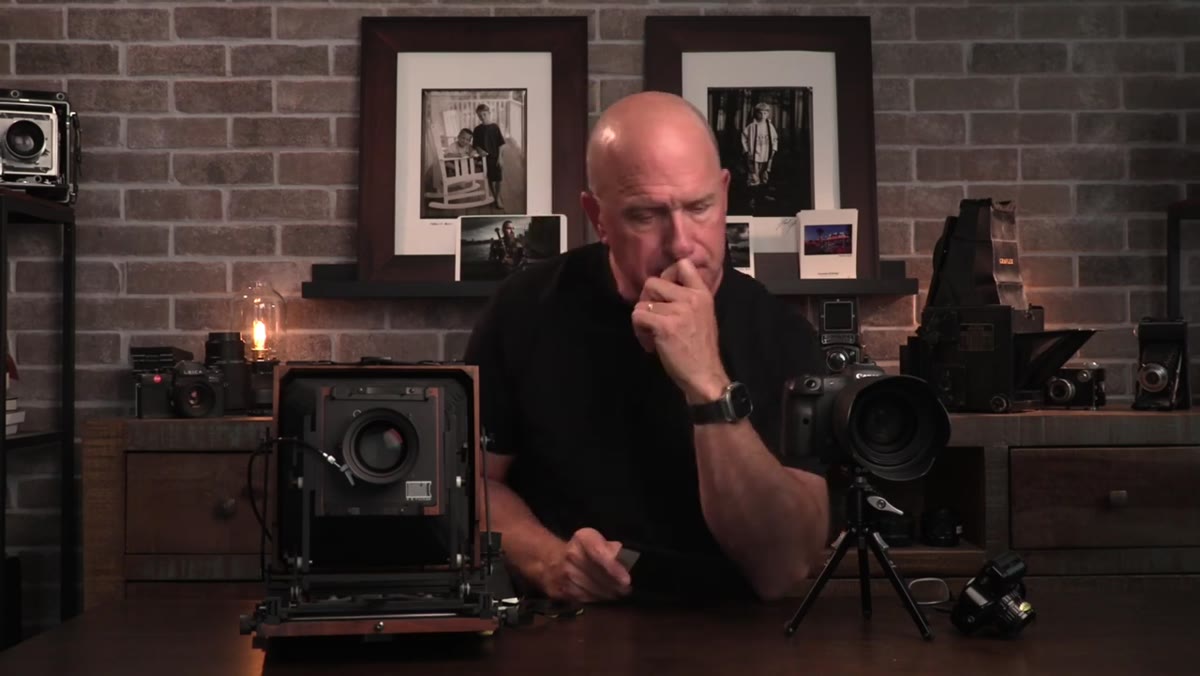 Photographer directing subject back into position before firing
This is where the technique pays off in practice. Before you pull the dark slide and fire, you ask your subject to return to the marked position. You’re not guessing. You’re not hoping they held still. You have a physical check that costs you nothing except a moment of direction. If the mark is on the floor, you glance at their feet. If it’s a tape line on a surface they’re touching, you check contact. Then you shoot.
Photographer directing subject back into position before firing
This is where the technique pays off in practice. Before you pull the dark slide and fire, you ask your subject to return to the marked position. You’re not guessing. You’re not hoping they held still. You have a physical check that costs you nothing except a moment of direction. If the mark is on the floor, you glance at their feet. If it’s a tape line on a surface they’re touching, you check contact. Then you shoot.
Grimes describes this as the thing that changed his professional life once he sorted it out. He went from avoiding large format portraits out of fear to building an entire ad campaign career around them. That’s not hyperbole about a camera system. That’s the result of removing one specific, solvable source of failure.
Step 5: Bracket Your Film Holders Around the Confirmed Position
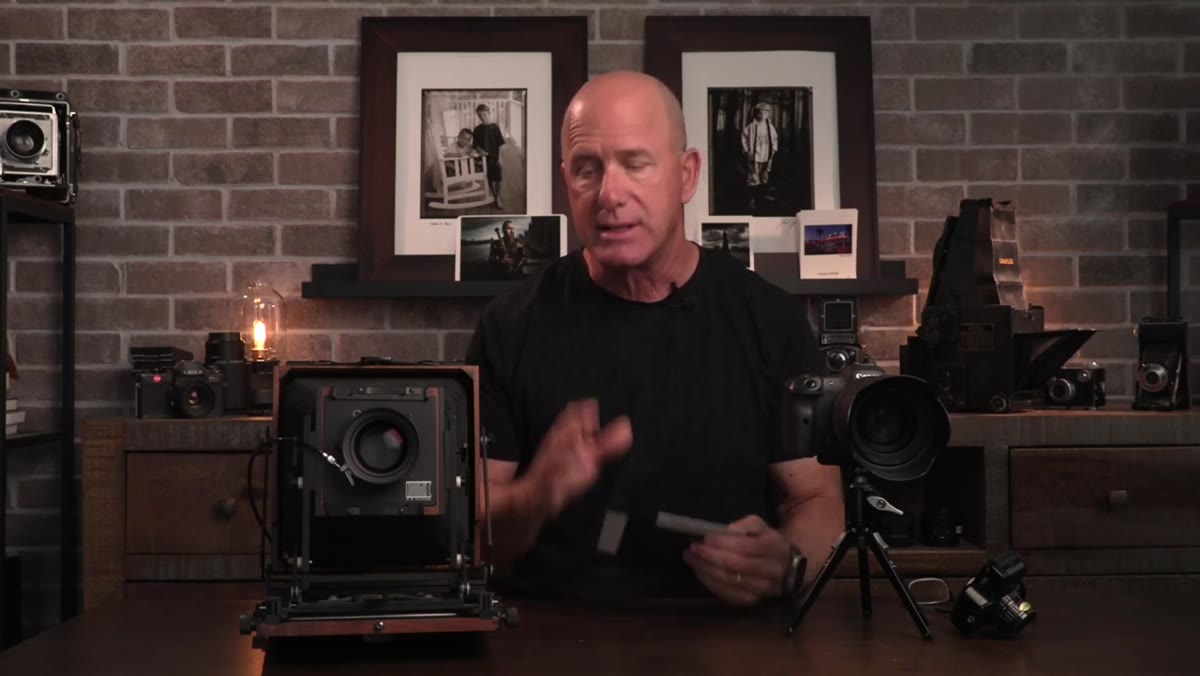 Multiple film holders staged and ready beside the camera
Even with this system in place, Grimes shot multiple frames. Large format film holders hold two sheets, one per side, and he would cycle through several holders per setup. The dual focusing technique doesn’t replace good shooting discipline. It supports it. You still work quickly, you still bracket exposure when the lighting warrants it, and you still shoot more than one frame of any important moment.
Multiple film holders staged and ready beside the camera
Even with this system in place, Grimes shot multiple frames. Large format film holders hold two sheets, one per side, and he would cycle through several holders per setup. The dual focusing technique doesn’t replace good shooting discipline. It supports it. You still work quickly, you still bracket exposure when the lighting warrants it, and you still shoot more than one frame of any important moment.
The dual reference system means that when you burn through those frames, you can trust that each one has a real chance of being sharp, rather than hoping one out of six is usable because you got lucky with subject movement.
What I’d Add from My Own Experience
The lesson I keep pulling from this tutorial is about building physical confirmation into your workflow rather than relying purely on visual or technical checks. I started doing something similar when I shoot tethered portraits now. I’ll set a focal point on a test shot, then put a small piece of gaffer tape on the floor where my subject’s toes land at that distance. It sounds almost too simple, but it’s eliminated a whole category of soft shots that I used to chalk up to “the subject moved.”
If you shoot with autofocus and eye-tracking, this might seem like a relic. But there are situations where AF fails or where you want the control of a manually locked focus plane, low light, shallow depth of field at longer focal lengths, or any time you’re working with a subject who’s moving in and out of a specific mark. The habit of building a physical reference point into your setup is worth developing no matter what gear you’re using.
The single most transferable idea from this entire tutorial is this: when focus is too important to leave to chance, build a system that lets you confirm it with your eyes and your hands, not just your camera. Grimes invented that system for 4x5 film under professional pressure, but the logic holds anywhere sharpness matters.
Watch the full tutorial on YouTube to see Grimes walk through the technique with his actual camera and hear the full story behind how he developed it.
Comments (4)
Would love to see a follow-up going deeper into this topic.
Just used this on a wedding shoot edit. Client was thrilled.
Great breakdown. The step-by-step approach really helps.
The tip about how to never miss focus on a l was the missing piece for me. Thank you.
Leave a Comment