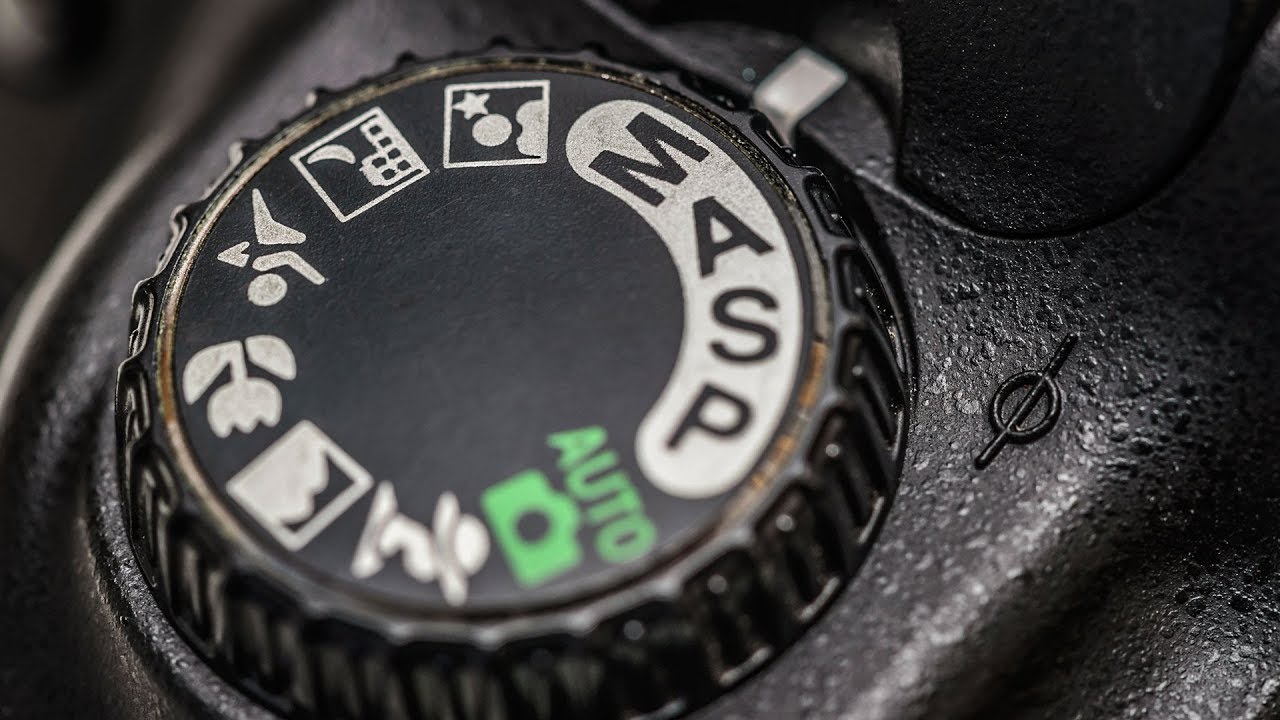
I still remember the stranger at the coffee shop who pointed at my camera and asked, “How do you get your photos to look like that?” I had to stop and think about how to explain it without overwhelming her. The honest answer was: manual mode. Not magic, not expensive gear. Just learning to tell the camera what to do instead of letting it guess.
That is exactly what this tutorial tackles. Watch the full tutorial on YouTube from Kelvin of Kelvin Designs, and you will see a no-nonsense crash course focused on portraits. Kelvin frames it as a starting point, not a masterclass, and that is exactly the right framing. Manual mode feels intimidating until you realize there are really only three things you need to control. Once those click, everything else falls into place.
What I appreciate most about this tutorial is how honest it is about the learning curve. You will make mistakes. You might miss a shot or two. But the payoff, having real control over your image before you ever open a single editing app, is worth every awkward fumble at the dial. Let me walk you through the steps Kelvin covers so you can follow along whether or not you have the video in front of you.
Step 1: Switch Your Camera from Auto to Manual Mode
 Camera dial being moved from Auto to Manual position
Find the mode dial on the top of your camera. Depending on your model, it will either say “A” for auto and “M” for manual, or it will spell out the full words. Turn it to M. That is your starting point for everything that follows.
Camera dial being moved from Auto to Manual position
Find the mode dial on the top of your camera. Depending on your model, it will either say “A” for auto and “M” for manual, or it will spell out the full words. Turn it to M. That is your starting point for everything that follows.
This single switch is the psychological commitment. You are telling yourself that you are going to make the exposure decisions, not the camera. Do not panic when the image looks too dark or too bright at first. That is completely normal, and the next three steps will fix it.
Step 2: Set Your Aperture (F-Stop) for the Look You Want
 Camera screen showing aperture/f-stop value display
Aperture is the size of the opening inside your lens, and it is measured in f-stops. A low number like f/1.4 or f/1.8 means a wide opening. A high number like f/11 or f/16 means a narrow opening.
Camera screen showing aperture/f-stop value display
Aperture is the size of the opening inside your lens, and it is measured in f-stops. A low number like f/1.4 or f/1.8 means a wide opening. A high number like f/11 or f/16 means a narrow opening.
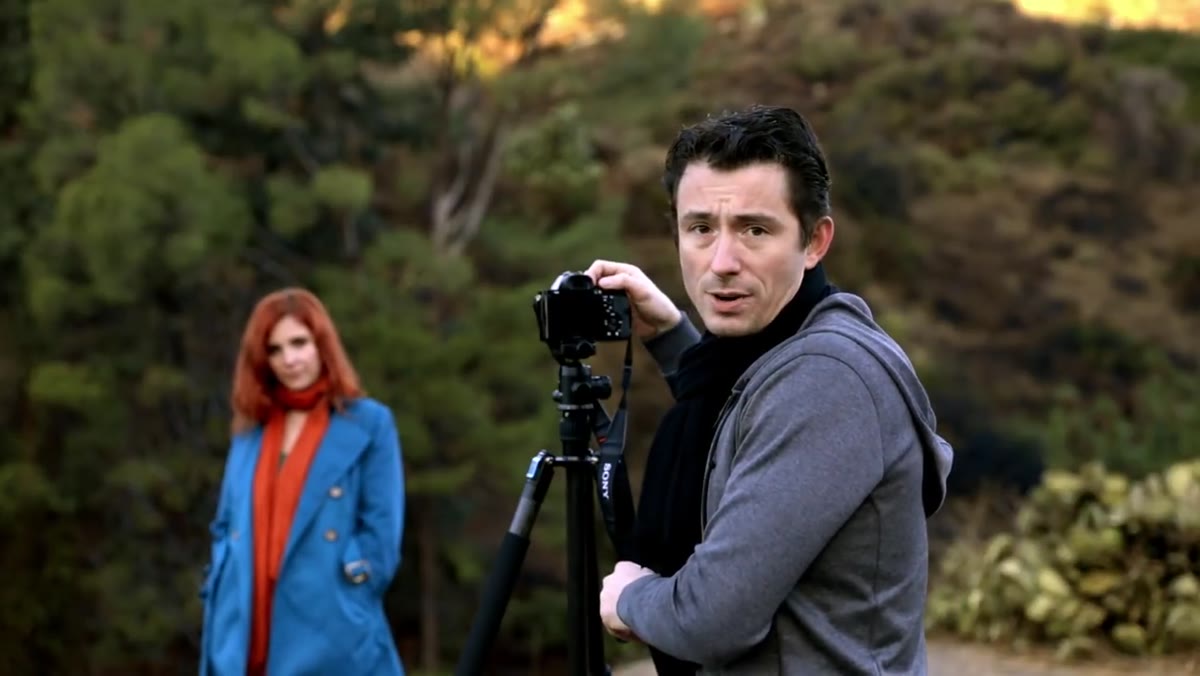
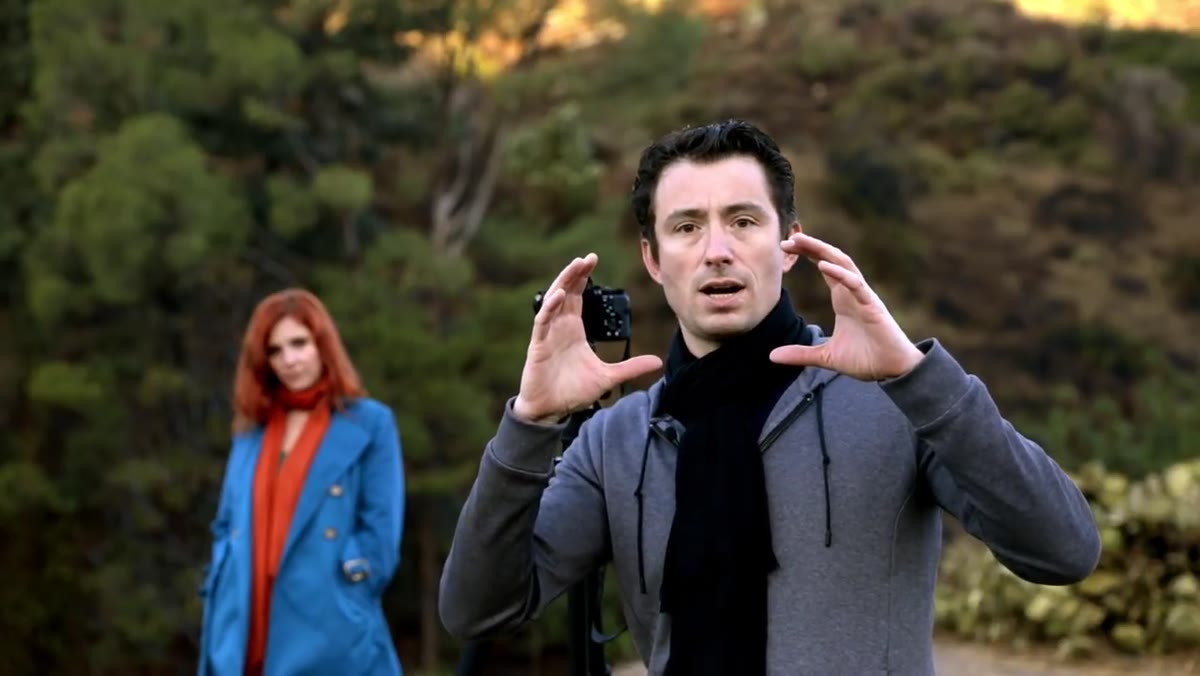
For portrait photography, Kelvin recommends opening your aperture as wide as your lens will allow. He was shooting at f/1.5 in this tutorial. A wide aperture creates that soft, blurry background effect called bokeh, which separates your subject cleanly from whatever is behind them. Think of it this way: the wider the opening, the shallower the zone of sharp focus. Your subject stays crisp while everything else melts away. Set your aperture first, before touching anything else, because it defines the creative intent of the shot.
Step 3: Set Your ISO to a Clean Starting Point
 ISO setting being adjusted to 200 on camera menu
ISO controls how sensitive your camera’s sensor is to light. A low ISO like 100 or 200 produces a clean, smooth image. A high ISO like 3200 or 6400 lets you shoot in dim conditions but introduces visible grain, sometimes called noise.
ISO setting being adjusted to 200 on camera menu
ISO controls how sensitive your camera’s sensor is to light. A low ISO like 100 or 200 produces a clean, smooth image. A high ISO like 3200 or 6400 lets you shoot in dim conditions but introduces visible grain, sometimes called noise.
Kelvin’s starting recommendation is ISO 200, which is a solid baseline for outdoor shooting in decent light. One of the genuine advantages of digital over film is that you can change your ISO between every single shot if you need to. Back in the film days, you were locked into whatever roll you loaded. Now you can bump up to 800 if you move into shade, then drop back down to 200 when you step back into the sun. Start at 200, and only raise it when you have exhausted your other options.
Step 4: Adjust Shutter Speed to Dial In Your Exposure
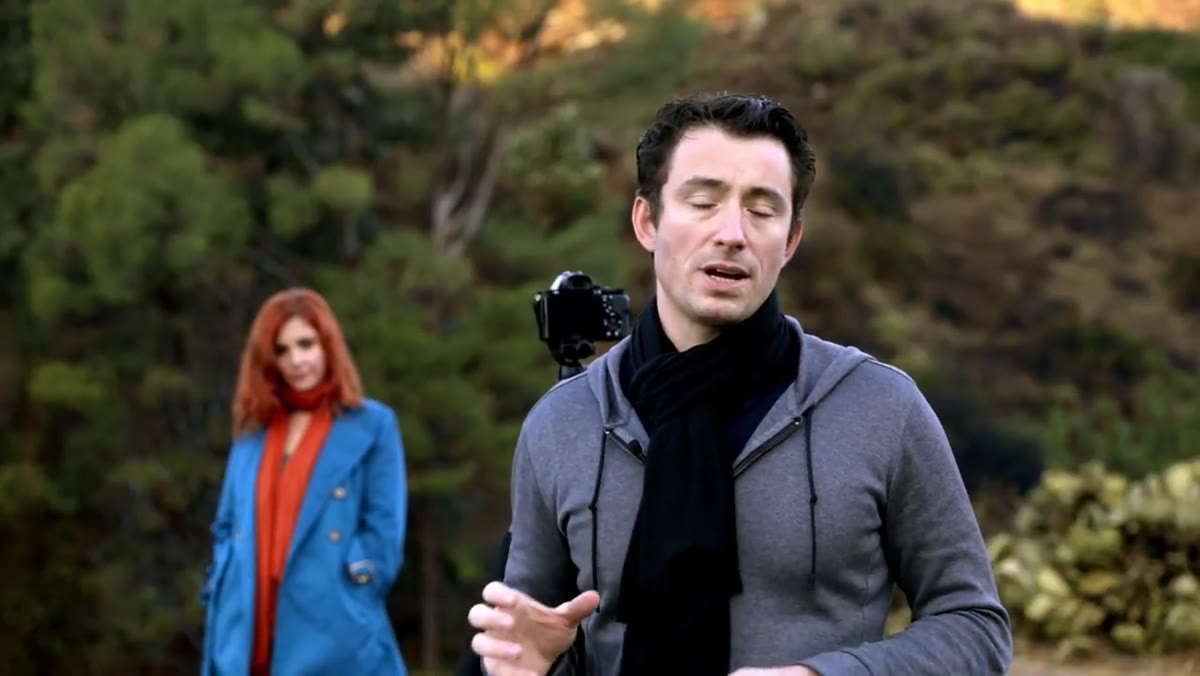 Shutter speed value changing on camera display while shooting
Shutter speed is how long the camera’s sensor is exposed to light during each shot. It is expressed as a fraction of a second, like 1/100 or 1/500. A faster shutter speed lets in less light and freezes motion. A slower shutter speed lets in more light but can introduce motion blur if your subject or hands move even slightly.
Shutter speed value changing on camera display while shooting
Shutter speed is how long the camera’s sensor is exposed to light during each shot. It is expressed as a fraction of a second, like 1/100 or 1/500. A faster shutter speed lets in less light and freezes motion. A slower shutter speed lets in more light but can introduce motion blur if your subject or hands move even slightly.
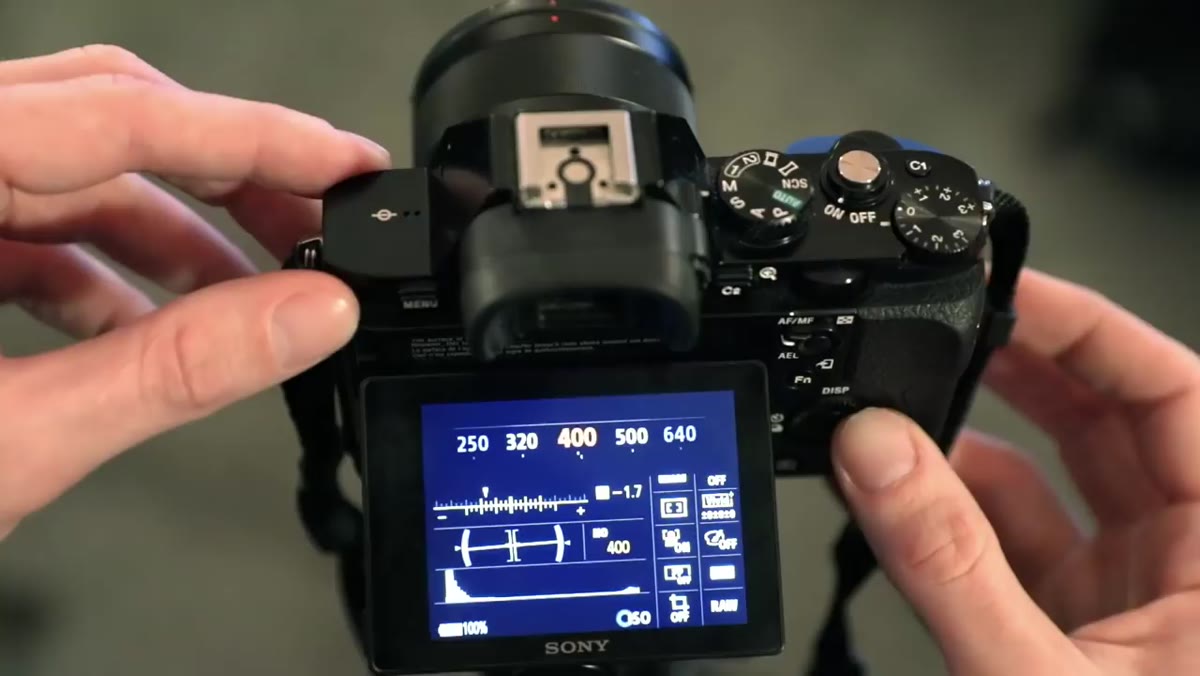
This is the setting Kelvin adjusts most while shooting, and for good reason. After you have locked in your aperture and ISO, shutter speed becomes your real-time exposure control. Most cameras show a built-in light meter on the screen or in the viewfinder, a small scale with plus on one end and minus on the other. Kelvin’s advice is to err toward slightly underexposed rather than overexposed. Blown-out highlights, the pure white areas where detail is completely lost, cannot be recovered in post-processing. Shadows can usually be lifted. Aim to sit just a touch to the minus side of center on that meter.
Step 5: Keep Your Subject Engaged While You Shoot
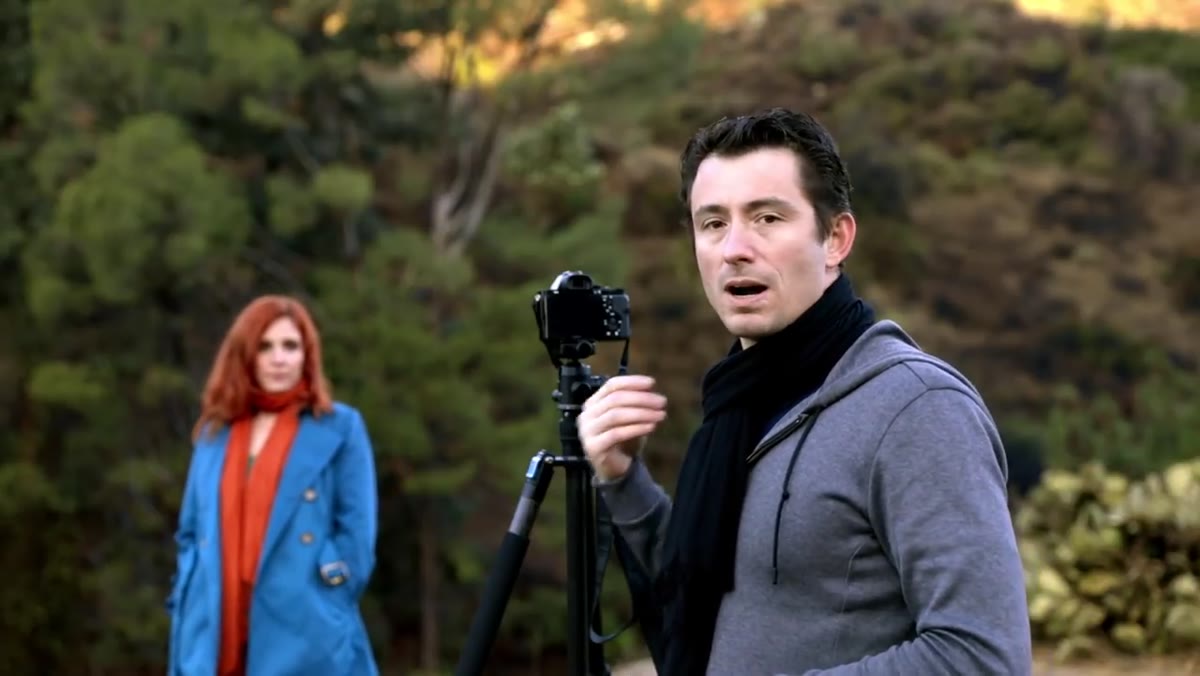 Photographer interacting with subject during portrait session
This step has nothing to do with camera settings, but Kelvin includes it because it matters as much as the technical stuff. During a portrait session, keep a light conversation going with whoever you are photographing.
Photographer interacting with subject during portrait session
This step has nothing to do with camera settings, but Kelvin includes it because it matters as much as the technical stuff. During a portrait session, keep a light conversation going with whoever you are photographing.
A subject who is listening or responding to you looks alive in the frame. A subject standing silently while you fidget with dials looks like they are waiting for the dentist. You do not need to say anything profound. Ask about their weekend, make a silly observation, narrate what you are doing. The goal is to keep their face and body natural and relaxed. Some of my favorite portrait shots have come from the exact moment someone laughed at something I said right as I pressed the shutter.
What I Would Add From My Own Experience
Kelvin keeps this tutorial tightly focused on portraits, which is the right call for a crash course. But I want to flag one thing that trips up a lot of beginners who then try to apply these same settings to other situations.
If you are shooting anything that moves, whether it is kids, dogs, or street scenes, shutter speed becomes your priority, not just your afterthought. For anything in motion, I rarely go below 1/250 as a floor, and I will raise my ISO higher than I normally would rather than let the shutter drag. The exposure triangle is always a negotiation between these three settings, and which one you protect first depends on the shot. Portraits of a still subject, protect aperture for the bokeh. Moving subjects, protect shutter speed to freeze the action. Low light with a tripod, protect ISO for a clean image. Getting comfortable with that mental framework is what takes you from following steps to actually seeing light.
The single most important thing to take away from this tutorial is that manual mode gives you a finished image that requires less fixing later. When you control the exposure yourself, you spend less time pushing sliders in Lightroom trying to rescue something the camera got wrong. Practice it even when the stakes are low. Take your camera on a walk, pick three subjects, and set everything manually for each one. You will be surprised how quickly the logic becomes instinct.
Watch the full tutorial on YouTube to see Kelvin demonstrate each of these steps live with a camera in hand. Watching someone actually turn the dials while explaining the results is a different kind of learning than reading about it, and both together will get you there faster.
Comments (2)
This is exactly what I needed today. Been struggling with this for weeks.
Clear and practical. No fluff. Appreciate that.
Leave a Comment