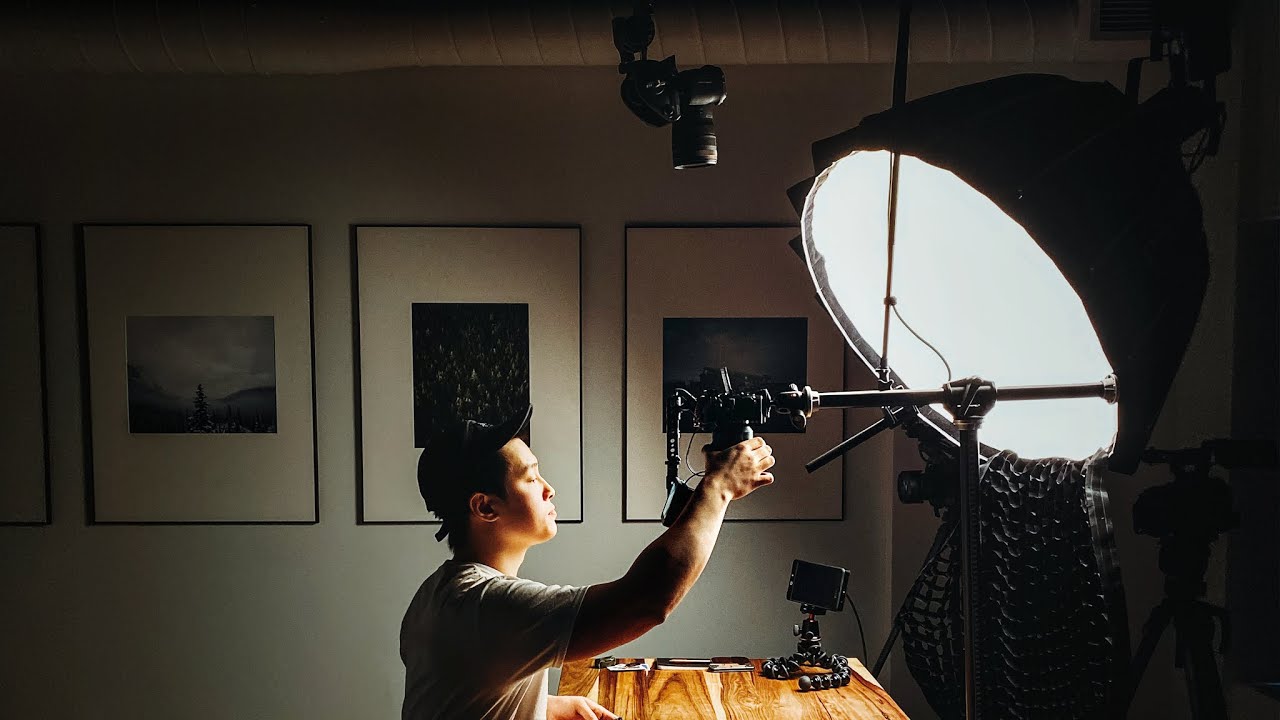
Flat lay photography has a reputation for being fussy. You need a sturdy surface, a camera that can point straight down, a way to keep everything perfectly still, and ideally another set of hands. For the longest time, my workaround was propping my camera on a stack of books and hoping the angle was close enough. It wasn’t a great system. The moment I saw someone actually solving this problem with a minimal, travel-friendly rig, I paid close attention.
Watch the full tutorial on YouTube
In this Peter McKinnon tutorial, we get a behind-the-scenes look at how content creator Fitz Vince films his signature overhead pocket dump videos. Vince’s setup is deceptively simple, and that’s exactly what makes it worth studying. He’s not working out of a studio. He’s shooting on a table, in a room, with a rig that can be broken down and packed into a bag. If you shoot flat lays, product photography, or any kind of tabletop content and you’re tired of improvising, this walkthrough is for you.
Step 1: Understand the T-Shaped Arm System
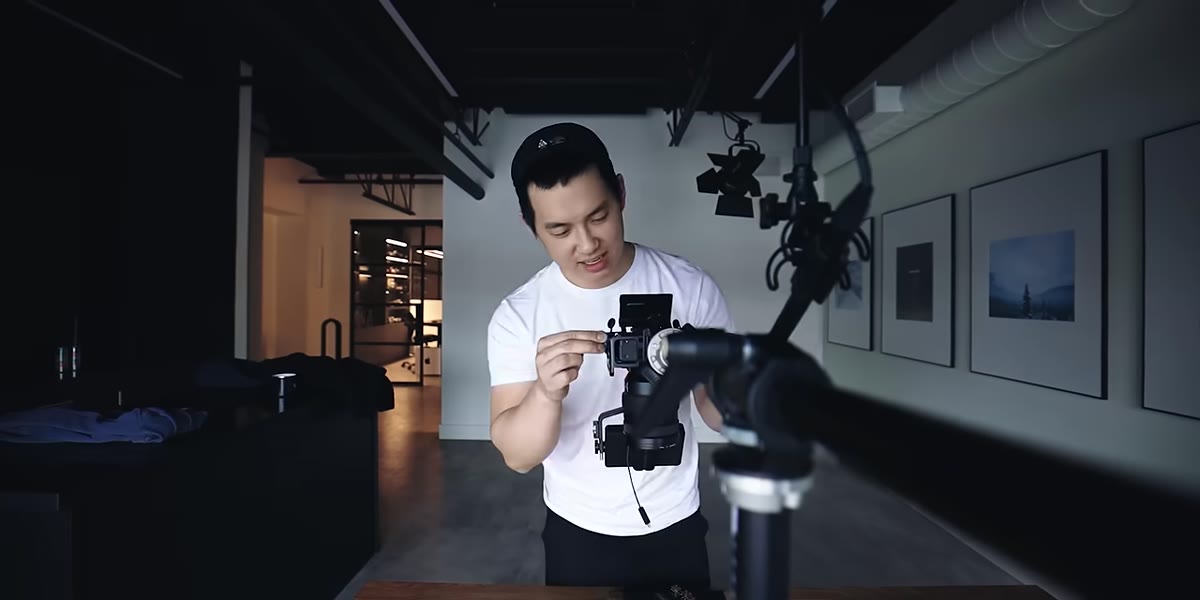 Overhead camera rig forming a T-shape above the table
The core of this rig is two photo mounting arms arranged to form a T-shape. One arm serves as the vertical post, anchored securely to the table or surface you’re shooting on. The second arm extends horizontally from the top of the first, putting your camera directly over your subject. This is the whole secret to a true overhead shot without a ceiling mount or a tripod that eats up half your floor space. The elegance here is that each arm is independently adjustable, so you can raise or lower the camera to change your framing without touching your subject at all.
Step 2: Use a Table Clamp as Your Base
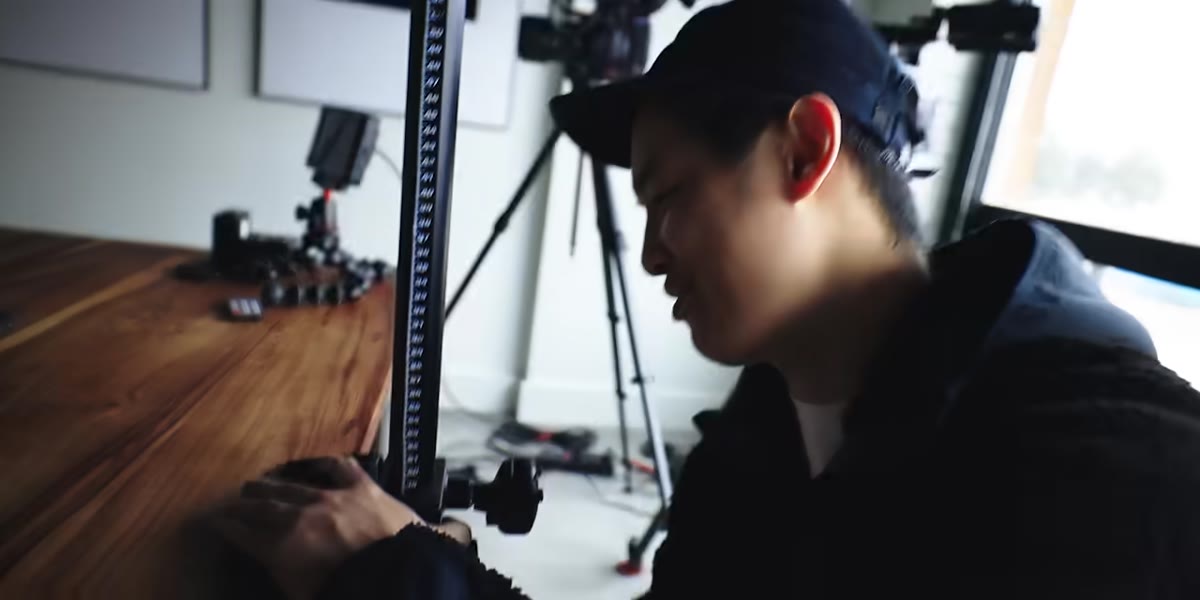 Table clamp securing the vertical arm to the desk edge
Instead of a floor-standing tripod, Vince anchors the vertical arm to the table itself using a table clamp. This is a small but significant choice. A floor tripod tall enough to position a camera overhead would need to be both very tall and very heavy to stay stable, which immediately kills the portability of the whole setup. A table clamp solves this by turning the table into the foundation. You attach it to the edge, tighten it down, and you have a surprisingly solid anchor point. Vince apparently takes this clamp with him everywhere, which tells you how central it is to his workflow.
Step 3: Mount Your Camera to the Horizontal Arm
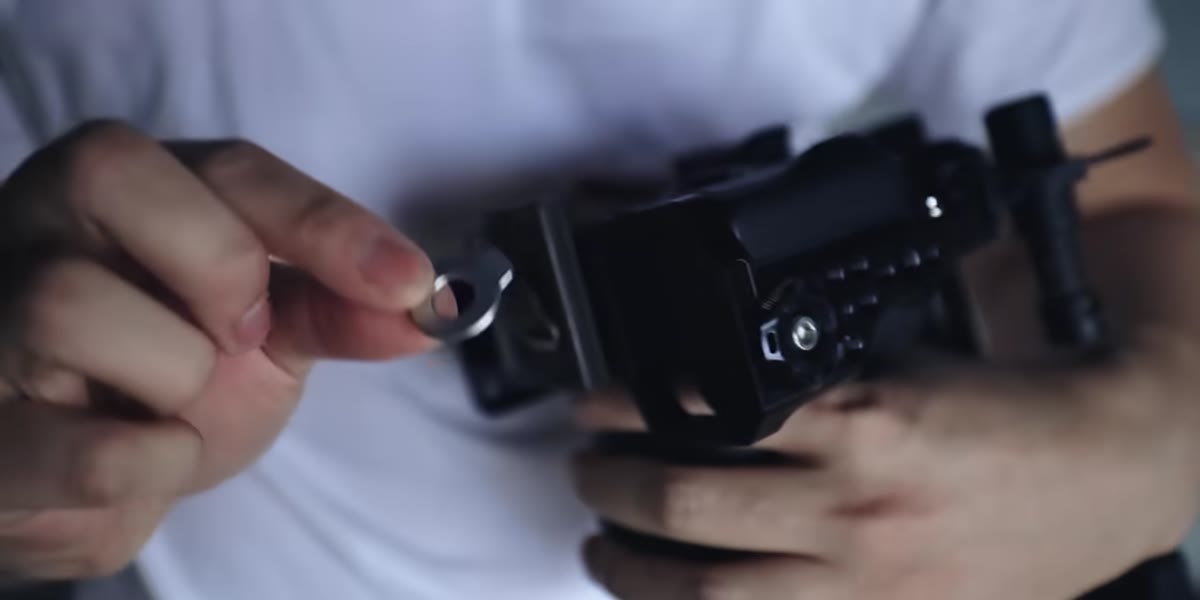 Camera attached to end of horizontal arm, pointing downward
Once your T-frame is assembled and stable, your camera mounts to the end of the horizontal arm with a standard ball head or cold shoe adapter, depending on your camera setup. The camera needs to point straight down toward your surface, so make sure whatever mount you use allows you to tilt the camera to a true 90-degree downward angle and lock it there firmly. Any play or wobble in that joint will show up in your footage, especially if you’re shooting video. Tighten everything before you start, and check the angle through your screen or viewfinder before you commit to a session.
Step 4: Set Up Your Camera Cage and Audio
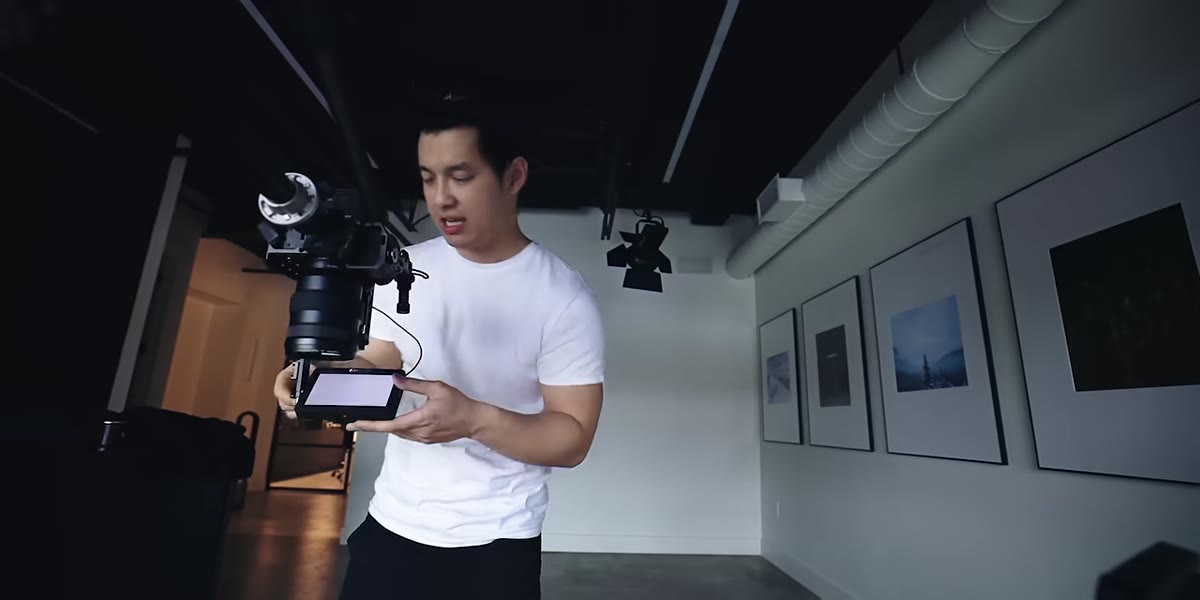 Camera in cage with Rode VideoMicro attached on top
Vince shoots with his mirrorless camera fitted into a camera cage, with a Rode VideoMicro mounted directly on the cage. A cage gives you extra mounting points and protects your camera body, but the more practical reason to use one here is that it makes it easier to attach accessories like the microphone without blocking your controls. If you’re recording audio with your overhead shots, keeping the mic on the cage rather than on the rig arm means your mic moves with your camera, keeping levels consistent. If you’re shooting silent flat lays for social media, skip the mic and simplify the setup.
Step 5: Use Your Camera’s Flip Screen to Monitor the Shot
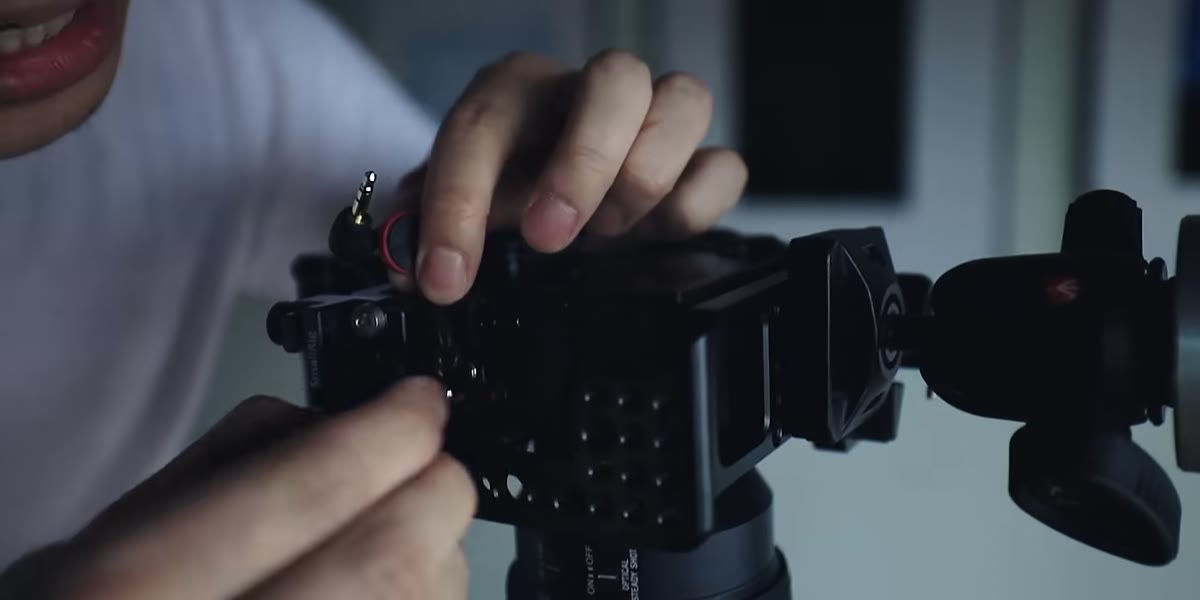 Flip screen on camera rotated to face downward operator
One thing that makes this overhead setup actually practical rather than just clever is having a camera with a flip-out or tilting screen. When your camera is pointing straight down and the rig is at head height or above, there is no comfortable way to look through a fixed viewfinder or a screen that faces backward. A flip screen lets you angle the display downward or toward you so you can see exactly what the camera sees while standing behind or beside the rig. If your camera doesn’t have a flip screen, an HDMI field monitor mounted somewhere reachable is the next best option.
Step 6: Shoot in a Frame Rate That Matches Your Workflow
 Camera settings screen showing 30fps selected
One small but interesting detail from the tutorial is that Vince shoots at 30fps rather than the 24fps that a lot of video creators default to for a cinematic look. His reasoning is straightforward: he’s not chasing a film aesthetic, he’s documenting how products work, and 30fps handles motion more cleanly. For photographers using this rig to capture video of a process, like arranging a flat lay or demonstrating a product, 30fps is a smart, practical choice. For still photography, this doesn’t apply, but if you’re shooting any video component, pick a frame rate based on your actual needs rather than convention.
Step 7: Keep the Rig Minimal and Packable
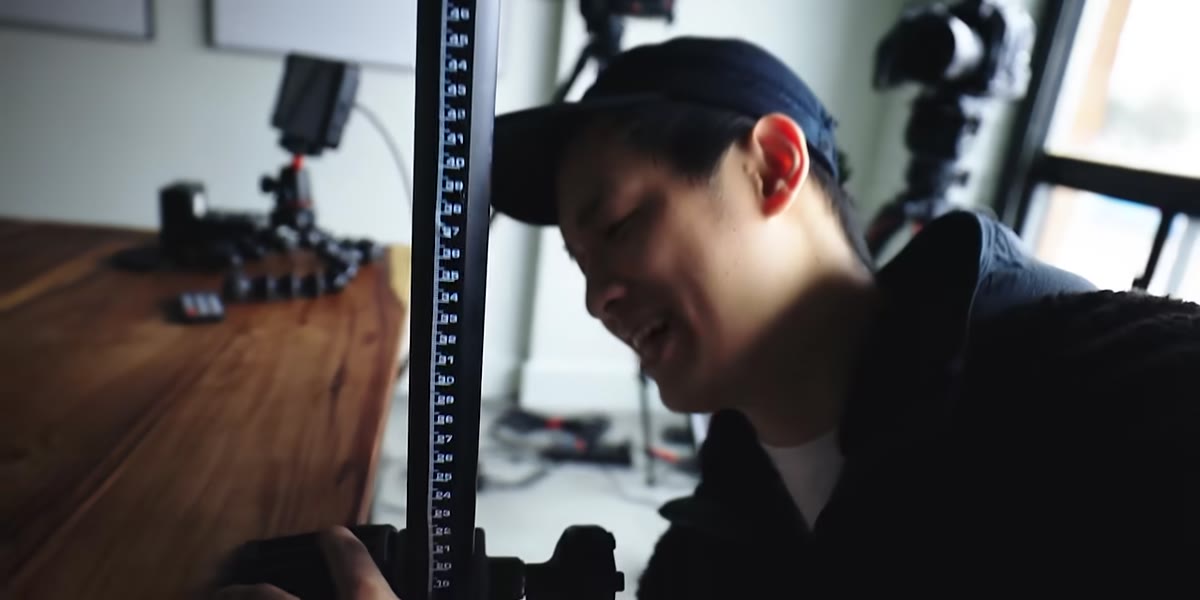 Compact rig components laid out on table surface
The last principle from Vince’s setup is restraint. The whole rig is two arms and a clamp. That’s it. No sandbags, no C-stands, no lighting rigs bolted to the ceiling. Everything breaks down quickly and fits into a bag alongside his camera. If you’re a traveling photographer or someone who shoots in different locations, this matters a lot. The more elaborate your rig, the less likely you are to actually use it.
What I’d Add: A Simple Lighting Check Before You Shoot
One thing the tutorial doesn’t get into is lighting for overhead setups, and it’s worth flagging because it trips up a lot of people. When your camera is directly above your subject, any light source that’s also above your subject, like a ceiling fixture, can create harsh reflections and uneven shadows that you won’t notice until you review your shots. Before you lock in your rig position, do a quick test shot and look specifically at shadows and hot spots. Diffused natural light from a window to the side tends to work beautifully for flat lays. If you’re working indoors without great window light, a simple softbox placed at a 45-degree angle to your subject gives you clean, even coverage without the reflection problems that come with overhead lighting. I learned this on a Sunday morning photo walk when I tried to shoot a coffee flat lay under a skylight and ended up with a giant white blob where my mug should have been.
The single biggest takeaway from this tutorial is that an overhead rig doesn’t have to be a permanent studio installation. Two adjustable arms, a table clamp, and a camera with a flip screen is genuinely all you need to shoot professional-looking overhead content anywhere. Build the rig, simplify the lighting, and go make something.
Watch the full tutorial on YouTube
Comments
Leave a Comment