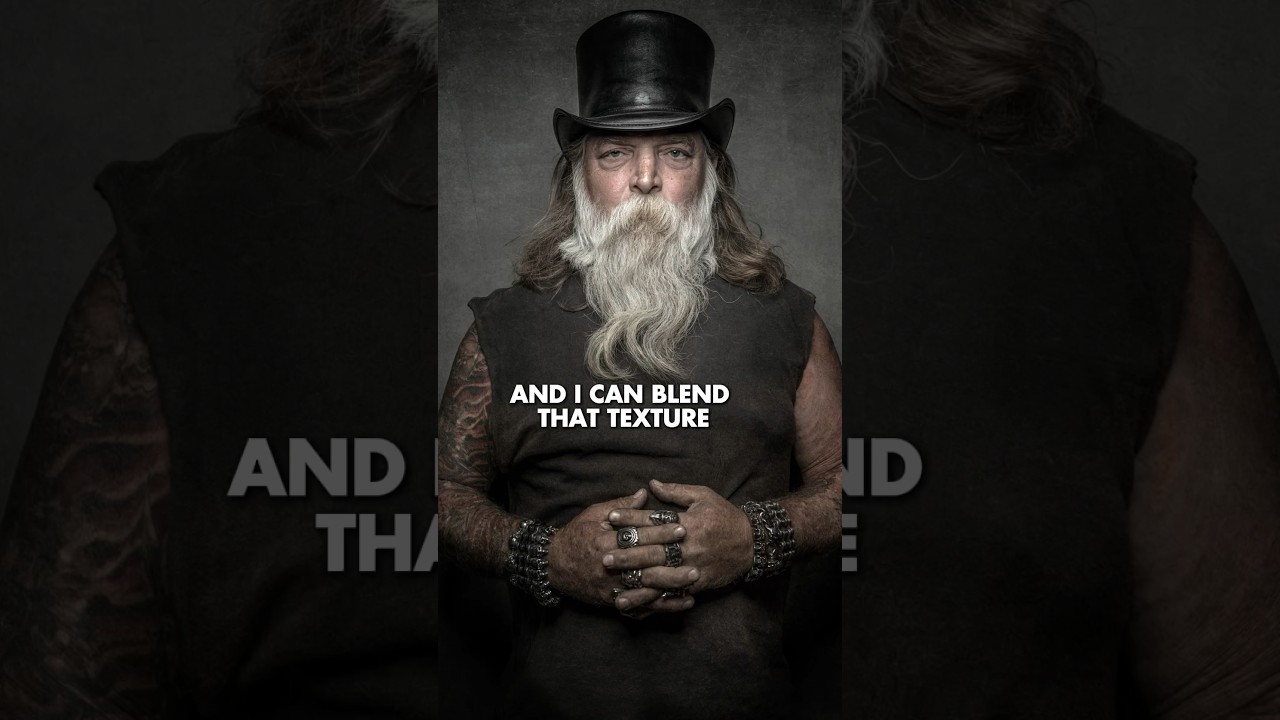
Every time I packed for a portrait session outside my home studio, I’d stare at my pile of paper backdrops and do this exhausting mental math. Bring the dark gray and risk wanting something warmer? Bring the canvas and run out of room for my reflectors? I spent years making that call wrong, which meant I spent years with shots that were technically fine but felt visually flat because I’d locked myself into a background choice before I’d even seen the light on location.
Watch the full tutorial on YouTube
In this Joel Grimes Photography tutorial, he lays out a deceptively simple system that I wish someone had handed me three years ago. The core idea: shoot on a neutral background, either 50% gray or pure white, and use Photoshop blending modes to apply textures after the fact. That one shift means you make the creative call when you’re calm and color-corrected at your desk, not sweating on a rooftop at 2pm. Here is how it works, step by step.
Step 1: Choose Your Neutral Background
 Photographer positioned in front of a flat gray backdrop
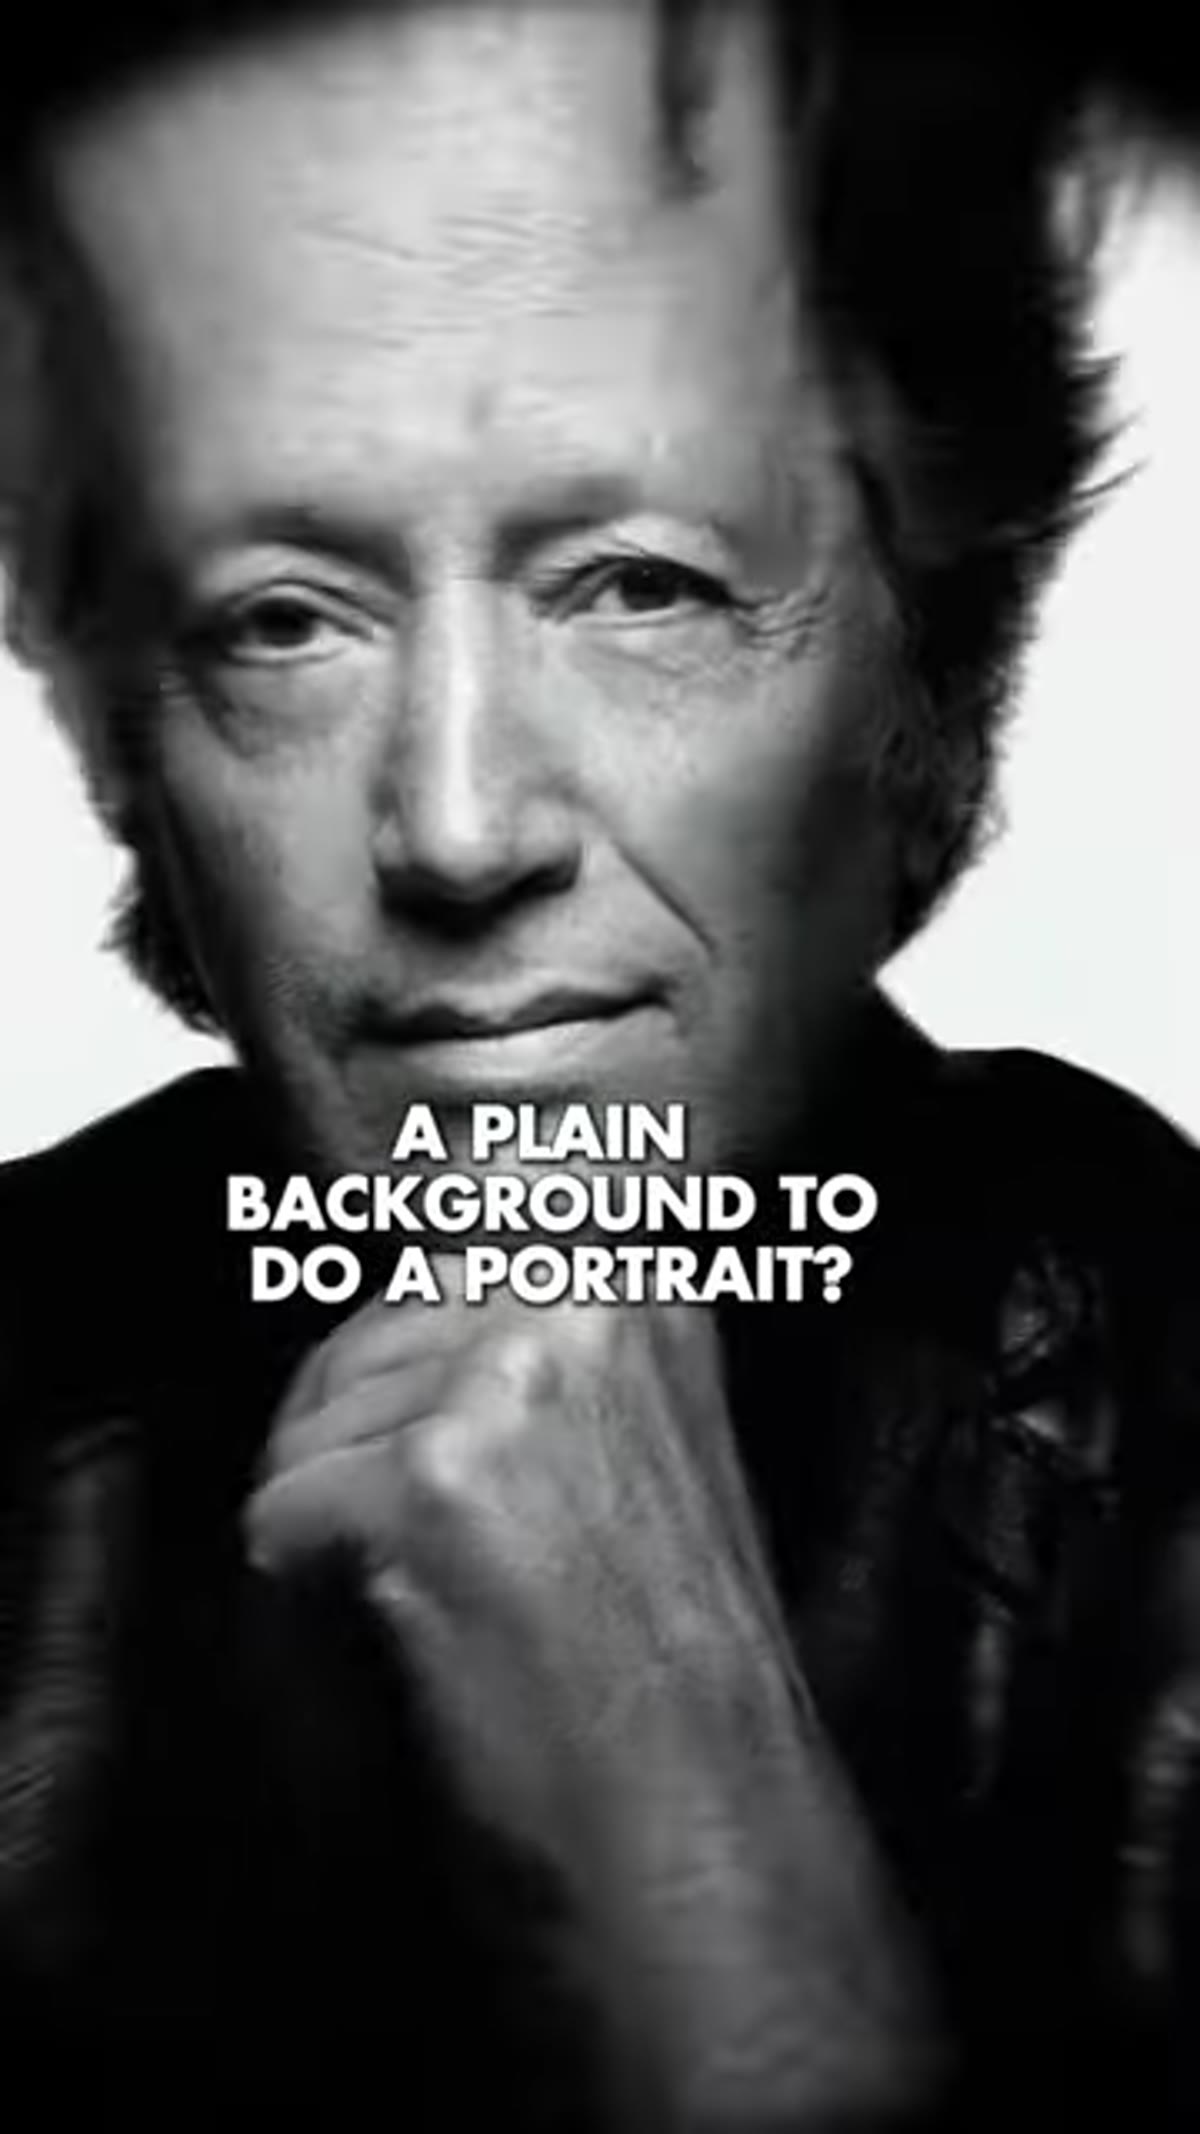
The starting point is picking between two neutral backgrounds: a 50% gray or a pure white. These are not “boring” choices, they are intentional placeholders. Gray gives you the most flexibility with blending modes like Overlay and Soft Light, which we’ll get to in a moment. White becomes the foundation for a Multiply blending mode, which works differently but is equally powerful. The key is that neither of these backgrounds makes a strong visual statement on its own, and that is exactly the point.
Photographer positioned in front of a flat gray backdrop
The starting point is picking between two neutral backgrounds: a 50% gray or a pure white. These are not “boring” choices, they are intentional placeholders. Gray gives you the most flexibility with blending modes like Overlay and Soft Light, which we’ll get to in a moment. White becomes the foundation for a Multiply blending mode, which works differently but is equally powerful. The key is that neither of these backgrounds makes a strong visual statement on its own, and that is exactly the point.
If you’re shooting in a studio, a standard gray seamless paper works perfectly. On the road, a portable white or gray backdrop that folds into a bag is all you need. You don’t need to replicate a full studio setup to pull this off.
Step 2: Shoot Without Committing to a Final Look
 Subject lit against the 50% gray background mid-shoot
This is the mindset shift more than a technical step, but it has real practical consequences. When you shoot on a neutral background, you are not trying to make the background look interesting in camera. You are focused entirely on your subject: the light on their face, the quality of shadows, the relationship between your key light and fill. The background is a clean slate and nothing more.
Subject lit against the 50% gray background mid-shoot
This is the mindset shift more than a technical step, but it has real practical consequences. When you shoot on a neutral background, you are not trying to make the background look interesting in camera. You are focused entirely on your subject: the light on their face, the quality of shadows, the relationship between your key light and fill. The background is a clean slate and nothing more.
For exposure, treat the neutral background as exactly that. You don’t need to specially light it or blow it out unless you’re shooting on white and want a pure white result in camera. Grimes keeps the focus on the subject’s exposure and handles everything else in post.
Step 3: Bring the Image Into Photoshop
 Photoshop workspace open with portrait on neutral background
Once you’re in Photoshop, this is where the system earns its keep. Bring your texture image in as a separate layer placed above your background layer. Textures can be anything: grunge, canvas, painted surfaces, concrete, paper. There are hundreds of free and paid texture packs available online, and building a small personal library of 10 to 15 go-to textures is worth the hour it takes.
Photoshop workspace open with portrait on neutral background
Once you’re in Photoshop, this is where the system earns its keep. Bring your texture image in as a separate layer placed above your background layer. Textures can be anything: grunge, canvas, painted surfaces, concrete, paper. There are hundreds of free and paid texture packs available online, and building a small personal library of 10 to 15 go-to textures is worth the hour it takes.
Position the texture layer so it covers the full background area. You’ll likely need to resize or transform it to fit. At this stage, it’s going to look strange, like you’ve pasted wallpaper over your portrait. Don’t worry. The blending mode is what makes it work.
Step 4: Apply the Correct Blending Mode Based on Your Background Color
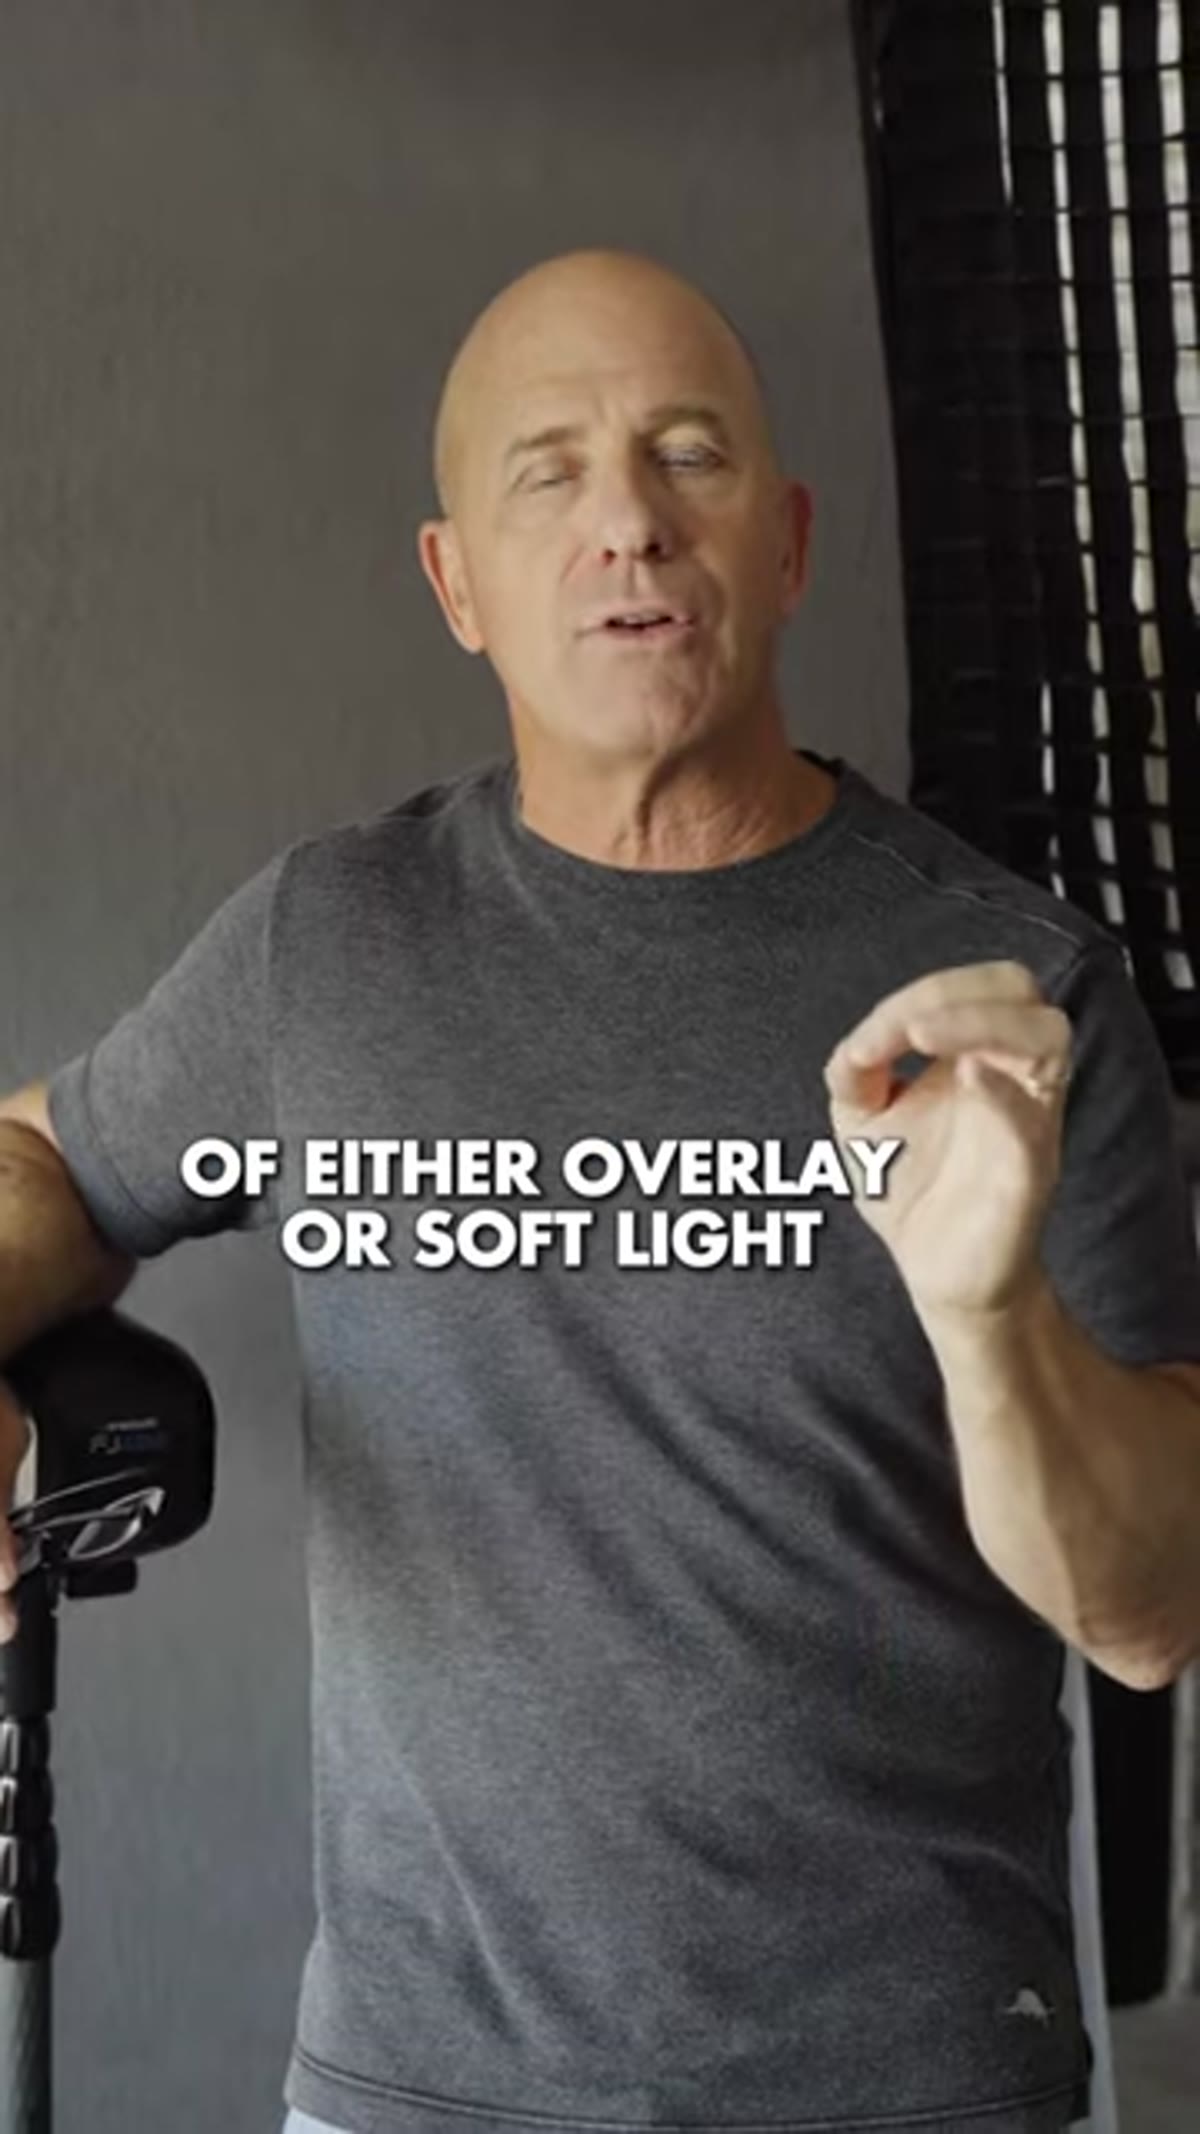 Blending mode dropdown open in Photoshop layers panel
This is the technical core of the whole technique, and the rule is straightforward. If you shot on a gray background, use Overlay or Soft Light as your blending mode on the texture layer. If you shot on white, use Multiply. Each of these modes interacts with the background pixels in a mathematically specific way. Overlay and Soft Light increase contrast and let the texture merge into the image with depth. Multiply darkens the underlying layer, which makes it ideal for white because white pixels essentially “disappear” under the calculation, letting only the texture show.
Blending mode dropdown open in Photoshop layers panel
This is the technical core of the whole technique, and the rule is straightforward. If you shot on a gray background, use Overlay or Soft Light as your blending mode on the texture layer. If you shot on white, use Multiply. Each of these modes interacts with the background pixels in a mathematically specific way. Overlay and Soft Light increase contrast and let the texture merge into the image with depth. Multiply darkens the underlying layer, which makes it ideal for white because white pixels essentially “disappear” under the calculation, letting only the texture show.
To apply this: select your texture layer in the Layers panel, click the blending mode dropdown (it defaults to “Normal”), and switch to whichever mode matches your background. The texture will immediately snap into the background in a way that looks intentional and organic, not pasted on.
Step 5: Adjust Opacity to Taste
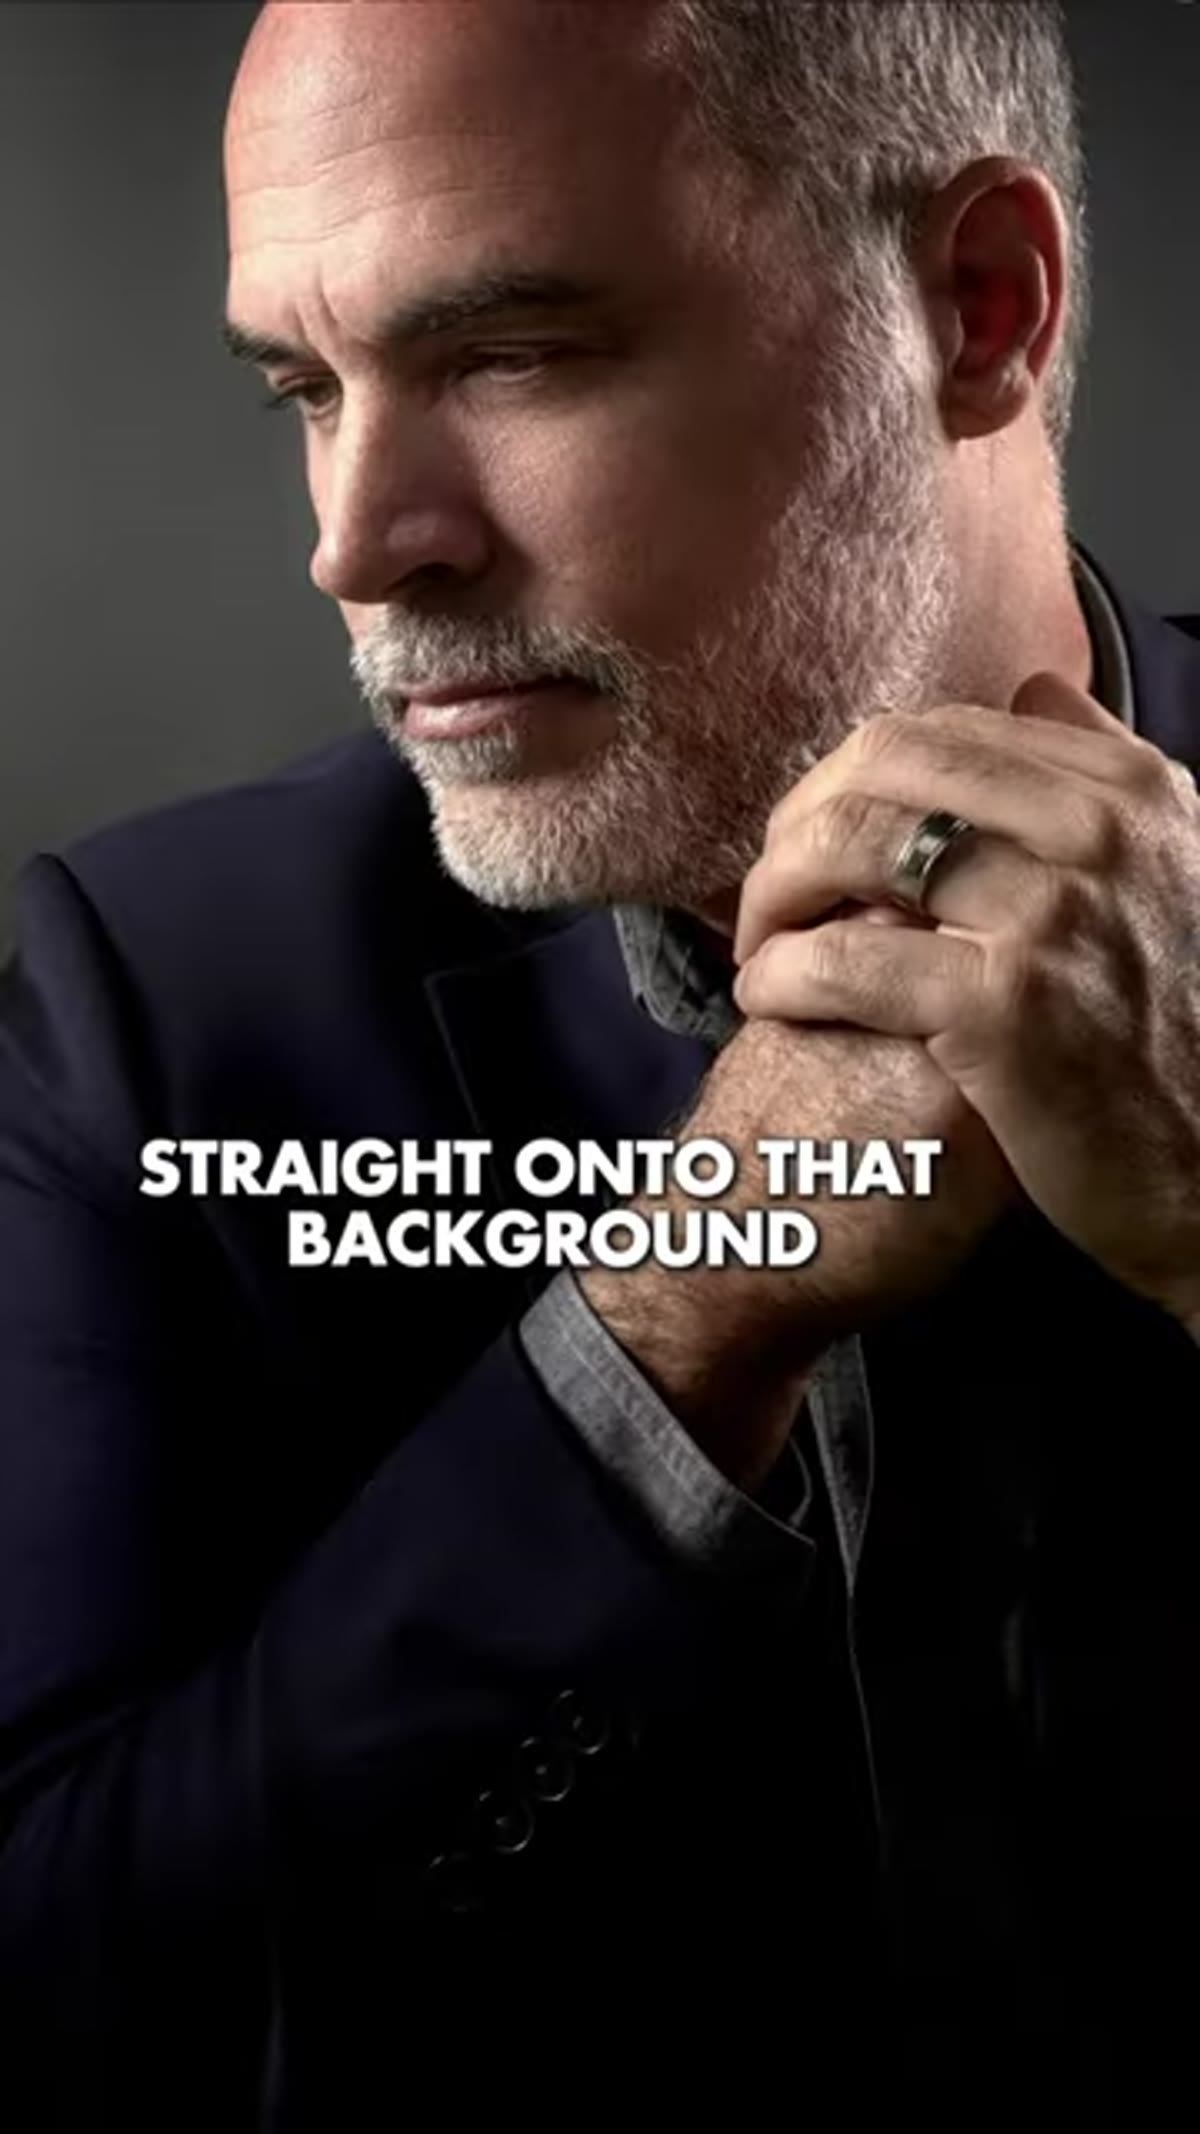 Texture layer blending into portrait background at reduced opacity
Once the blending mode is applied, use the layer’s Opacity slider to dial in how strong the texture reads. At 100%, most textures are too aggressive. Somewhere between 40% and 75% is usually the sweet spot, though this varies wildly depending on the texture itself and the mood you’re after. A subtle linen texture might live at 70%. A heavy grunge overlay might only need 30% before it starts looking like a mistake.
Texture layer blending into portrait background at reduced opacity
Once the blending mode is applied, use the layer’s Opacity slider to dial in how strong the texture reads. At 100%, most textures are too aggressive. Somewhere between 40% and 75% is usually the sweet spot, though this varies wildly depending on the texture itself and the mood you’re after. A subtle linen texture might live at 70%. A heavy grunge overlay might only need 30% before it starts looking like a mistake.
The beauty of working non-destructively this way is that nothing is permanent. You can swap the texture for a completely different one in 30 seconds, or toggle the layer off to compare it to your clean background shot.
Step 6: Pack Light and Repeat on Location
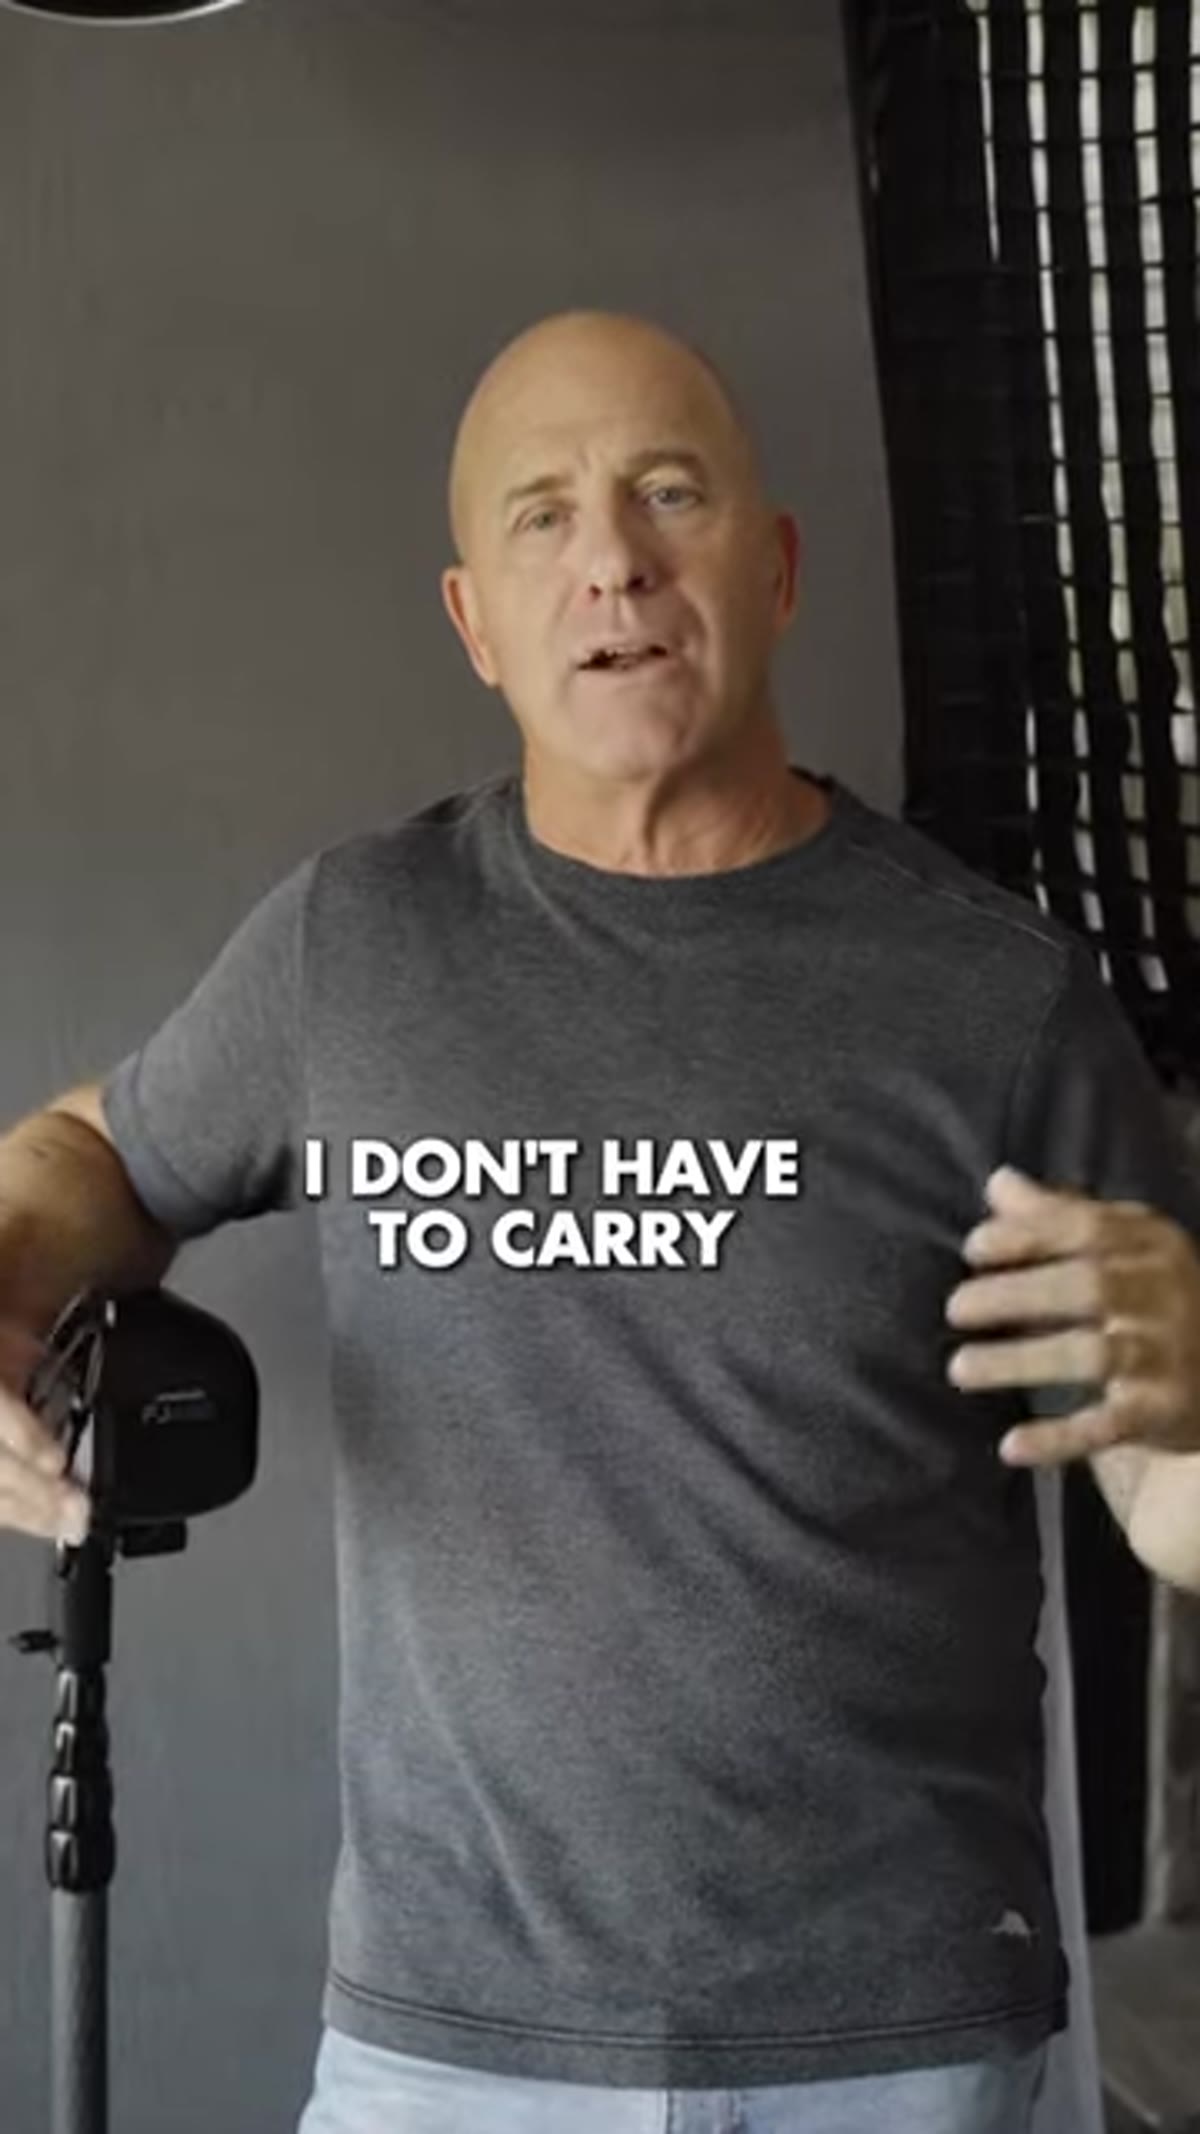 Minimal backdrop packed for travel use
The practical payoff of this whole system is that you travel with two backdrops instead of eight. One white, one gray. They cover every scenario because the final look gets decided in post. Grimes specifically calls this out as a reason the system matters for photographers who are working on location regularly, and I can confirm from my own Sunday morning photo walks through Seattle that lighter kit means you actually go out and shoot more often.
Minimal backdrop packed for travel use
The practical payoff of this whole system is that you travel with two backdrops instead of eight. One white, one gray. They cover every scenario because the final look gets decided in post. Grimes specifically calls this out as a reason the system matters for photographers who are working on location regularly, and I can confirm from my own Sunday morning photo walks through Seattle that lighter kit means you actually go out and shoot more often.
My Own Caveat: The Texture Selection Is Where the Work Lives
I want to be honest here because this technique has one real challenge that the short format of this video doesn’t fully address: finding textures that actually feel cohesive with your images takes practice and a good eye. I’ve applied a texture that looked gorgeous on its own and had it completely undermine the warmth of a portrait. The blending mode does the technical work, but your taste does the heavy lifting.
My recommendation is to build your texture library slowly and intentionally, not by downloading a 500-piece pack and calling it done. Find 10 textures that genuinely move you visually, ones you’d be proud to hang on a wall, and learn how each one behaves with Overlay versus Soft Light. That focused practice will teach you more than hours of random experimentation.
The single most valuable thing this technique gives you is creative flexibility at the right moment. Making background decisions at your desk with a cup of coffee, a calibrated monitor, and no time pressure produces better work than making those same decisions in the field. Shoot neutral. Decide later. Your portraits will thank you.
Watch the full tutorial on YouTube to see Joel Grimes walk through this live, including how the texture blend looks in real time.
Comments (1)
I keep coming back to this article. It's that useful.
Leave a Comment