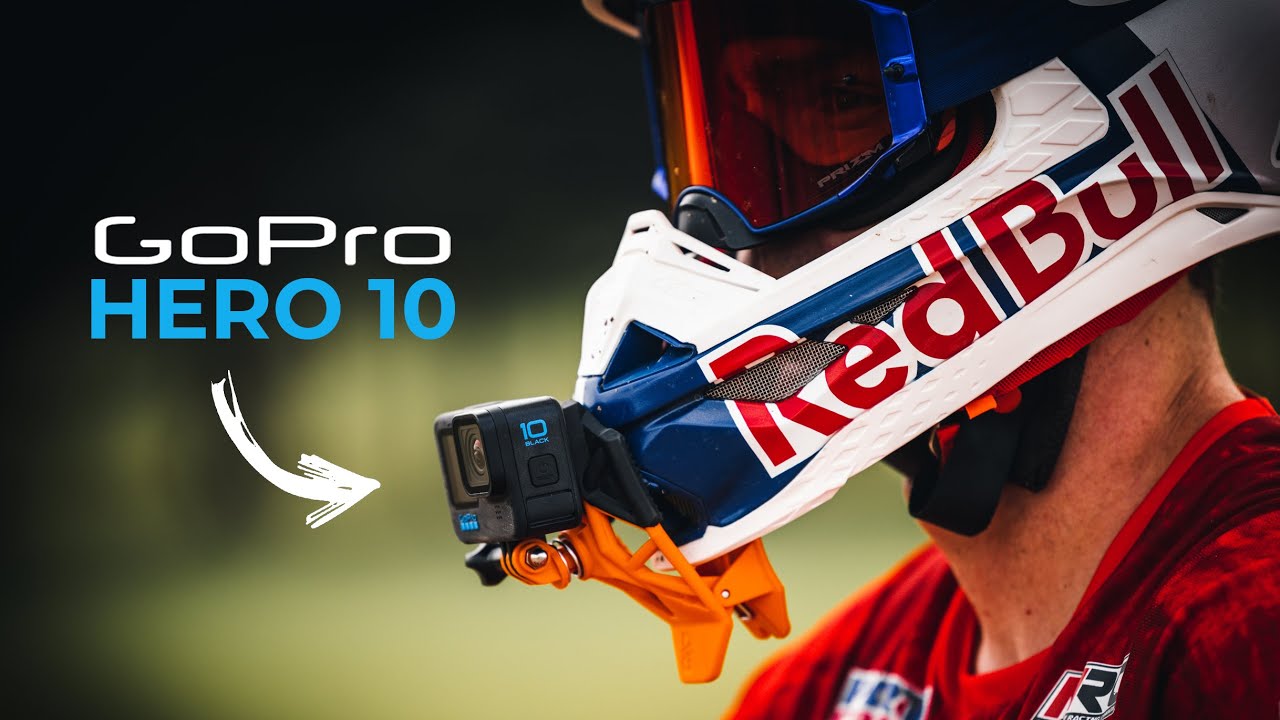
I’ve said it before and I’ll keep saying it: gear doesn’t matter until it does. For most of my lifestyle and travel work, I’d rather shoot with a phone and a good eye than haul around a camera I don’t trust. But action situations — dirt bikes, water, anything that shakes or moves fast — have always been the category where I hit a wall. Shaky footage, unusable clips, stabilization software that chews through your editing time just to deliver something that still looks a little wrong.
That’s exactly the problem Peter McKinnon addresses in this tutorial, and what makes it worth your attention is the pressure he was working under. Watch the full tutorial on YouTube – he received the GoPro HERO 10 the same morning he needed to produce the video. One day, one location, one chance to figure out what this camera could actually do. That kind of constraint tends to cut straight to what matters.
What he discovered at a motocross track, with a professional rider and an FPV drone, is genuinely useful information for anyone who shoots action content. The findings aren’t about specs on a box. They’re about what the footage looks like when you stop controlling the camera and let it do its job.
Step 1: Understand What “Stabilization” Actually Means on the HERO 10
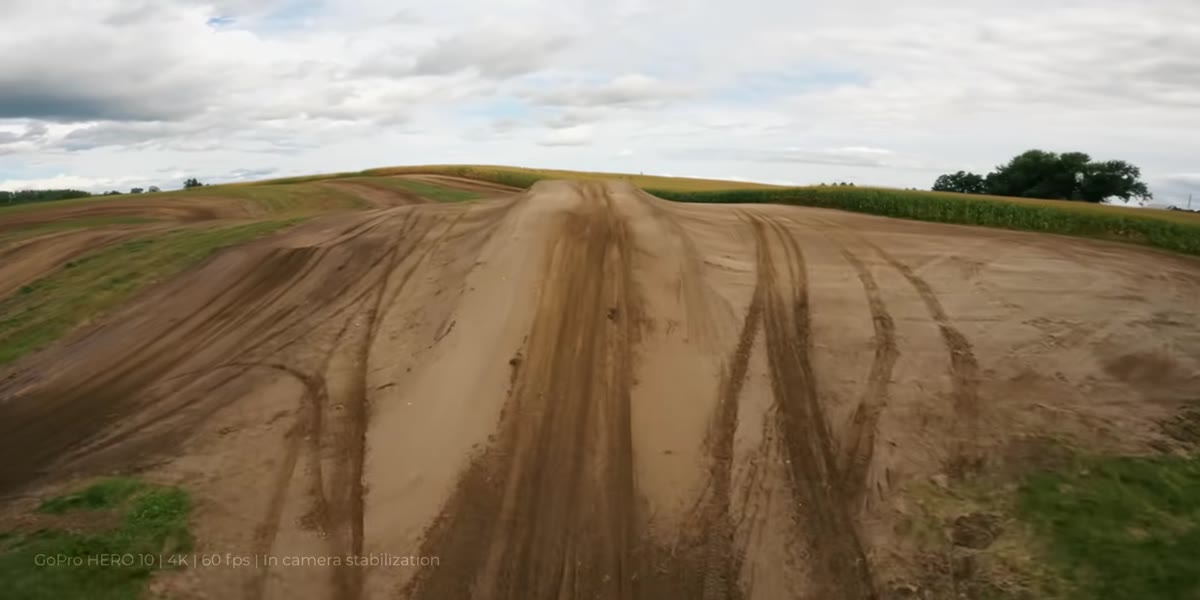 FPV drone footage of motocross rider mid-jump
Before mounting the camera anywhere, you need to reset your expectations. Older GoPro models, up through roughly the HERO 7 or 8, produced footage that felt floaty or smeared when stabilization was turned on. The workaround was third-party software like ReelSteady, which re-processes your footage in post to smooth things out. That adds a step to every clip. Peter’s first major point about the HERO 10 is that this workaround is largely unnecessary now.
The in-camera stabilization has improved to the point where footage pulled straight from the card and dropped onto a timeline looks clean. That’s not a small thing. If you’re shooting fast-moving subjects and need a quick turnaround, shaving the stabilization step out of post is a real time gain.
Step 2: Mount the Camera Where the Chaos Is
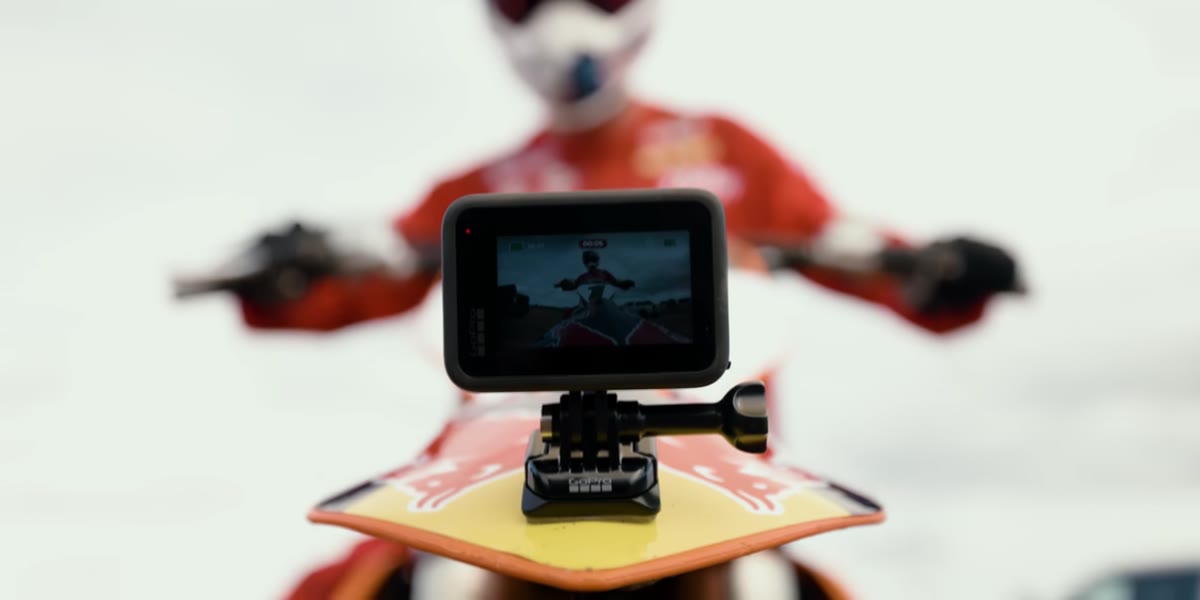 GoPro mounted on the front fender of a KTM 450
Peter mounted the HERO 10 to the front fender of a KTM 450 motocross bike. Not the helmet, not a chest mount. The fender. This is a deliberately punishing placement because a fender has almost no dampening – it absorbs every rut, every landing, every vibration the suspension doesn’t catch. That’s the point.
When you’re testing stabilization, put the camera somewhere that tells the truth. A chest mount or handlebar mount gives the camera a lot of natural dampening from your body or the frame. If you want to actually evaluate what the stabilization chip is doing, give it the worst-case scenario. Mount it somewhere with direct, unfiltered vibration.
Step 3: Watch the Background, Not the Subject
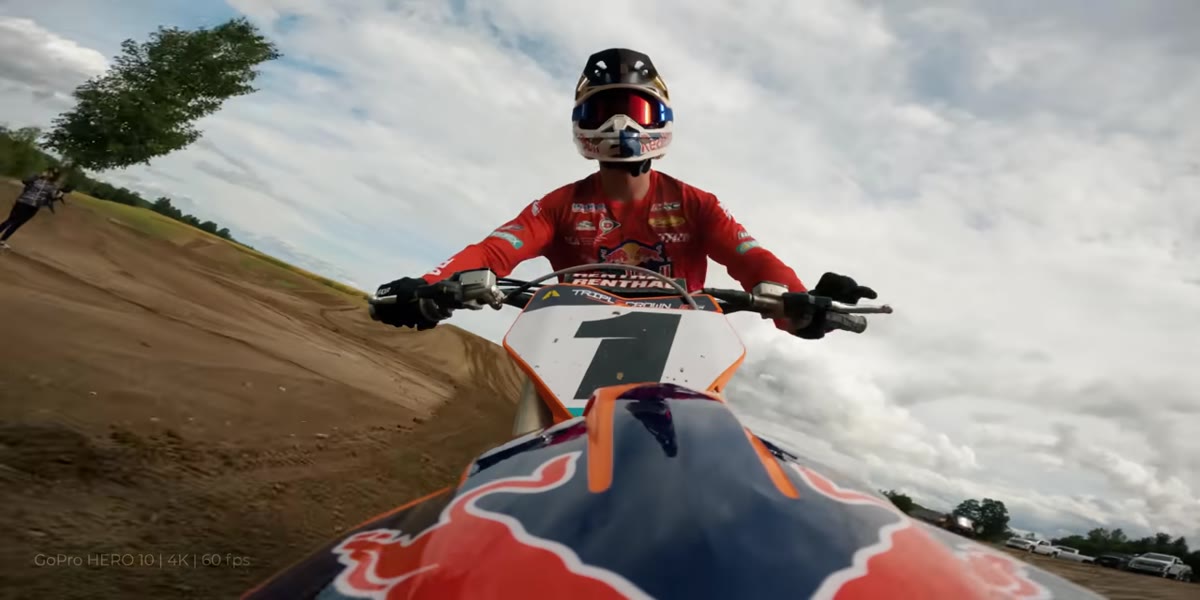 Fender bouncing in frame while background remains locked
This is the key observation Peter makes, and once you see it you can’t unsee it. In the fender-mounted footage, the fender itself is visibly bouncing in the frame. It’s moving all over the place. But the rider and the environment behind him – the trees, the track, the horizon – are completely still.
The camera is physically moving dramatically, and the image is not. That gap between what the mount is doing and what the recorded frame is doing is your measure of how good the stabilization actually is. When you’re evaluating action camera footage, train your eye to look at the background first, not the subject. A locked horizon with a moving foreground element means the stabilization is working hard and working well.
Step 4: Pair the HERO 10 With an FPV Drone for Moving Shots
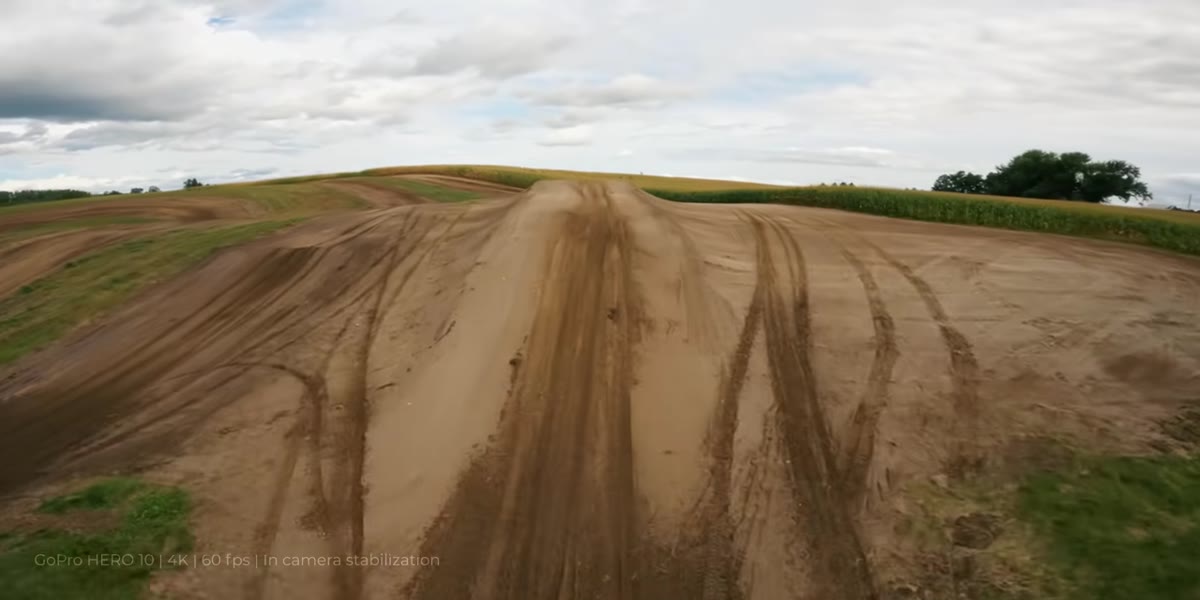 FPV drone carrying GoPro over motocross track
FPV drones are inherently unstable compared to GPS-locked drones. They’re fast, they bank hard, and the footage they produce reflects every twitch of the pilot’s input. Traditionally, that’s exactly why you needed ReelSteady or similar software – the drone footage needed a second pass to be usable.
Peter ran the HERO 10 on the FPV drone and found the in-camera stabilization handled it without a post-processing step. If you’re a drone operator who currently builds ReelSteady processing into every edit, this is worth testing on your own setup. You may be able to remove that step entirely, depending on how aggressively you’re flying.
Step 5: Acknowledge the Limitations of a One-Day Test
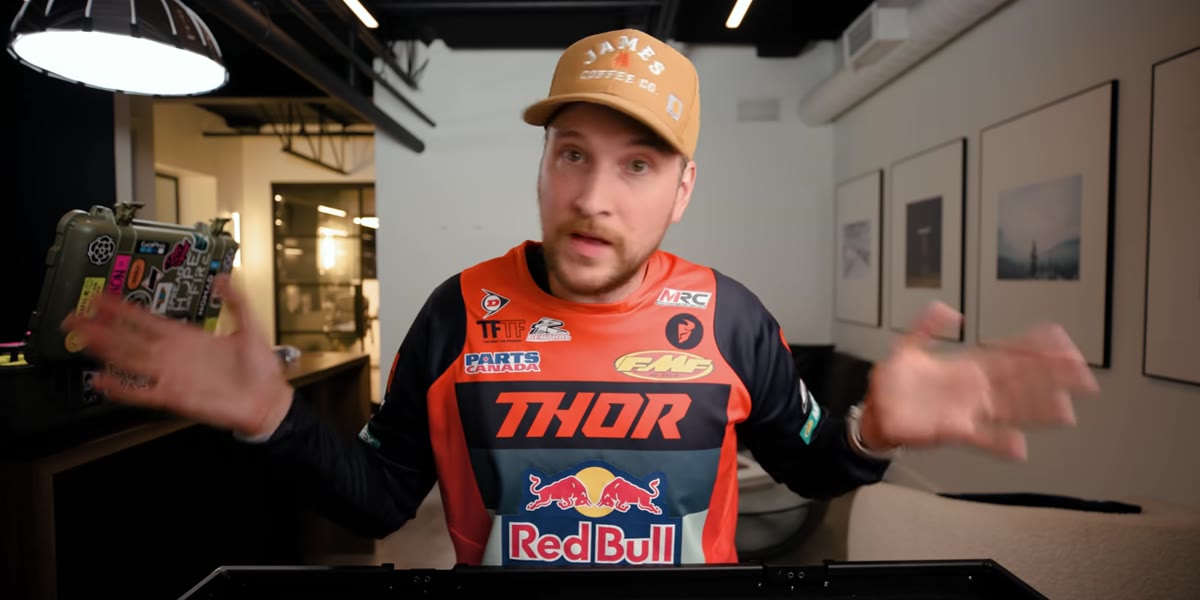 Peter speaking directly to camera about honest impressions
Peter is upfront about one thing that I genuinely respect: he only had the camera for one day. He says this clearly and repeatedly. His conclusions are early impressions, not long-term reliability data. That honesty shapes how you should receive the information.
When you watch tutorials like this one, note whether the creator is reporting from limited use or extended use. One day on one type of shoot tells you a lot about performance under specific conditions. It tells you much less about battery degradation over months, how the lens holds up to consistent exposure to water and grit, or how stabilization performs in lower light. Take the positive results seriously, but keep the sample size in mind.
Step 6: Build a Dedicated Action Camera Kit You Can Grab Quickly
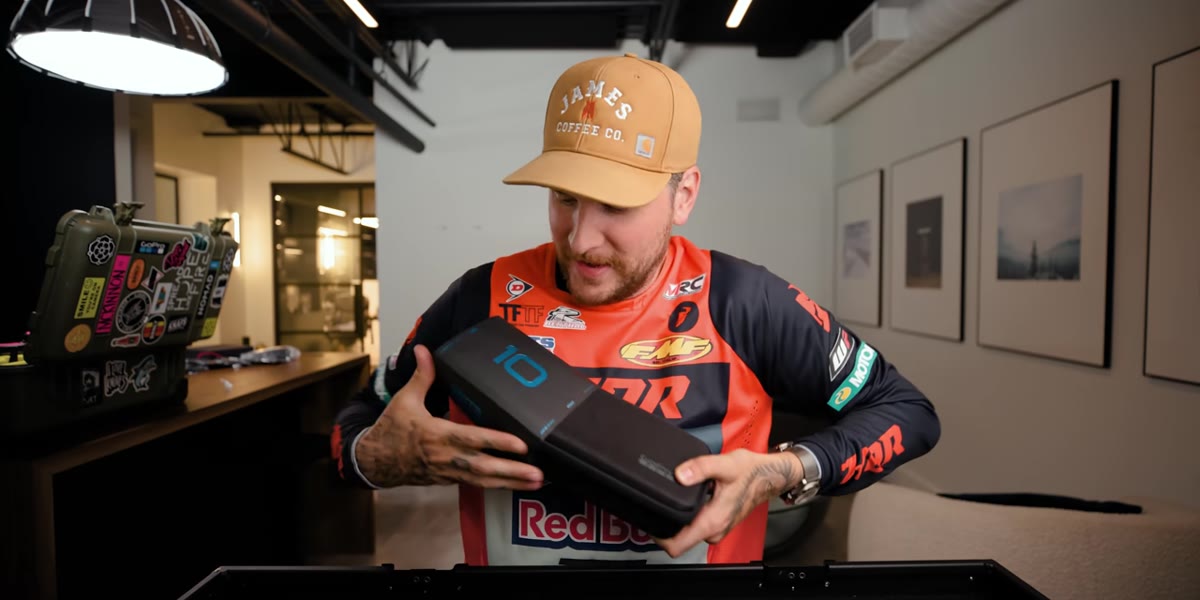 Organized GoPro kit laid out with mounts and accessories
Peter briefly shows his action camera kit – a small, organized setup with labeled mounts and accessories that he can grab and deploy fast. This is less about the specific items and more about the principle: if you want to use an action camera regularly, it needs to be ready to go.
Action camera moments don’t wait. If your mounts are in one drawer, your extra battery is somewhere else, and you need ten minutes to assemble everything, you’re going to miss shots. Keep the kit together, keep it charged, and label things if you have multiple similar mounts. The best stabilization in the world doesn’t help if the camera is sitting on your desk when the shot happens.
What I’d Add: Test Stabilization in Low Light Too
Bright, sunny motocross tracks are a best-case scenario for any camera. The HERO 10’s stabilization results look impressive in that context, and I believe them. But in my experience, action camera stabilization algorithms tend to struggle more when the camera is compensating for both motion and sensor noise in low light. The two problems compound each other.
If you’re planning to use the HERO 10 for indoor events, dawn or dusk shooting, or anything under artificial light, run your own fender test before you count on those results holding. Mount it somewhere difficult, shoot in your actual conditions, and look at the background.
The single most useful thing Peter demonstrates here isn’t a setting or a menu option. It’s a way of looking at footage. Watch the background. If it’s locked while the foreground moves, the stabilization is doing its job. That one habit will make you a better evaluator of any camera you pick up, not just the HERO 10.
Watch the full tutorial on YouTube to see the actual footage comparisons and the FPV drone shots in context – the difference is easier to feel when you see it moving.
Comments
Leave a Comment