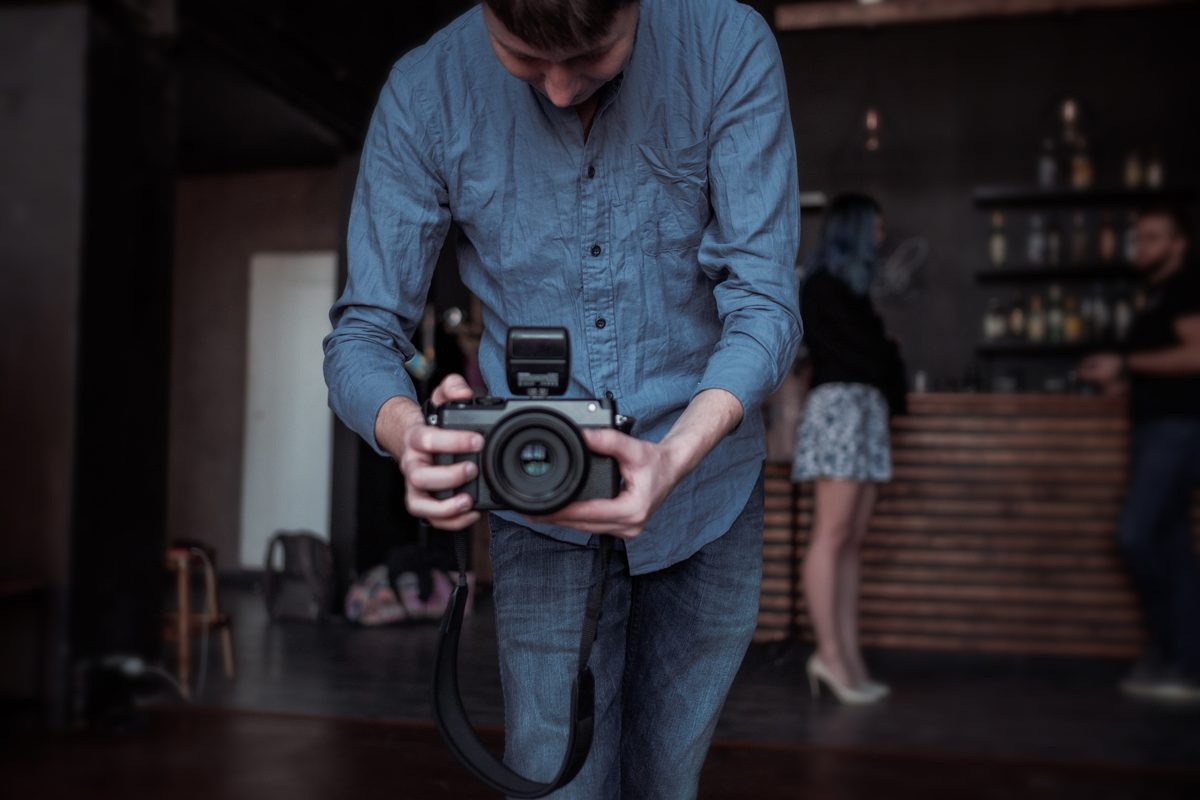
I shoot a lot of lifestyle work, which means I spend a lot of time figuring out how to make a photo feel intentional without hauling a truckload of gear to a location. The background problem is real. You can have a perfectly lit subject and a flat, forgettable backdrop, and the whole image just sits there. So when I came across a technique that solves the background problem with three mirrors and a roll of gaff tape, I stopped scrolling immediately.
In this Westcott Lighting tutorial, photographer and lighting educator Rob Grimm walks through a setup that creates a kaleidoscopic mirror-pattern background using the kind of materials you could grab at a hardware store. Watch the full tutorial on YouTube before or after reading this, because seeing the final image in motion really drives home how striking the effect is. The finished portraits have this editorial, high-fashion quality that looks like it required a massive production budget. It did not.
What I love about this approach is that it separates two problems that photographers often try to solve at once: making the background interesting and lighting the subject well. This tutorial treats them as distinct challenges with distinct solutions, and working through each one deliberately is what makes the final result feel so polished.
Step 1: Gather Your Materials
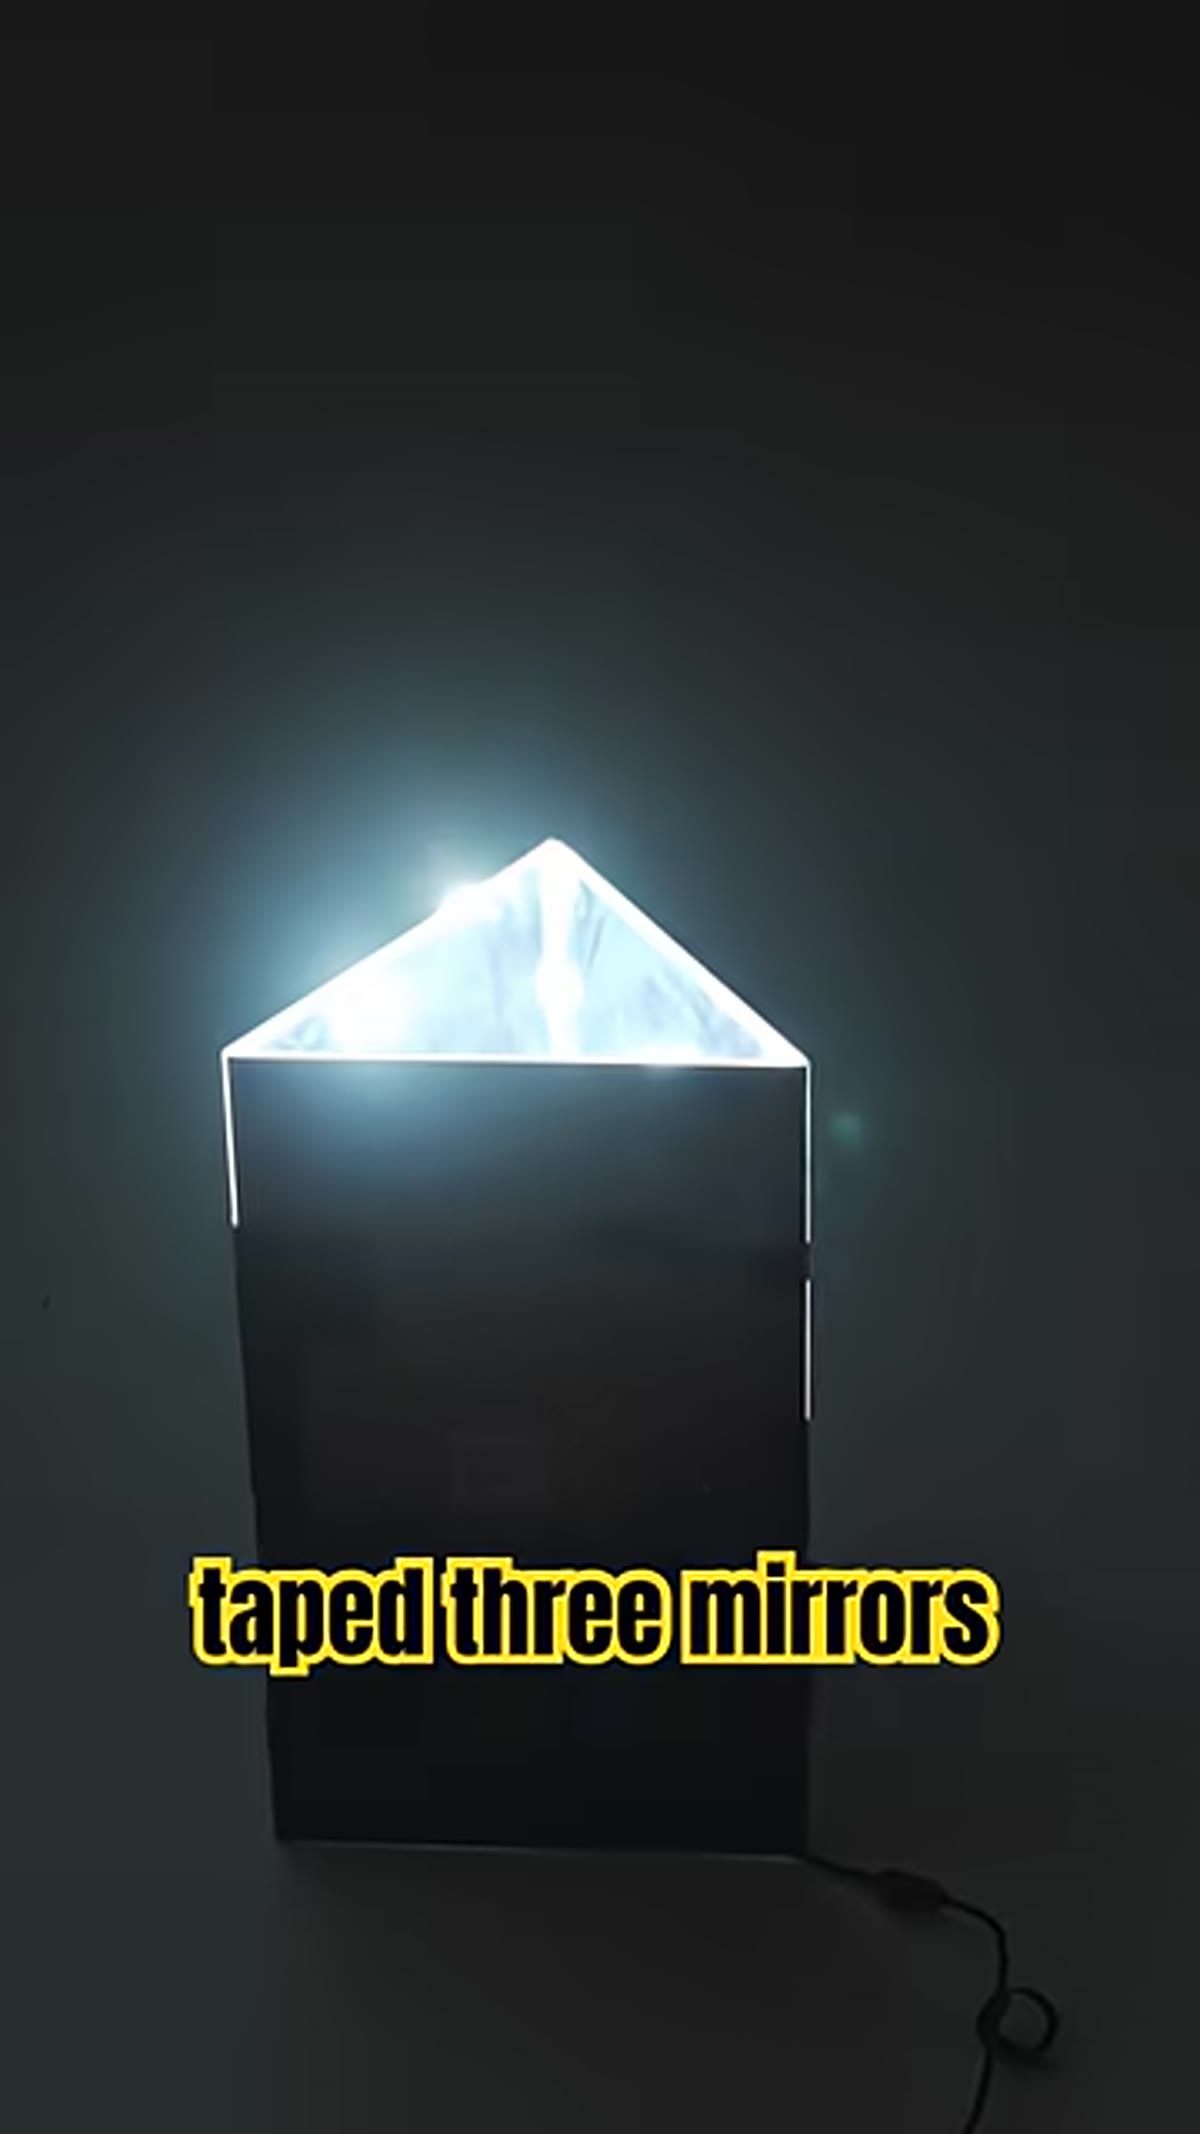
 Three mirrors laid flat before being taped together
You need three mirrors of similar size, a roll of gaff tape, and a constant light source. That is the whole materials list for the background portion of this setup. Gaff tape is the right choice here because it holds firmly, does not leave residue, and is easy to reposition if you need to adjust the angle of the mirrors later. Standard household mirrors work fine. You do not need anything specialty.
Three mirrors laid flat before being taped together
You need three mirrors of similar size, a roll of gaff tape, and a constant light source. That is the whole materials list for the background portion of this setup. Gaff tape is the right choice here because it holds firmly, does not leave residue, and is easy to reposition if you need to adjust the angle of the mirrors later. Standard household mirrors work fine. You do not need anything specialty.
The goal is to hinge the mirrors together so they can stand as a single unit and be angled toward each other. Think of it like building a triptych frame, except reflective. The specific angle between the panels will determine how the light fractures and multiplies in the final image, so it is worth experimenting before you lock in your setup.
Step 2: Tape the Mirrors Together
 Gaff tape being applied along the edges of two joined mirrors
Run strips of gaff tape along the seam between each mirror panel, connecting them at the edges. You are essentially creating hinges, so apply the tape on the back side and leave the reflective surfaces clean. Once all three panels are connected, you can stand them upright and adjust the angle between them until you get the V-shape or fan shape that works for your space.
Gaff tape being applied along the edges of two joined mirrors
Run strips of gaff tape along the seam between each mirror panel, connecting them at the edges. You are essentially creating hinges, so apply the tape on the back side and leave the reflective surfaces clean. Once all three panels are connected, you can stand them upright and adjust the angle between them until you get the V-shape or fan shape that works for your space.
Do not over-tape or you will lose the flexibility to fine-tune the angle. A few strips per seam is enough to hold the structure stable while keeping it adjustable. This is genuinely one of those builds where simpler is better.
Step 3: Aim a Constant Light at the Center Mirror
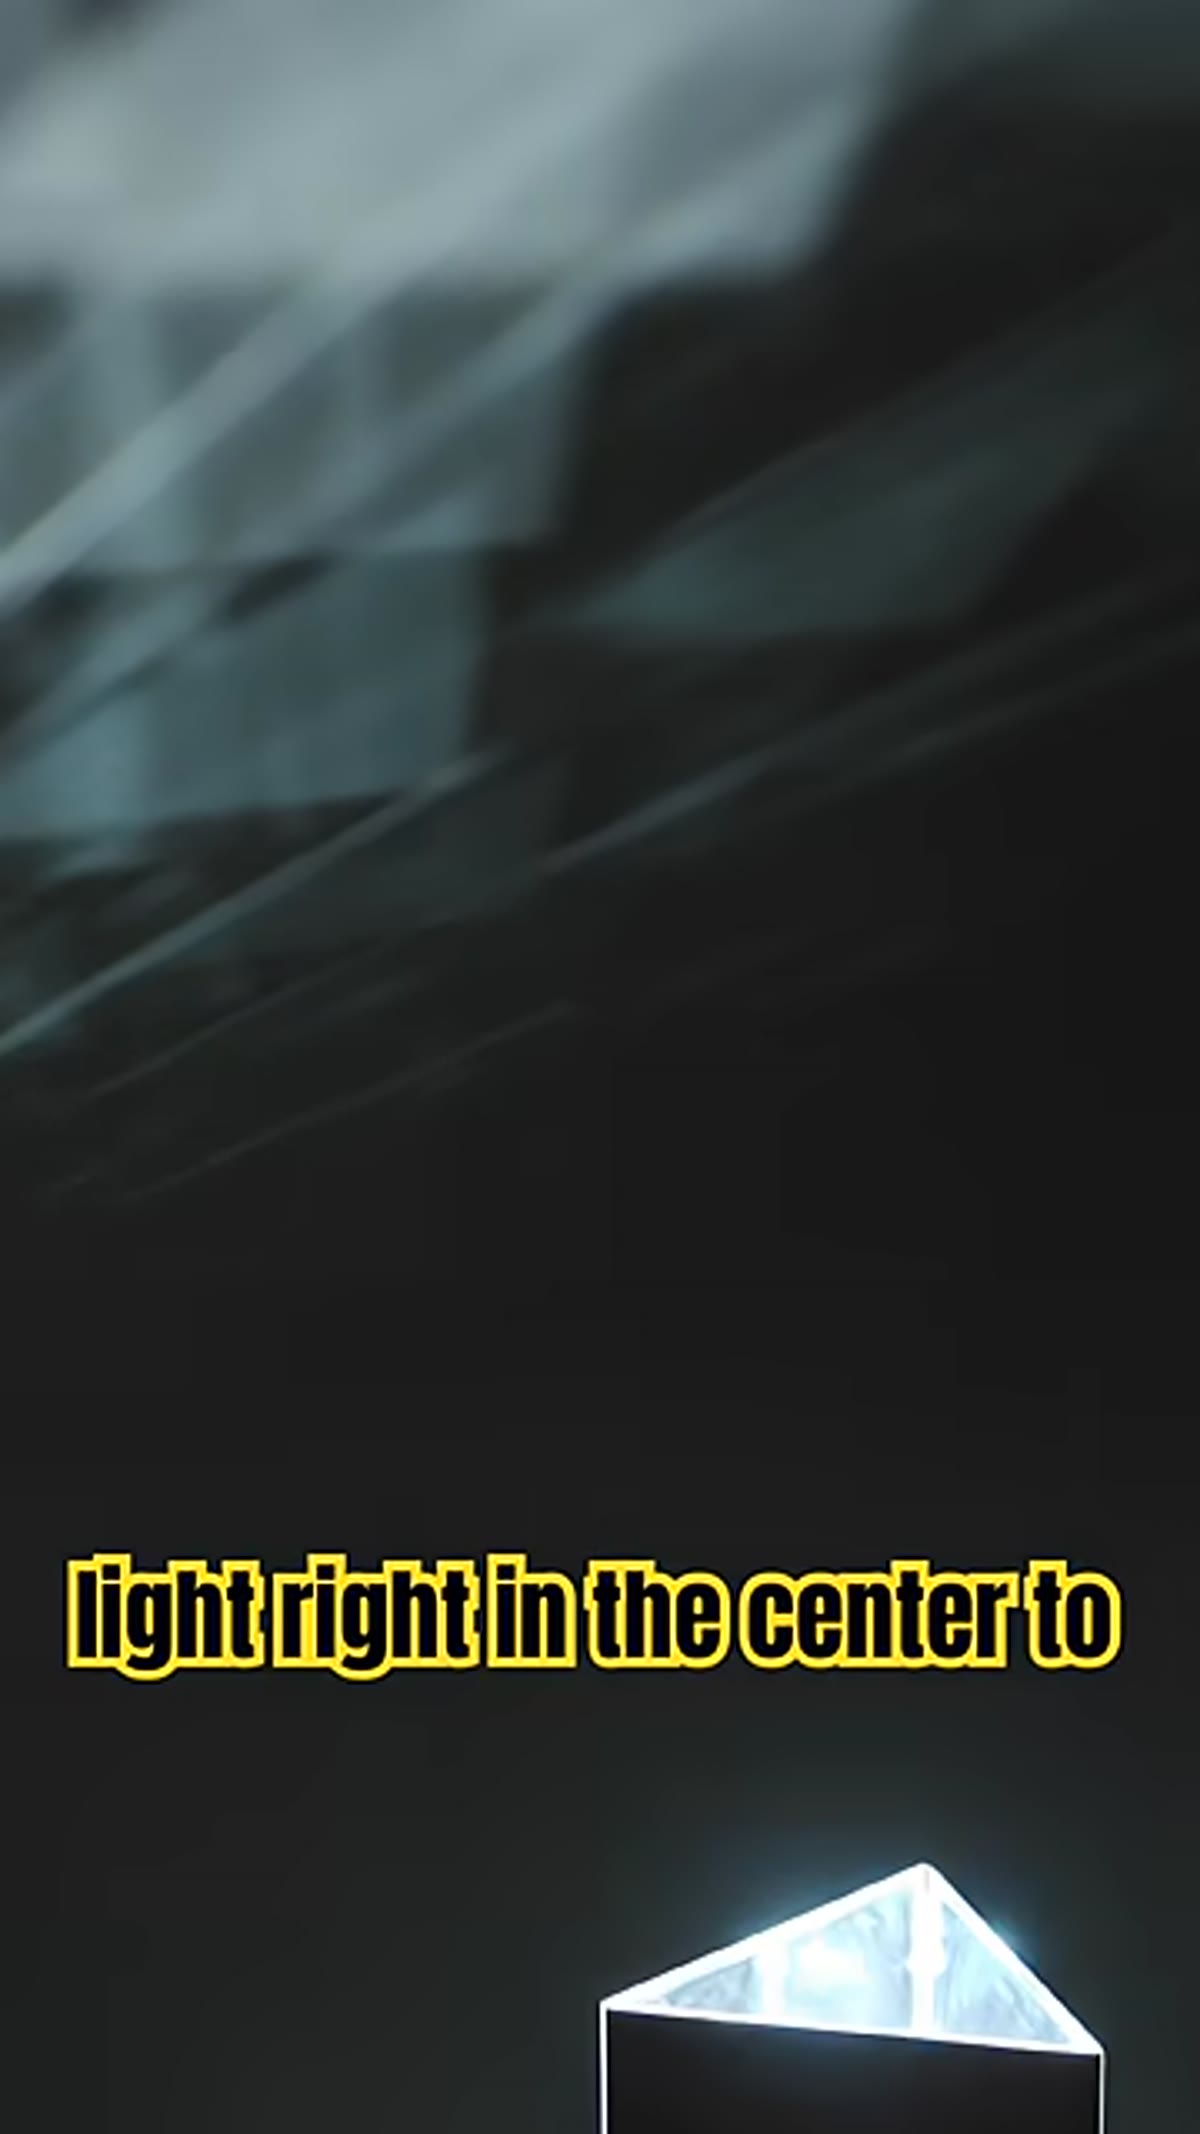 A constant light source pointed directly at the center mirror panel
This is where the magic happens. Point a continuous light source directly at the center panel of your mirror assembly. The light bounces between the three reflective surfaces and creates a repeating geometric pattern that reads as a complex, intentional background. The exact pattern depends on your light placement, the angle of your mirrors, and how far back you position the camera.
A constant light source pointed directly at the center mirror panel
This is where the magic happens. Point a continuous light source directly at the center panel of your mirror assembly. The light bounces between the three reflective surfaces and creates a repeating geometric pattern that reads as a complex, intentional background. The exact pattern depends on your light placement, the angle of your mirrors, and how far back you position the camera.
Continuous lights work better than strobes here because you can see exactly what the reflection pattern looks like in real time as you adjust. Move the light slightly left, right, up, or down and watch how the pattern shifts. This is one of those setups where taking five minutes to dial things in before your subject steps in front of the camera saves you a lot of culling time later.
Step 4: Set Up Your Key Light for the Subject
 A beauty dish mounted on a strobe aimed at the subject position
For the subject’s key light, Rob uses a strobe with a 24-inch beauty dish. The beauty dish gives you that slightly harder, sculpted light quality that works beautifully for fashion and editorial work. It wraps enough to flatter skin but retains enough contrast to give the image structure.
A beauty dish mounted on a strobe aimed at the subject position
For the subject’s key light, Rob uses a strobe with a 24-inch beauty dish. The beauty dish gives you that slightly harder, sculpted light quality that works beautifully for fashion and editorial work. It wraps enough to flatter skin but retains enough contrast to give the image structure.
The critical addition here is a grid. A grid on the beauty dish controls where the light goes by narrowing its spread, which keeps the light off your mirror background. If light spills onto the mirrors, it can wash out the pattern you worked to create in Step 3. Controlling the light at the source is always cleaner than trying to flag it after the fact.
Step 5: Add Rim Lights for Subject Separation
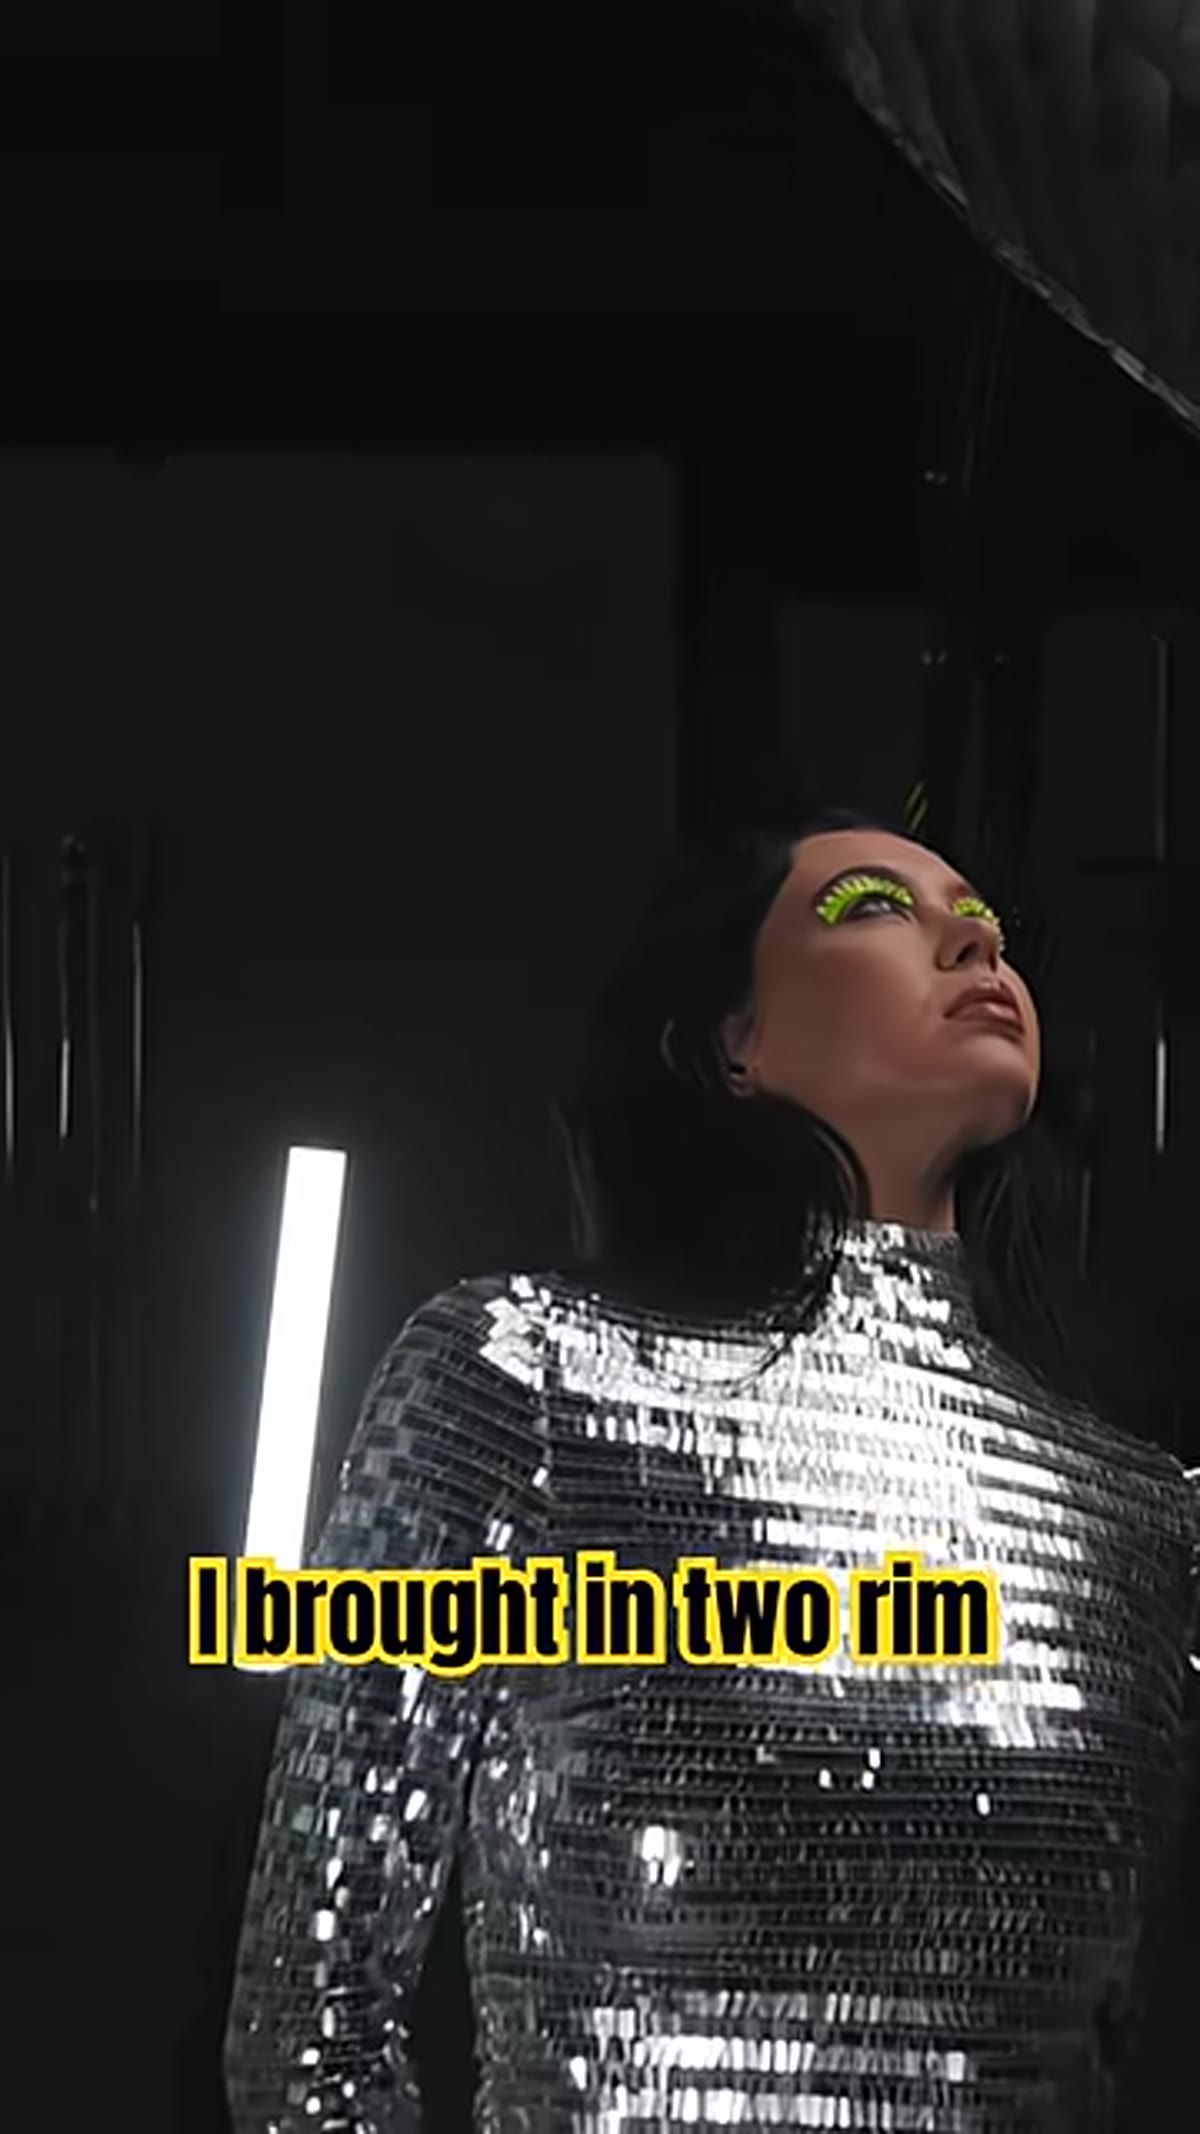 Two rim lights positioned behind and to the sides of the subject
With a reflective background like this one, your subject can get visually lost if they do not have enough edge definition. Two rim lights, positioned behind the subject on either side, solve this by creating a thin line of highlight along the shoulders, arms, and hair. This is what separates the subject from the background and gives the portrait that three-dimensional, pulled-from-the-frame quality.
Two rim lights positioned behind and to the sides of the subject
With a reflective background like this one, your subject can get visually lost if they do not have enough edge definition. Two rim lights, positioned behind the subject on either side, solve this by creating a thin line of highlight along the shoulders, arms, and hair. This is what separates the subject from the background and gives the portrait that three-dimensional, pulled-from-the-frame quality.
Rob uses wand-style continuous lights for the rim positions, which are lightweight and easy to position without a heavy stand. Keep them feathered so you are catching the edge of the beam rather than pointing them directly at your subject. Too much rim light and you get a glowing halo effect that competes with the key light.
A Note From My Own Experience With Reflective Backgrounds
I have played with silver reflectors and mylar sheets as DIY backgrounds, and the consistent mistake I made early on was underestimating how much the camera-to-mirror distance changes the look. Up close, the mirror pattern fills the frame and reads as abstract texture. Move the camera back and the full geometric structure becomes visible, which gives you a very different image. Neither is wrong, but you should decide which you want before you start shooting rather than discovering it mid-session.
If you are working in a smaller space, like a spare bedroom or a rented studio with low ceilings, lean into the close-crop approach. The tighter framing actually tends to look more intentional, and you can still get excellent subject-to-background separation with the rim lights even when you are not working with a lot of depth.
The single most important idea in this setup is that your background and your subject lighting are two separate problems requiring two separate solutions. Once you stop trying to solve both with one light, your images get cleaner, your editing gets faster, and the final result looks like a lot more planning went into it than three mirrors and some gaff tape.
Watch the full tutorial on YouTube to see the final images and get a better sense of how the mirror pattern scales with different light positions.
Comments (3)
Printing this out and pinning it to my studio wall. That good.
I've read dozens of articles on this and yours is the clearest by far.
Ran through this tutorial twice and my edits are way more consistent now.
Leave a Comment